28 Jaw-Dropping Rustic Outdoor Lighting Ideas for Your Backyard Project in 2026

You know that feeling when you finally find the rustic outdoor lighting that looks exactly right for your space? It can instantly transform a simple patio or backyard into a true extension of your home. After filtering through hundreds of options across Wayfair, Pottery Barn, and some hidden gems on Etsy, we narrowed it down to the looks that actually deliver. Inside, you’ll find 28 curated ideas covering everything from modern farmhouse lanterns to bohemian-inspired string lights. For 2026, it’s all about creating an ‘outdoor living room’ vibe, and intentional lighting is the key. And stay until the end — we break down the most common mistakes that can ruin these looks.
📌 Save this to Pinterest for later — you’ll want to revisit these ideas.
1. Create an Oasis with Edison String Lights Over a Concrete Patio
There’s a beautiful tension here between the industrial feel of the dark concrete wall and the magical, warm glow of the Edison bulbs. The abundant green foliage softens the hardscape, preventing it from feeling cold or sterile. The design succeeds by layering textures: the rough concrete, the smooth glass of the bulbs, the organic leaves, and the sturdy wooden beams. It’s a masterful mix that feels both deliberate and completely natural at the same time, turning a simple outdoor wall into a captivating feature.
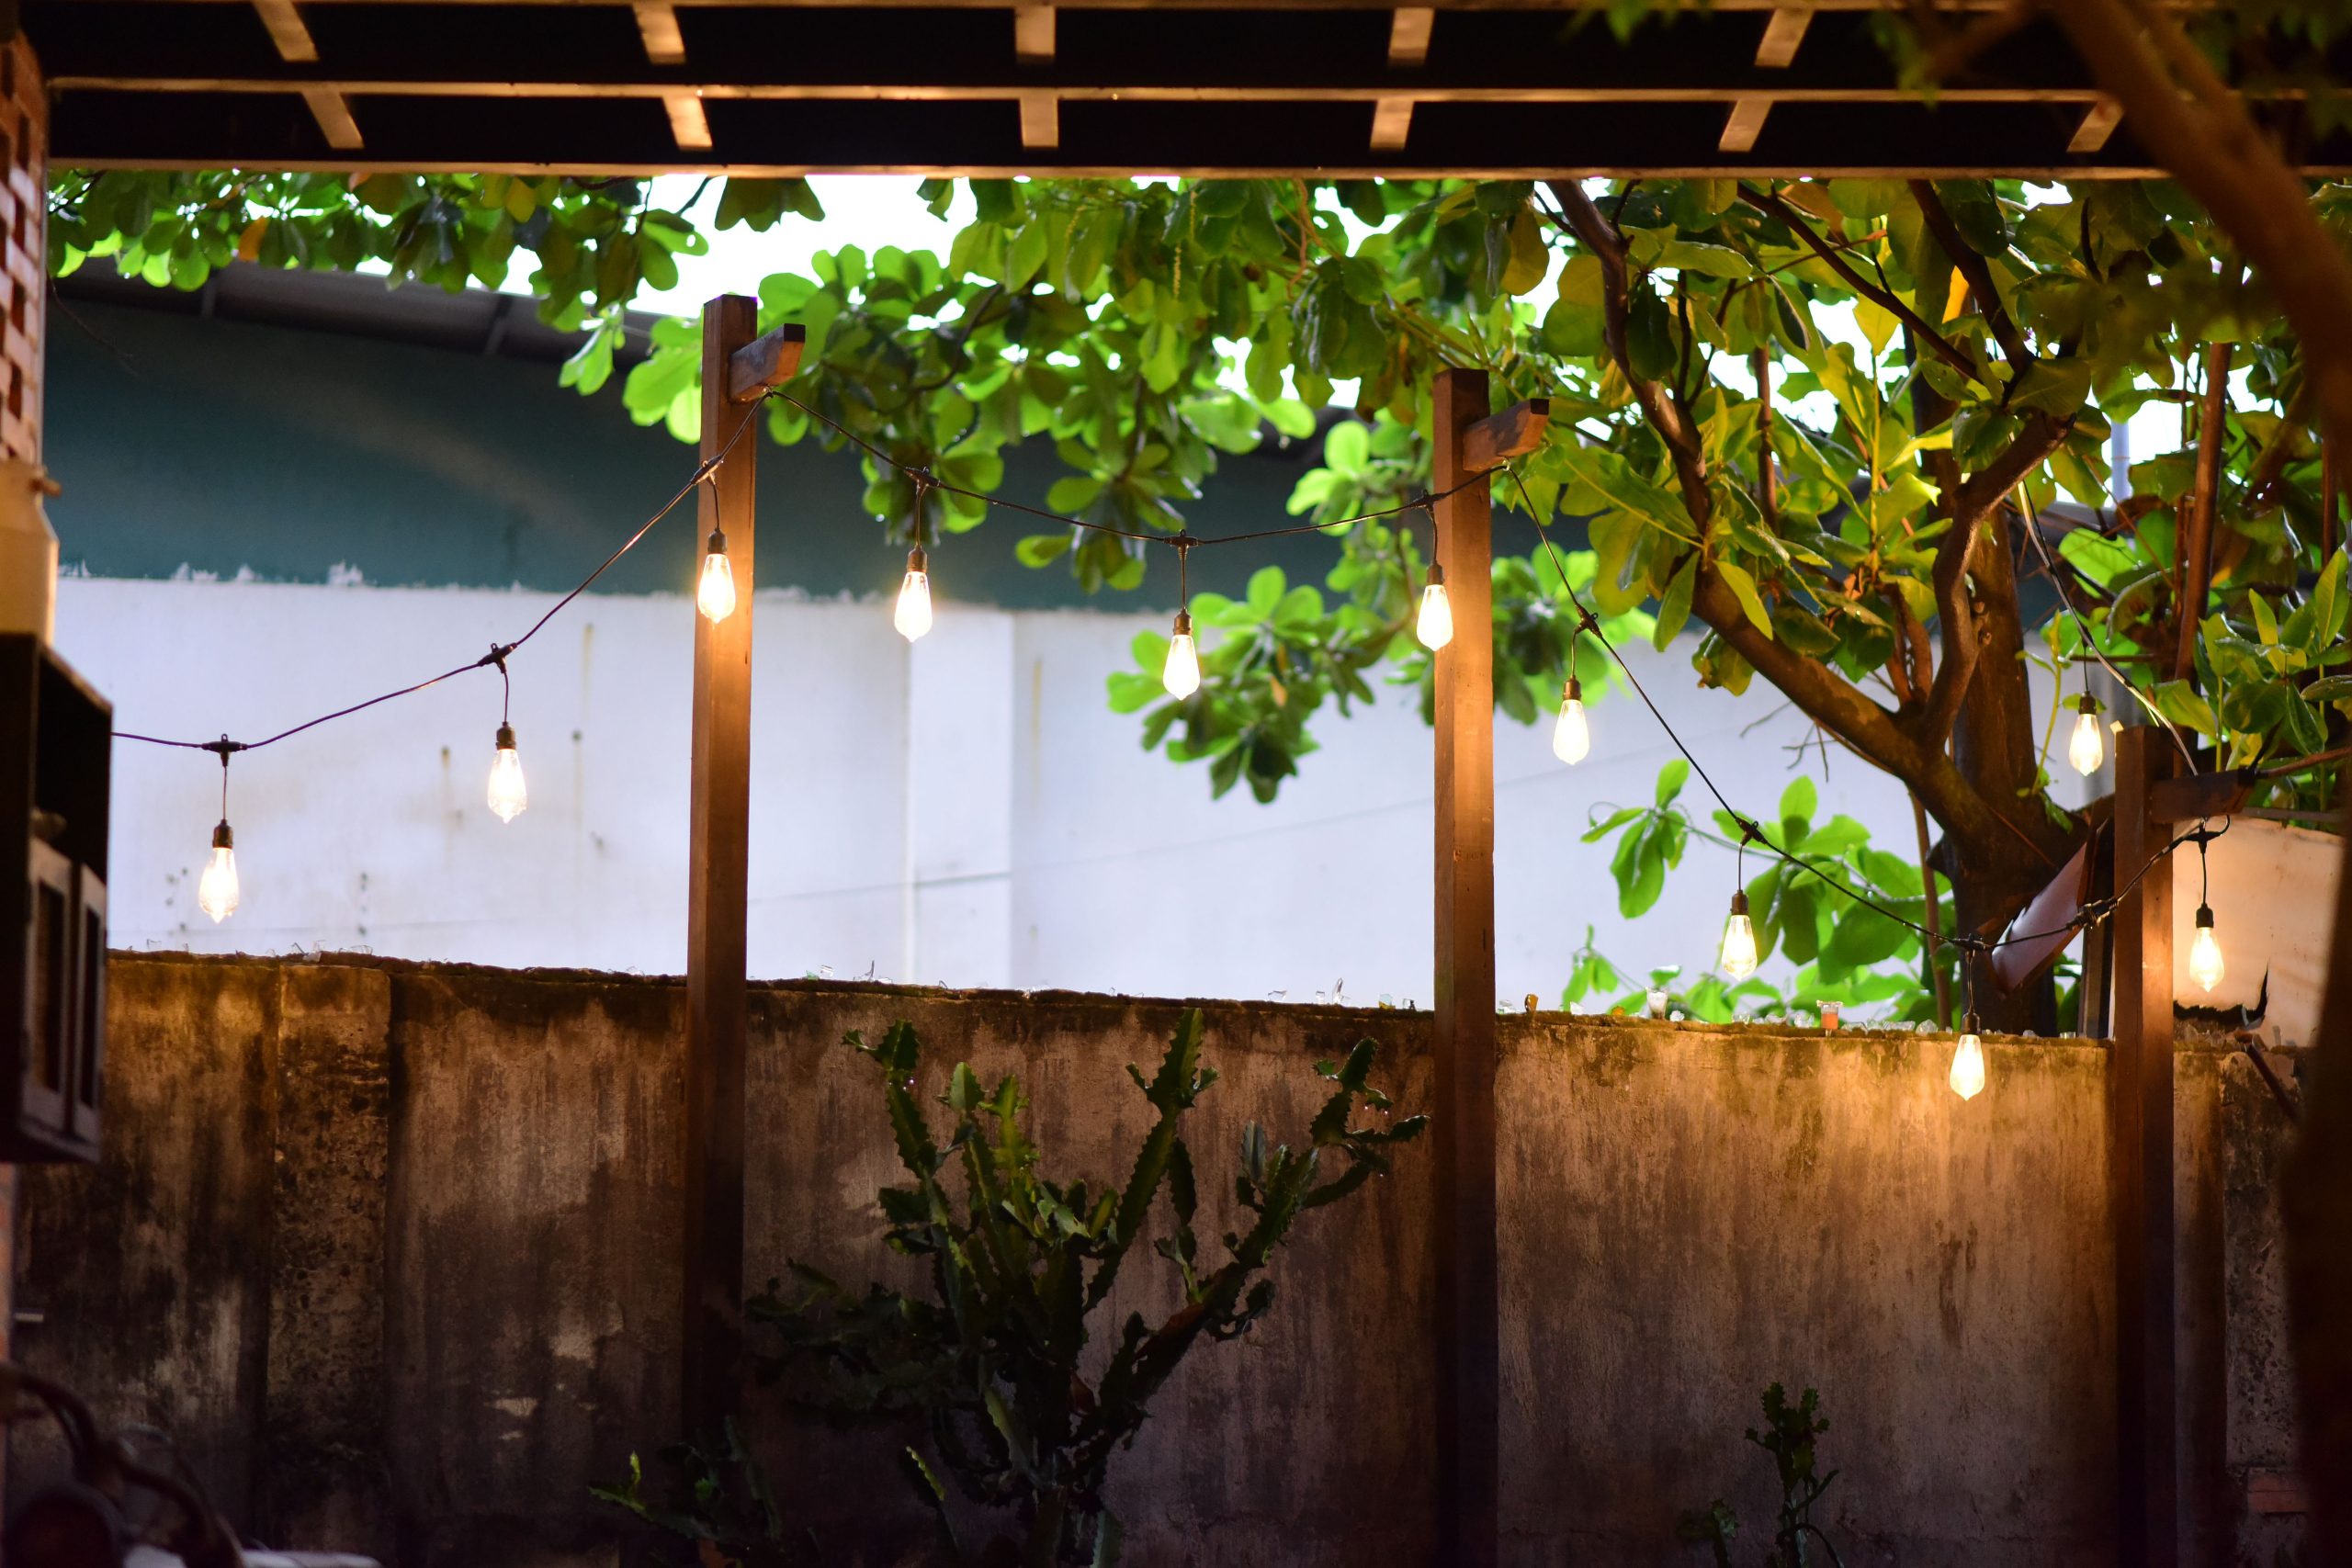
A common mistake with string lights is hanging them too high, which diffuses the light and loses the sense of intimacy. For an ambient glow that defines a space, aim for a height of 8 to 10 feet off the ground. This keeps the light source close enough to create a warm, inviting “ceiling” for your outdoor room, encouraging guests to gather and linger underneath. If your posts are taller, simply swag the strings a bit lower to achieve this effect. It makes all the difference.
2. Classic Rustic Pole Light for Wide-Open Backyards
The single most important element here is the unapologetically simple pole. While the string lights add charm, the weathered wooden pole is the anchor of the entire rustic aesthetic. Without its height and solid presence, the lights would just be generic string lights. The pole elevates them, giving them purpose and a strong vertical element that draws the eye upward towards the sky. It grounds the design in a pastoral, slightly utilitarian feel that is the heart of true rustic style.
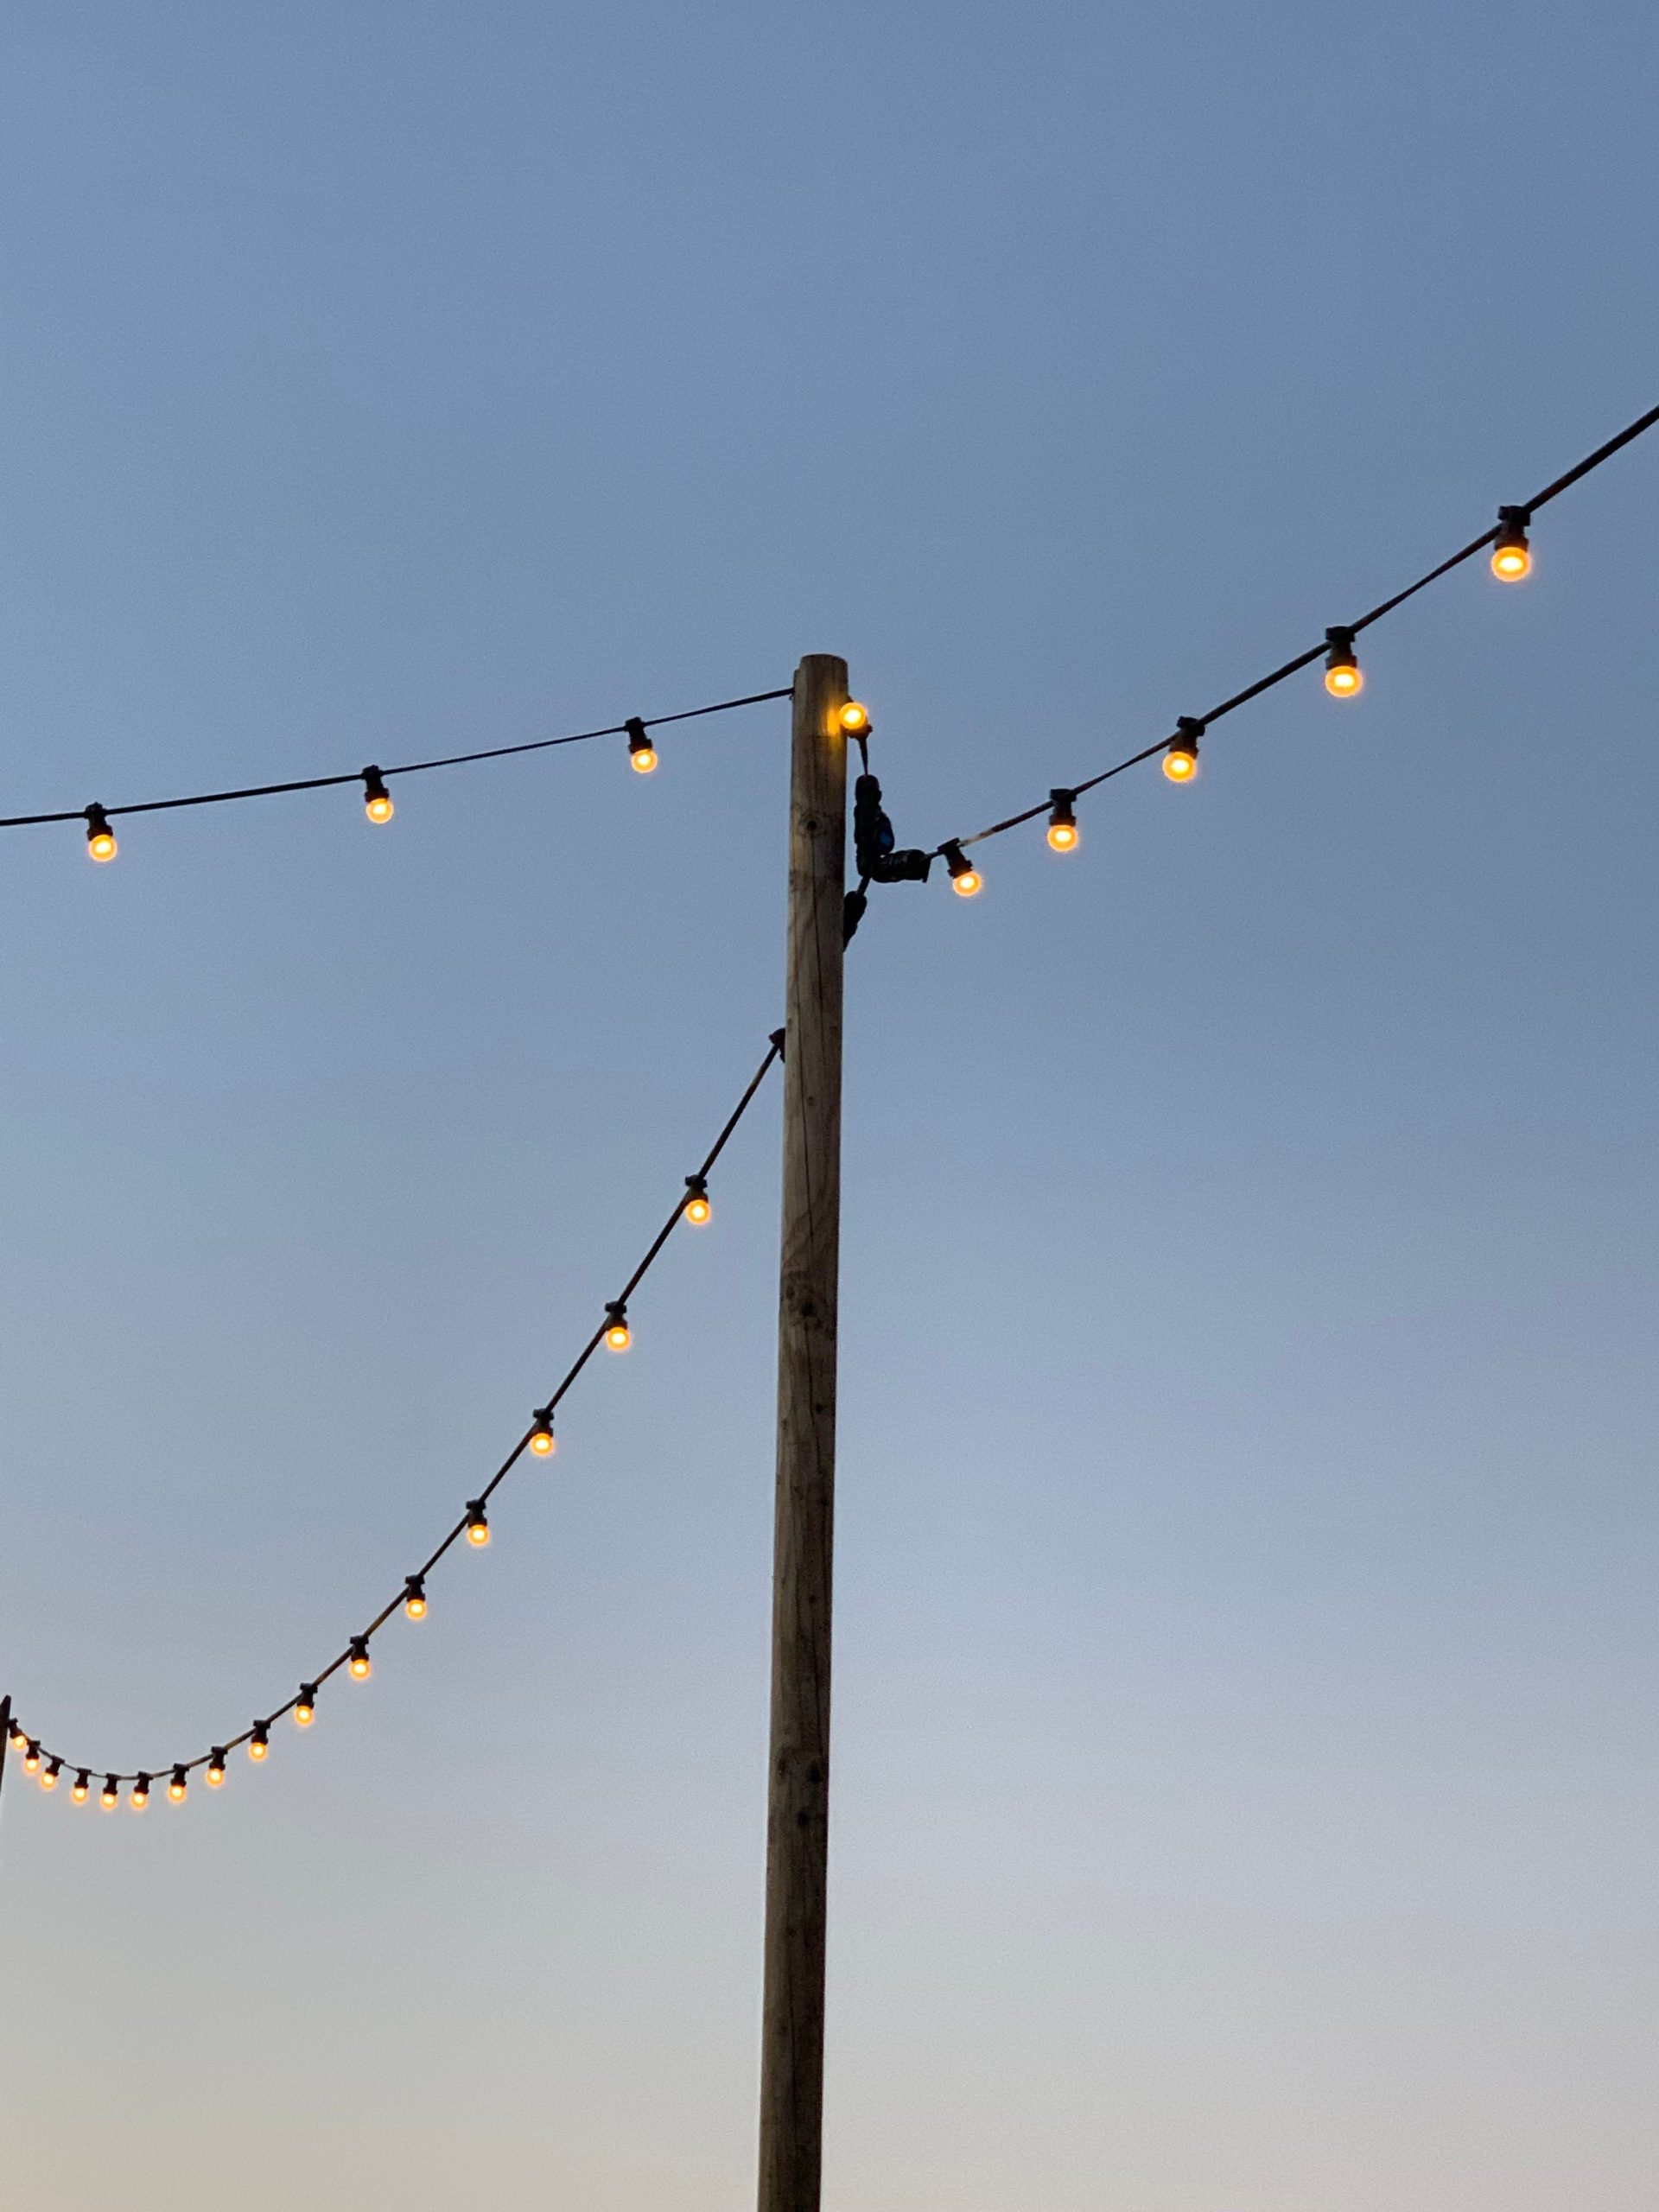
This idea is perfect for larger, more open spaces where you need to define an area without building a full structure. Think backyards of at least 500 square feet, open fields, or sprawling garden areas. The height of the pole requires visual breathing room; it would feel overwhelming in a small, enclosed patio. This is a look that works best when seen from a distance, drawing you into the space. For smaller areas, consider the wall-mounted approach seen in Idea #9.
3. Welcoming Rustic Porch Light for a Cozy Entrance
A high-end, hand-forged iron lantern can cost upwards of $400. You can get this warm, inviting look for a fraction of that. Start by searching for “black metal outdoor sconce” at big-box stores like Home Depot or Lowe’s, where you can find great options for $50-$80. The key is the bulb. Spend an extra $10 on a warm, low-lumen (around 450 lumens) Edison-style LED bulb. It’s the quality of the light, not the cost of the fixture, that creates that expensive-looking amber glow.
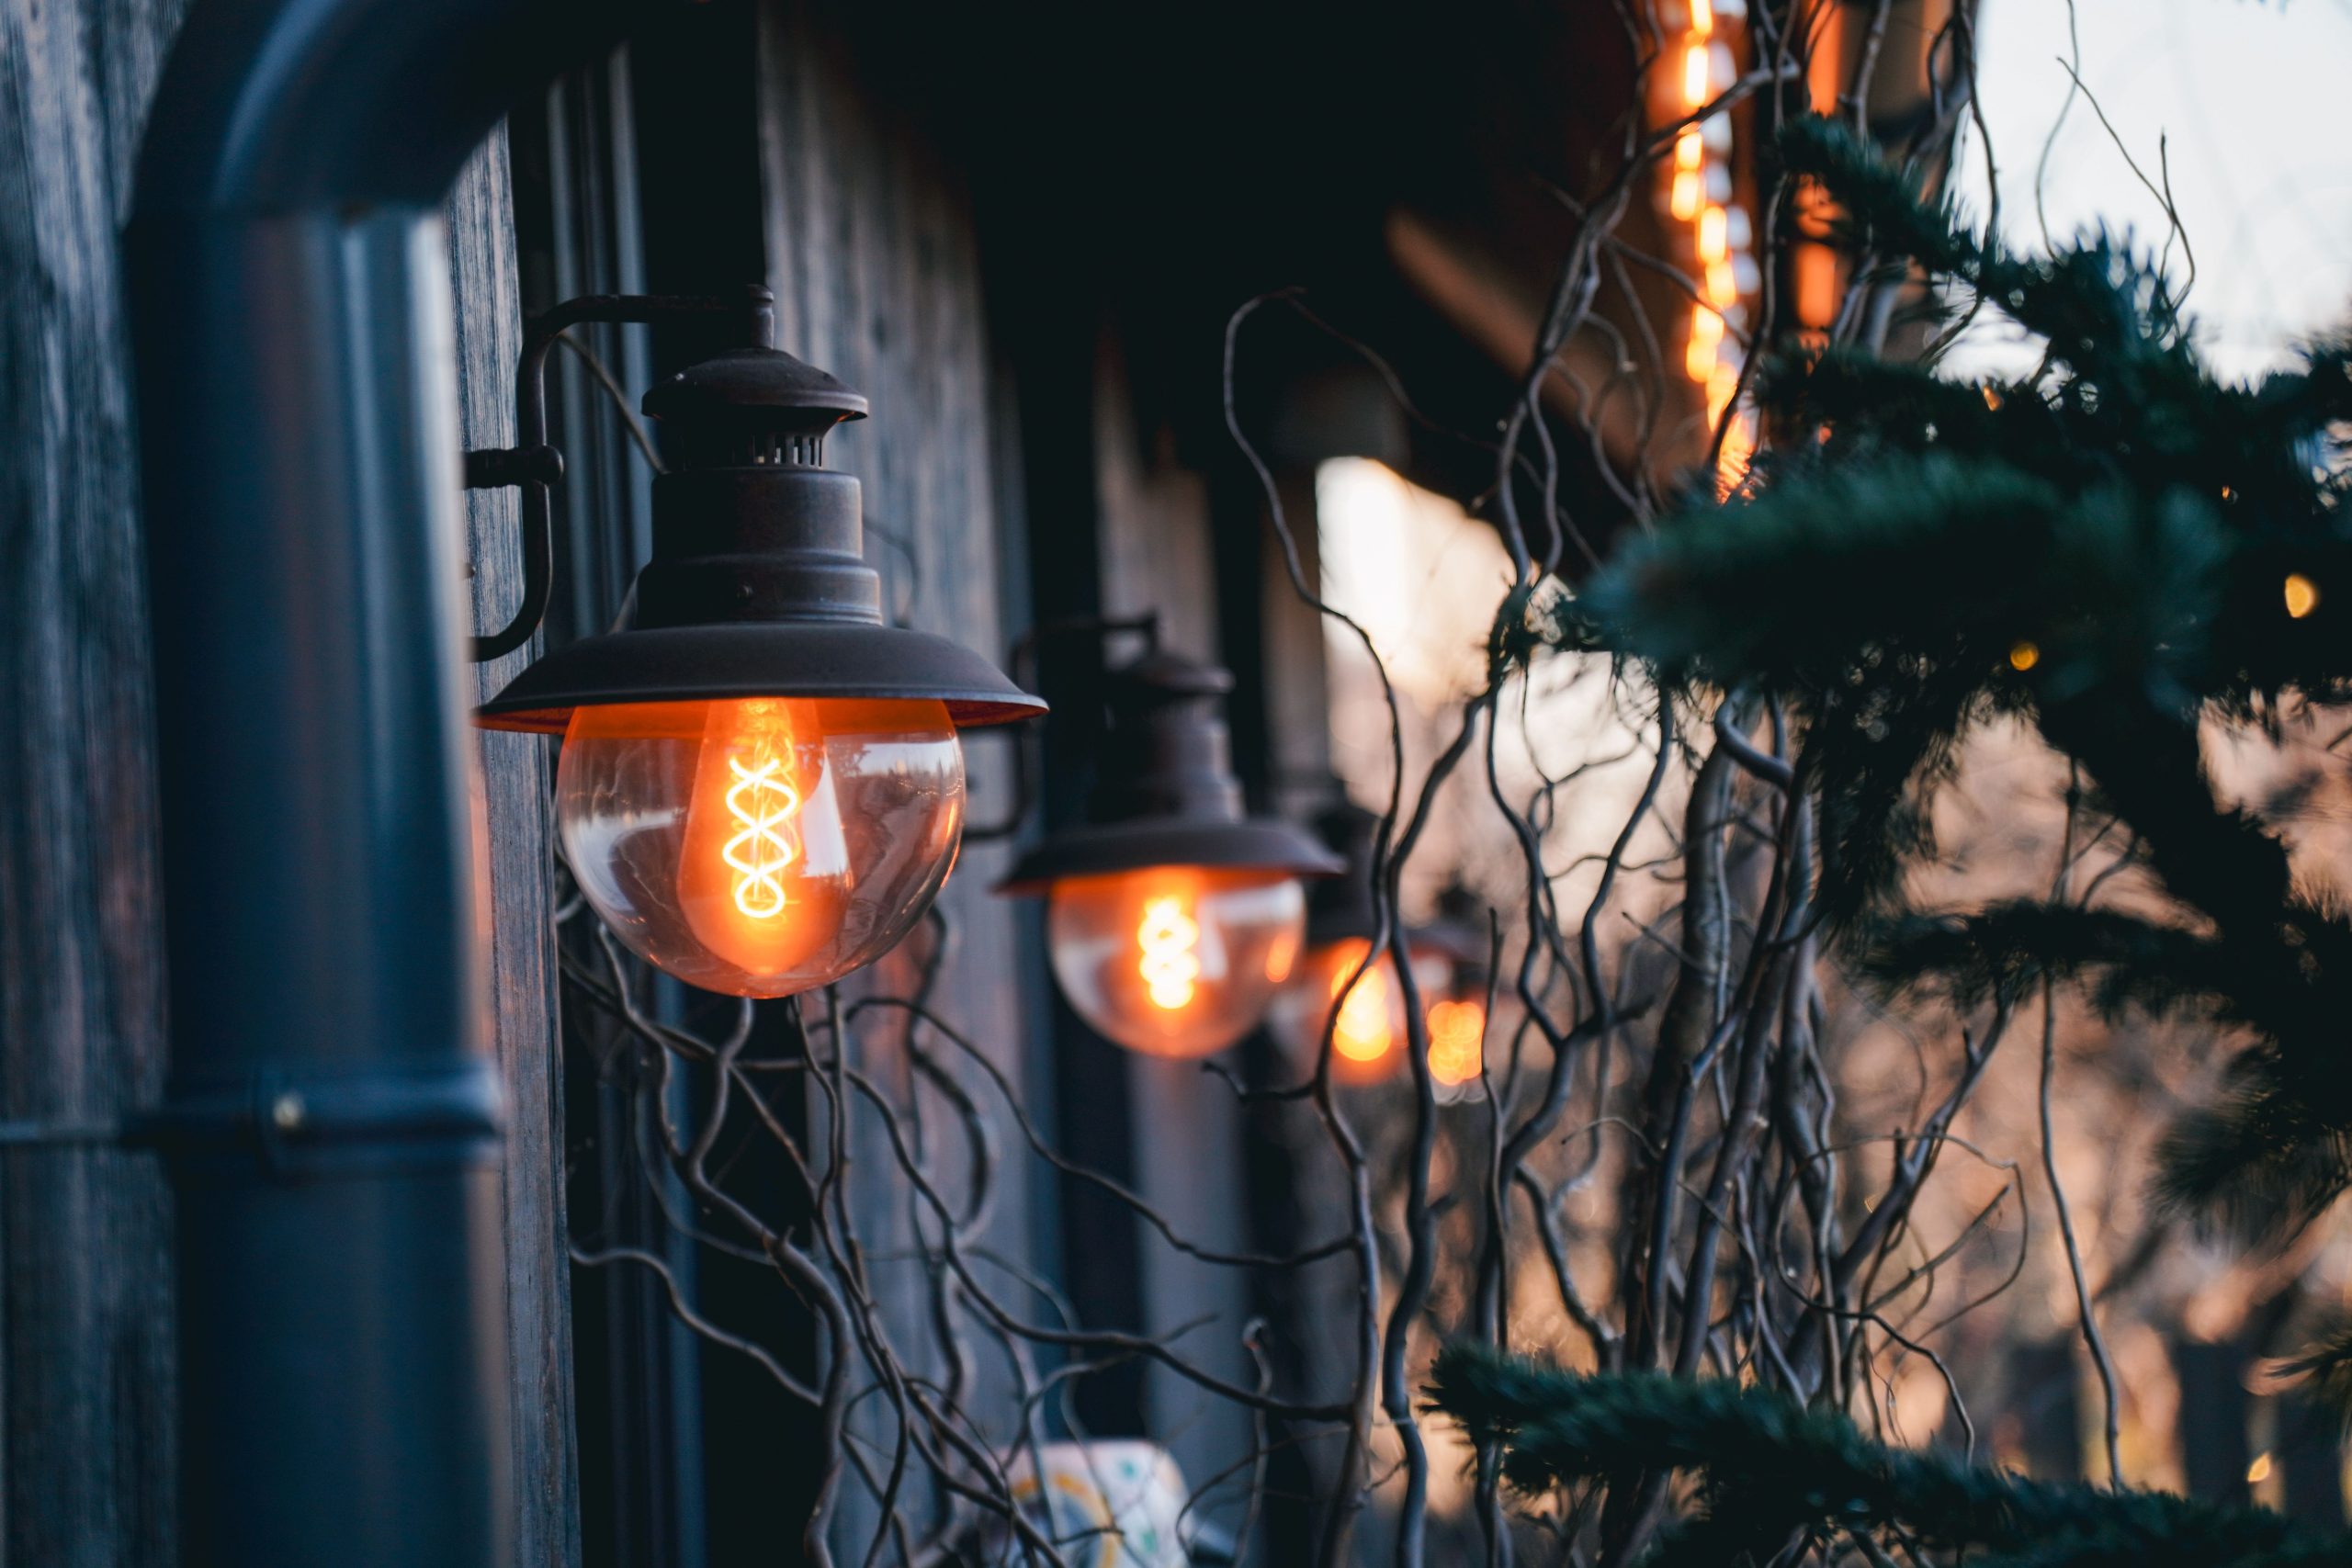
Let’s be honest: not all “rustic” fixtures are created equal. Many cheaper options use thin metal and plastic components that will rust or fade within a single season, especially in wet or sunny climates. When buying a budget-friendly fixture, check the material specifications. Look for powder-coated aluminum or steel. If you do opt for a lower-quality piece, consider giving it an extra coat of matte-finish outdoor-rated spray paint before installation to add a layer of protection and extend its life.
4. Add a Whimsical Touch with a Black Lantern and Antler Hook
This look is a perfect equation for elevated cabin style: 50% classic fixture + 30% natural element + 20% modern touch. The black lantern is a timeless choice that provides the foundation. The antler hook is the unexpected, organic piece that screams rustic. Finally, the bubble glass and exposed filament bulb give it a contemporary twist, keeping it from feeling dated. You could swap the antler for a piece of driftwood or a dark metal geometric bracket and still maintain the formula’s success.
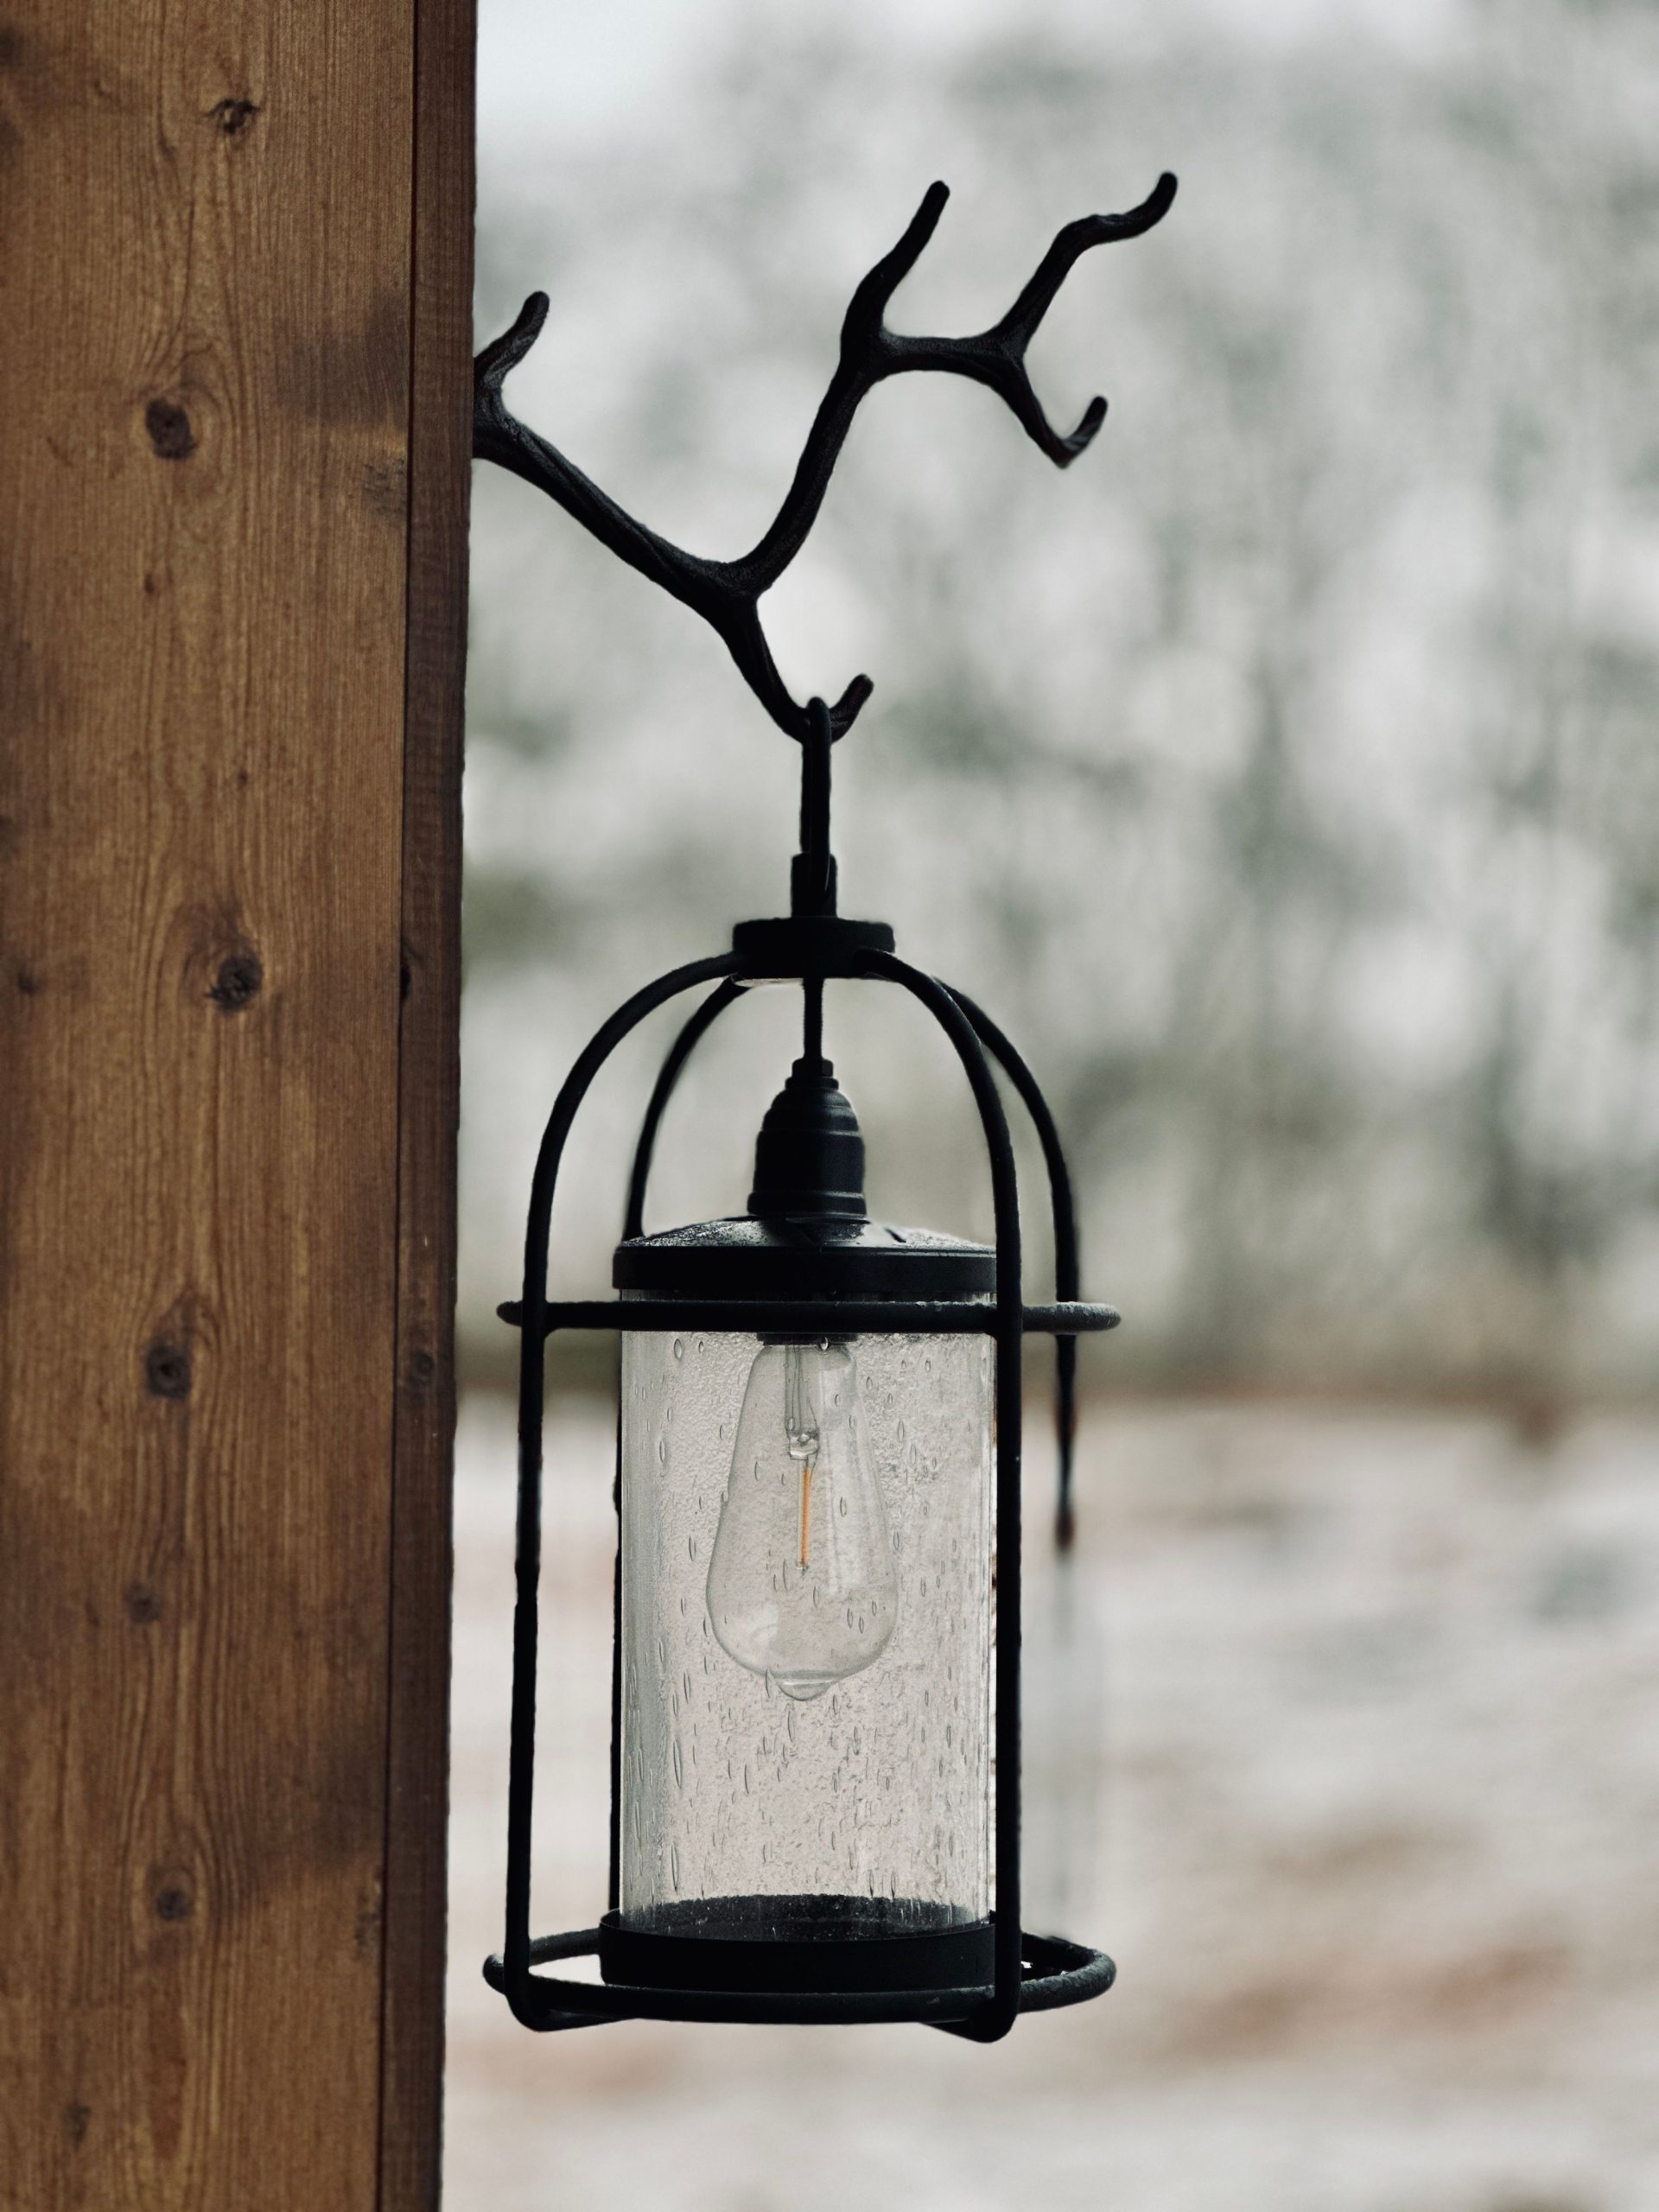
Installing a decorative hook for a hanging lantern is a quick upgrade. Here’s how to do it in under 30 minutes:
- First, turn off the power at the circuit breaker. Safety first!
- Unscrew and gently disconnect the existing fixture from the wall, taking note of the wiring.
- Position your new antler hook or decorative bracket on the wall, ensuring it can bear the lantern’s weight. Mark your screw holes with a pencil.
- Drill pilot holes and secure the hook to the wall or post with sturdy screws.
- Hang your new lantern from the hook and complete the wiring.
- Turn the power back on and test your new, character-filled light.
5. Charming Wall Lantern with a Hanging Terracotta Planter
This composition works because of its simple, complementary pairing. The warm, earthy terracotta of the pot and the dark, sturdy metal of the lantern create a classic rustic color and material palette. The living element—the plant—adds a touch of softness and vitality that prevents the wall from feeling static. It’s a small, self-contained story of home and garden. This is a much softer, more traditional approach compared to the clean lines of the Modern Farmhouse Lantern.
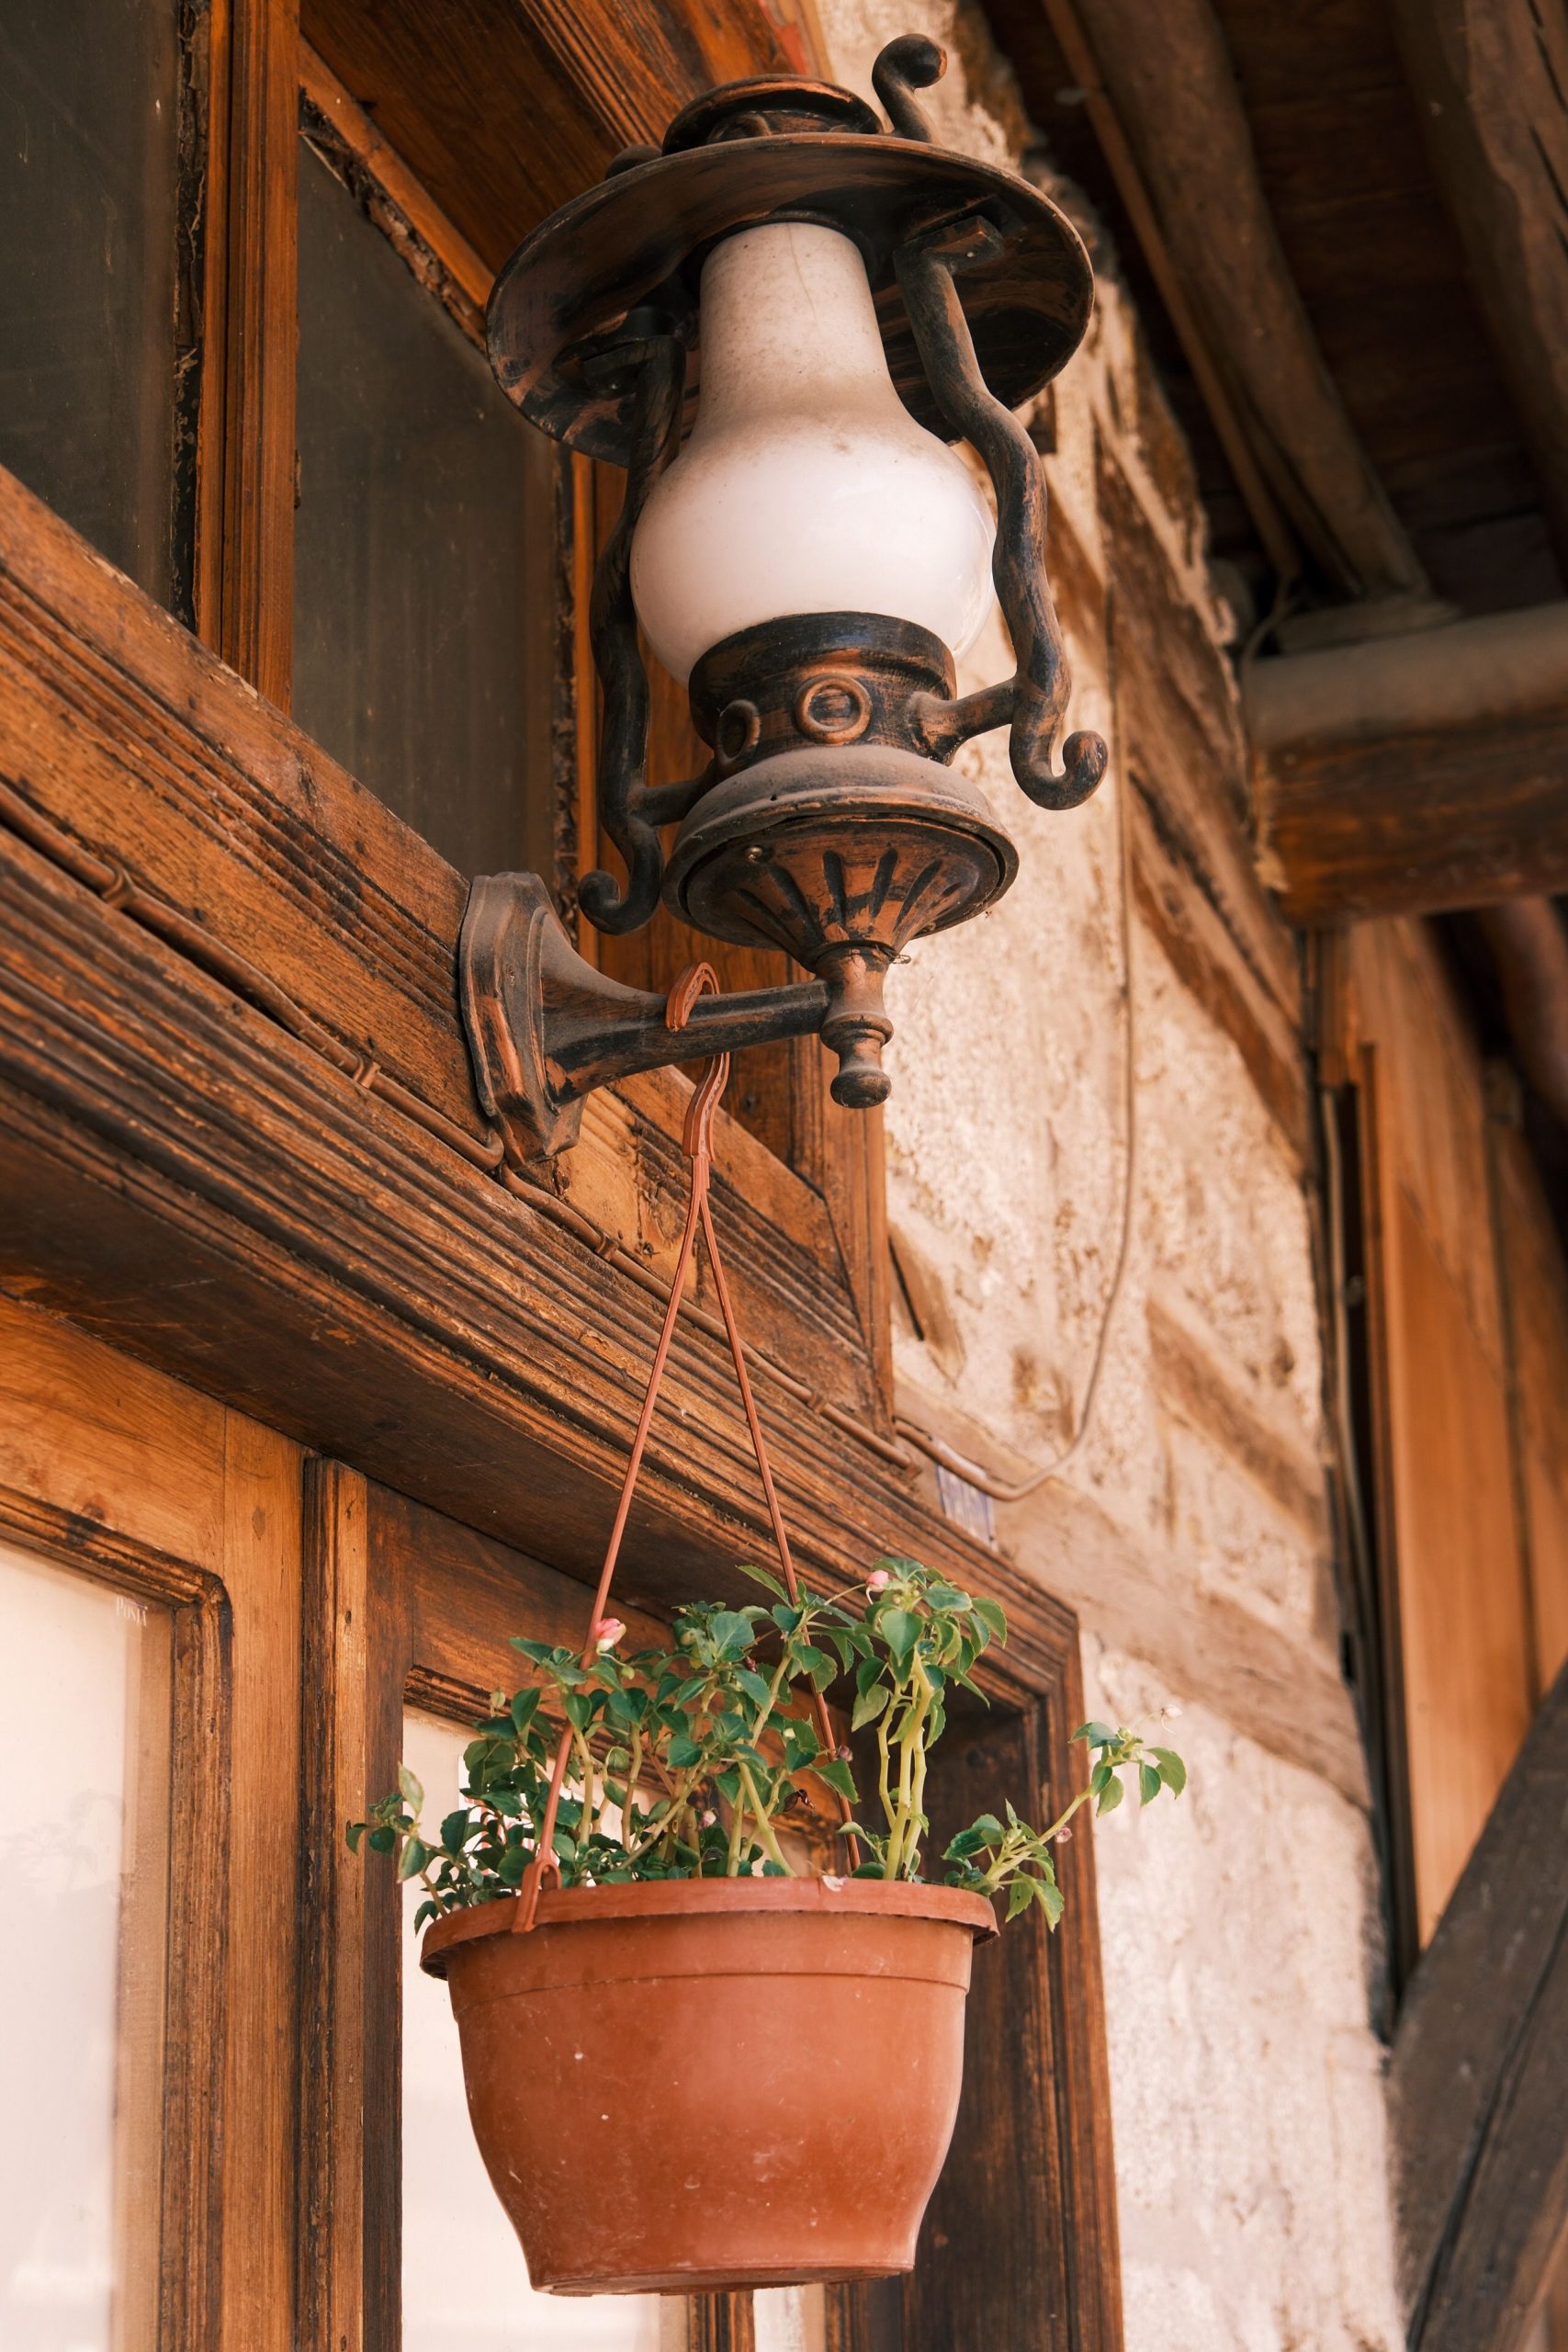
Pairing a plant with a light fixture looks lovely, but it requires commitment. That terracotta pot will dry out much faster than a pot in the shade, meaning you’ll likely need to water it every 1-2 days in the summer. Also, be mindful of drainage. When you water the plant, excess water will run down the wall, potentially causing staining or wear over time, especially on wood or porous stone. A small, attachable drip tray can be a good investment here.
6. Vintage-Style Lanterns Nestled in Lush Garden Greenery
The magic here is the element of discovery. The lanterns aren’t just placed in the garden; they are nestled *within* it, partially obscured by lush greenery. This makes them feel like a secret, treasured part of the landscape rather than a purely functional light source. Removing them from the foliage and placing them on a bare pole would completely erase the whimsical, romantic quality that makes this idea so captivating. It’s the interplay with nature that defines the look.
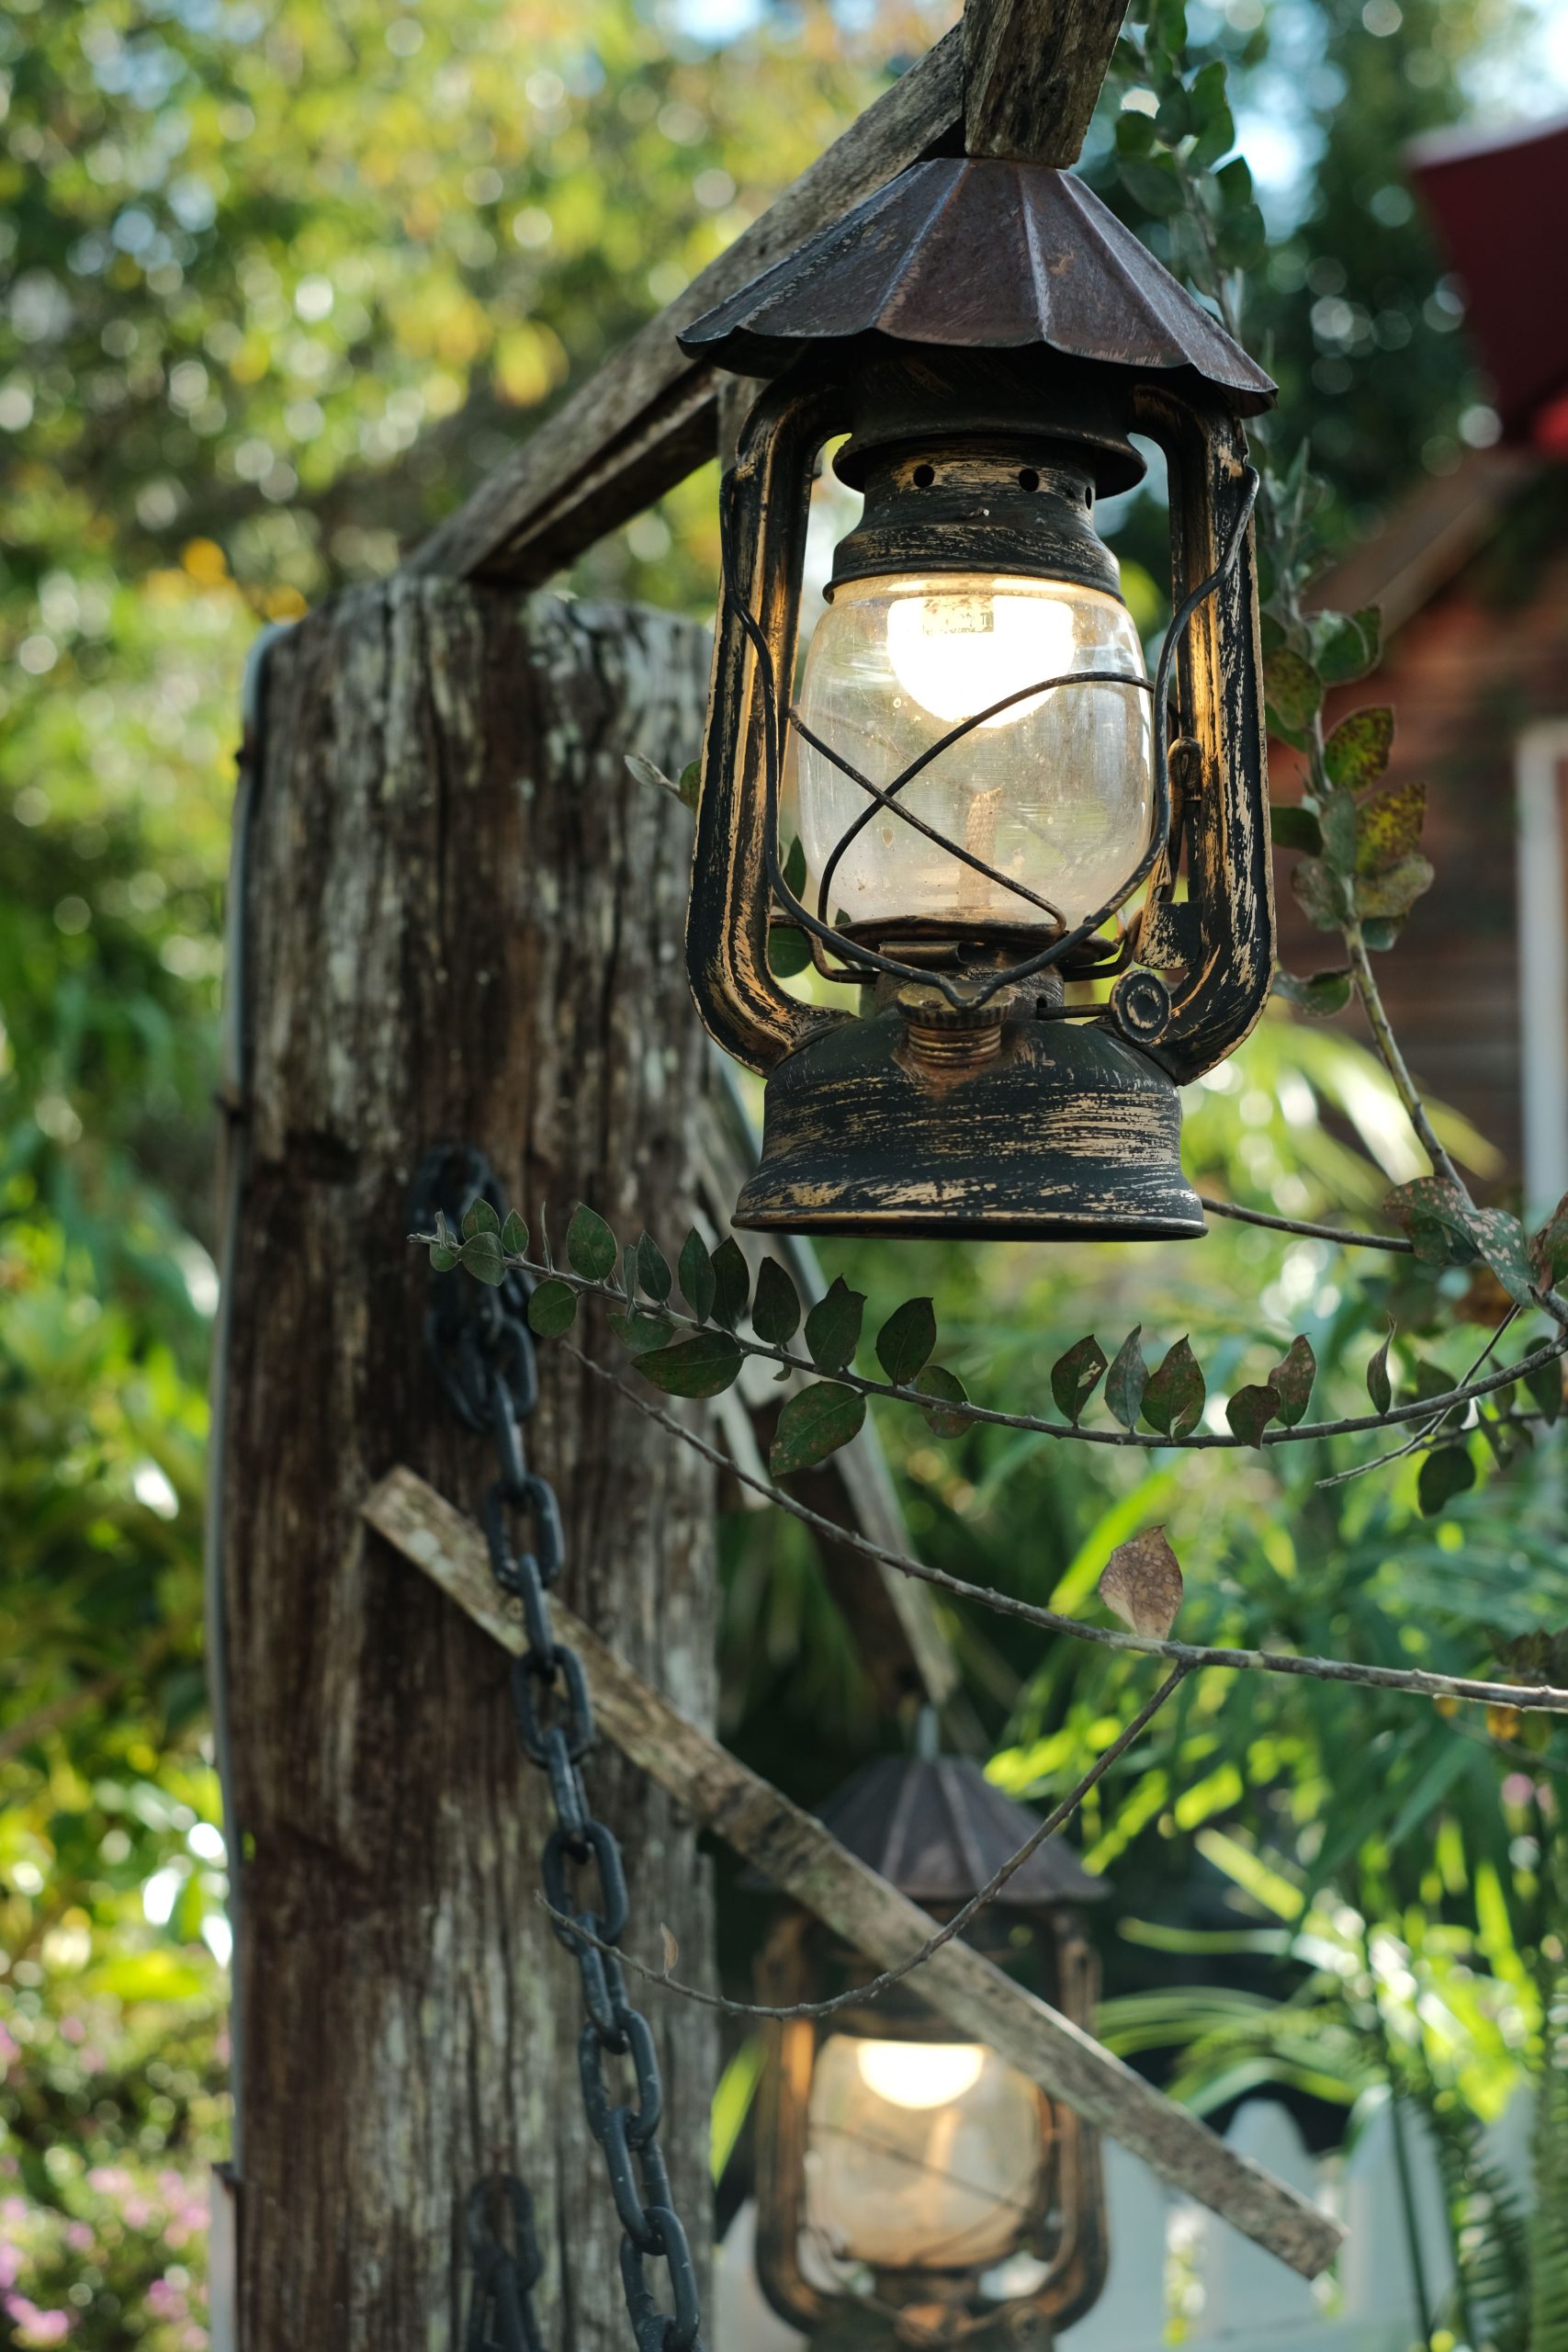
To recreate this, don’t just hang the lanterns near plants—integrate them. Use landscape hooks to position solar-powered lanterns of varying heights directly inside your garden beds amongst taller grasses or leafy perennials. The goal is for the light to peek through the foliage. For the best effect, use multiple lanterns and stagger them both horizontally and vertically, creating layered pools of light rather than a single, flat source. This creates depth and mystery in your garden after dusk.
7. DIY-Friendly Weathered Wood Post Light with an Edison Bulb
This is a wonderfully achievable project with a high-end look. The beauty is in its simplicity, making it a great candidate for a weekend DIY. The cost is refreshingly low compared to buying a pre-made designer fixture.
- Main Structure (4×4 wood post, pedestal base): $40 – $70
- Lighting (Edison bulb, socket, outdoor-rated cord): $25 – $40
- Enclosure (Reclaimed wood/scraps for lantern box): $10 – $30
- TOTAL: $75 – $140
Budget alternative: Use a single post without the pedestal base and a simple glass jar as the enclosure to bring the total cost under $50.
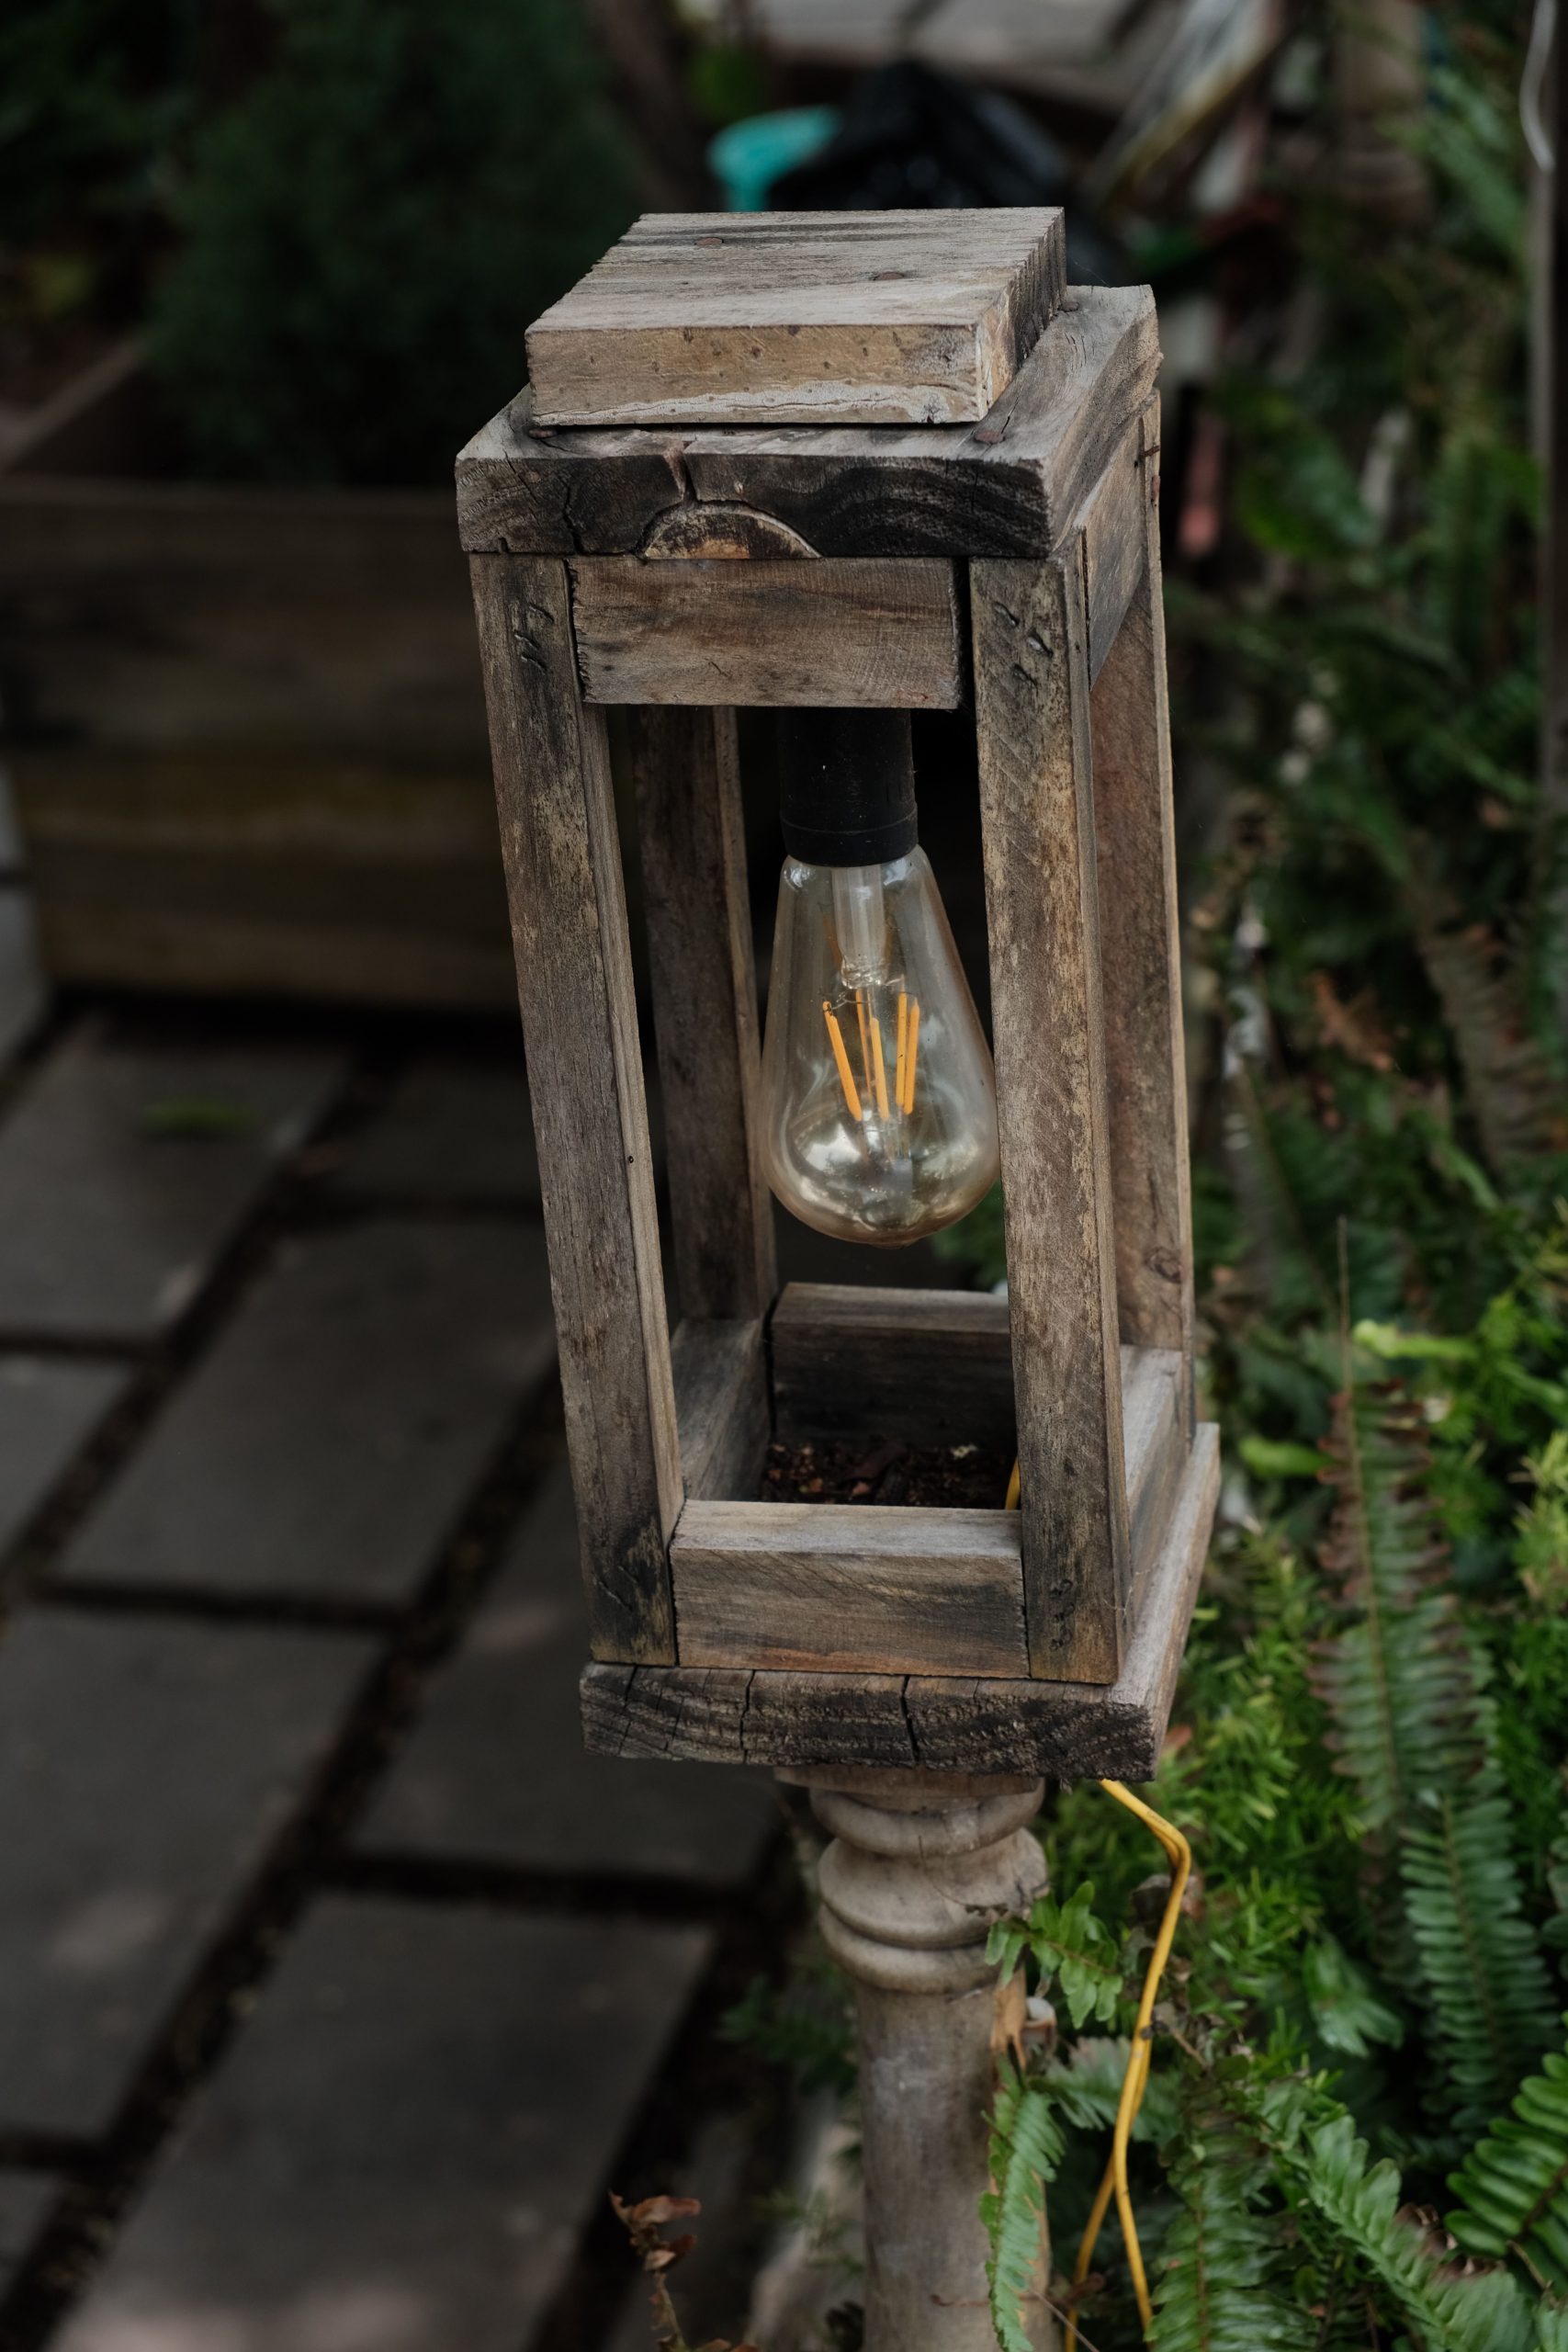
Before you even buy the wood, there are a few things to lock down. This checklist will save you a headache later.
- Have you decided on power? If you’re not comfortable with wiring, your best bet is a high-quality solar Edison bulb. If you want a hardwired version, consult an electrician first.
- Do you have the right tools? You’ll need a saw, drill, and wood screws at a minimum.
- Where will it go? Measure the spot and ensure the post height feels right for the scale of your garden or pathway.
- Is your wood outdoor-rated? Make sure to use pressure-treated lumber or a naturally rot-resistant wood like cedar.
8. Aged Metal Lanterns on a Weathered Pergola
That beautiful, weathered patina is a double-edged sword. While it looks incredible, it’s a sign that the metal is actively rusting. On a high-quality (and high-cost) fixture made of brass or copper, this aging process is desirable. However, on a cheaper steel or iron fixture, that rust can quickly lead to structural failure, especially at the joints or mounting points. If you love this look but are on a budget, look for aluminum fixtures with a faux-rust finish, as they won’t actually corrode.
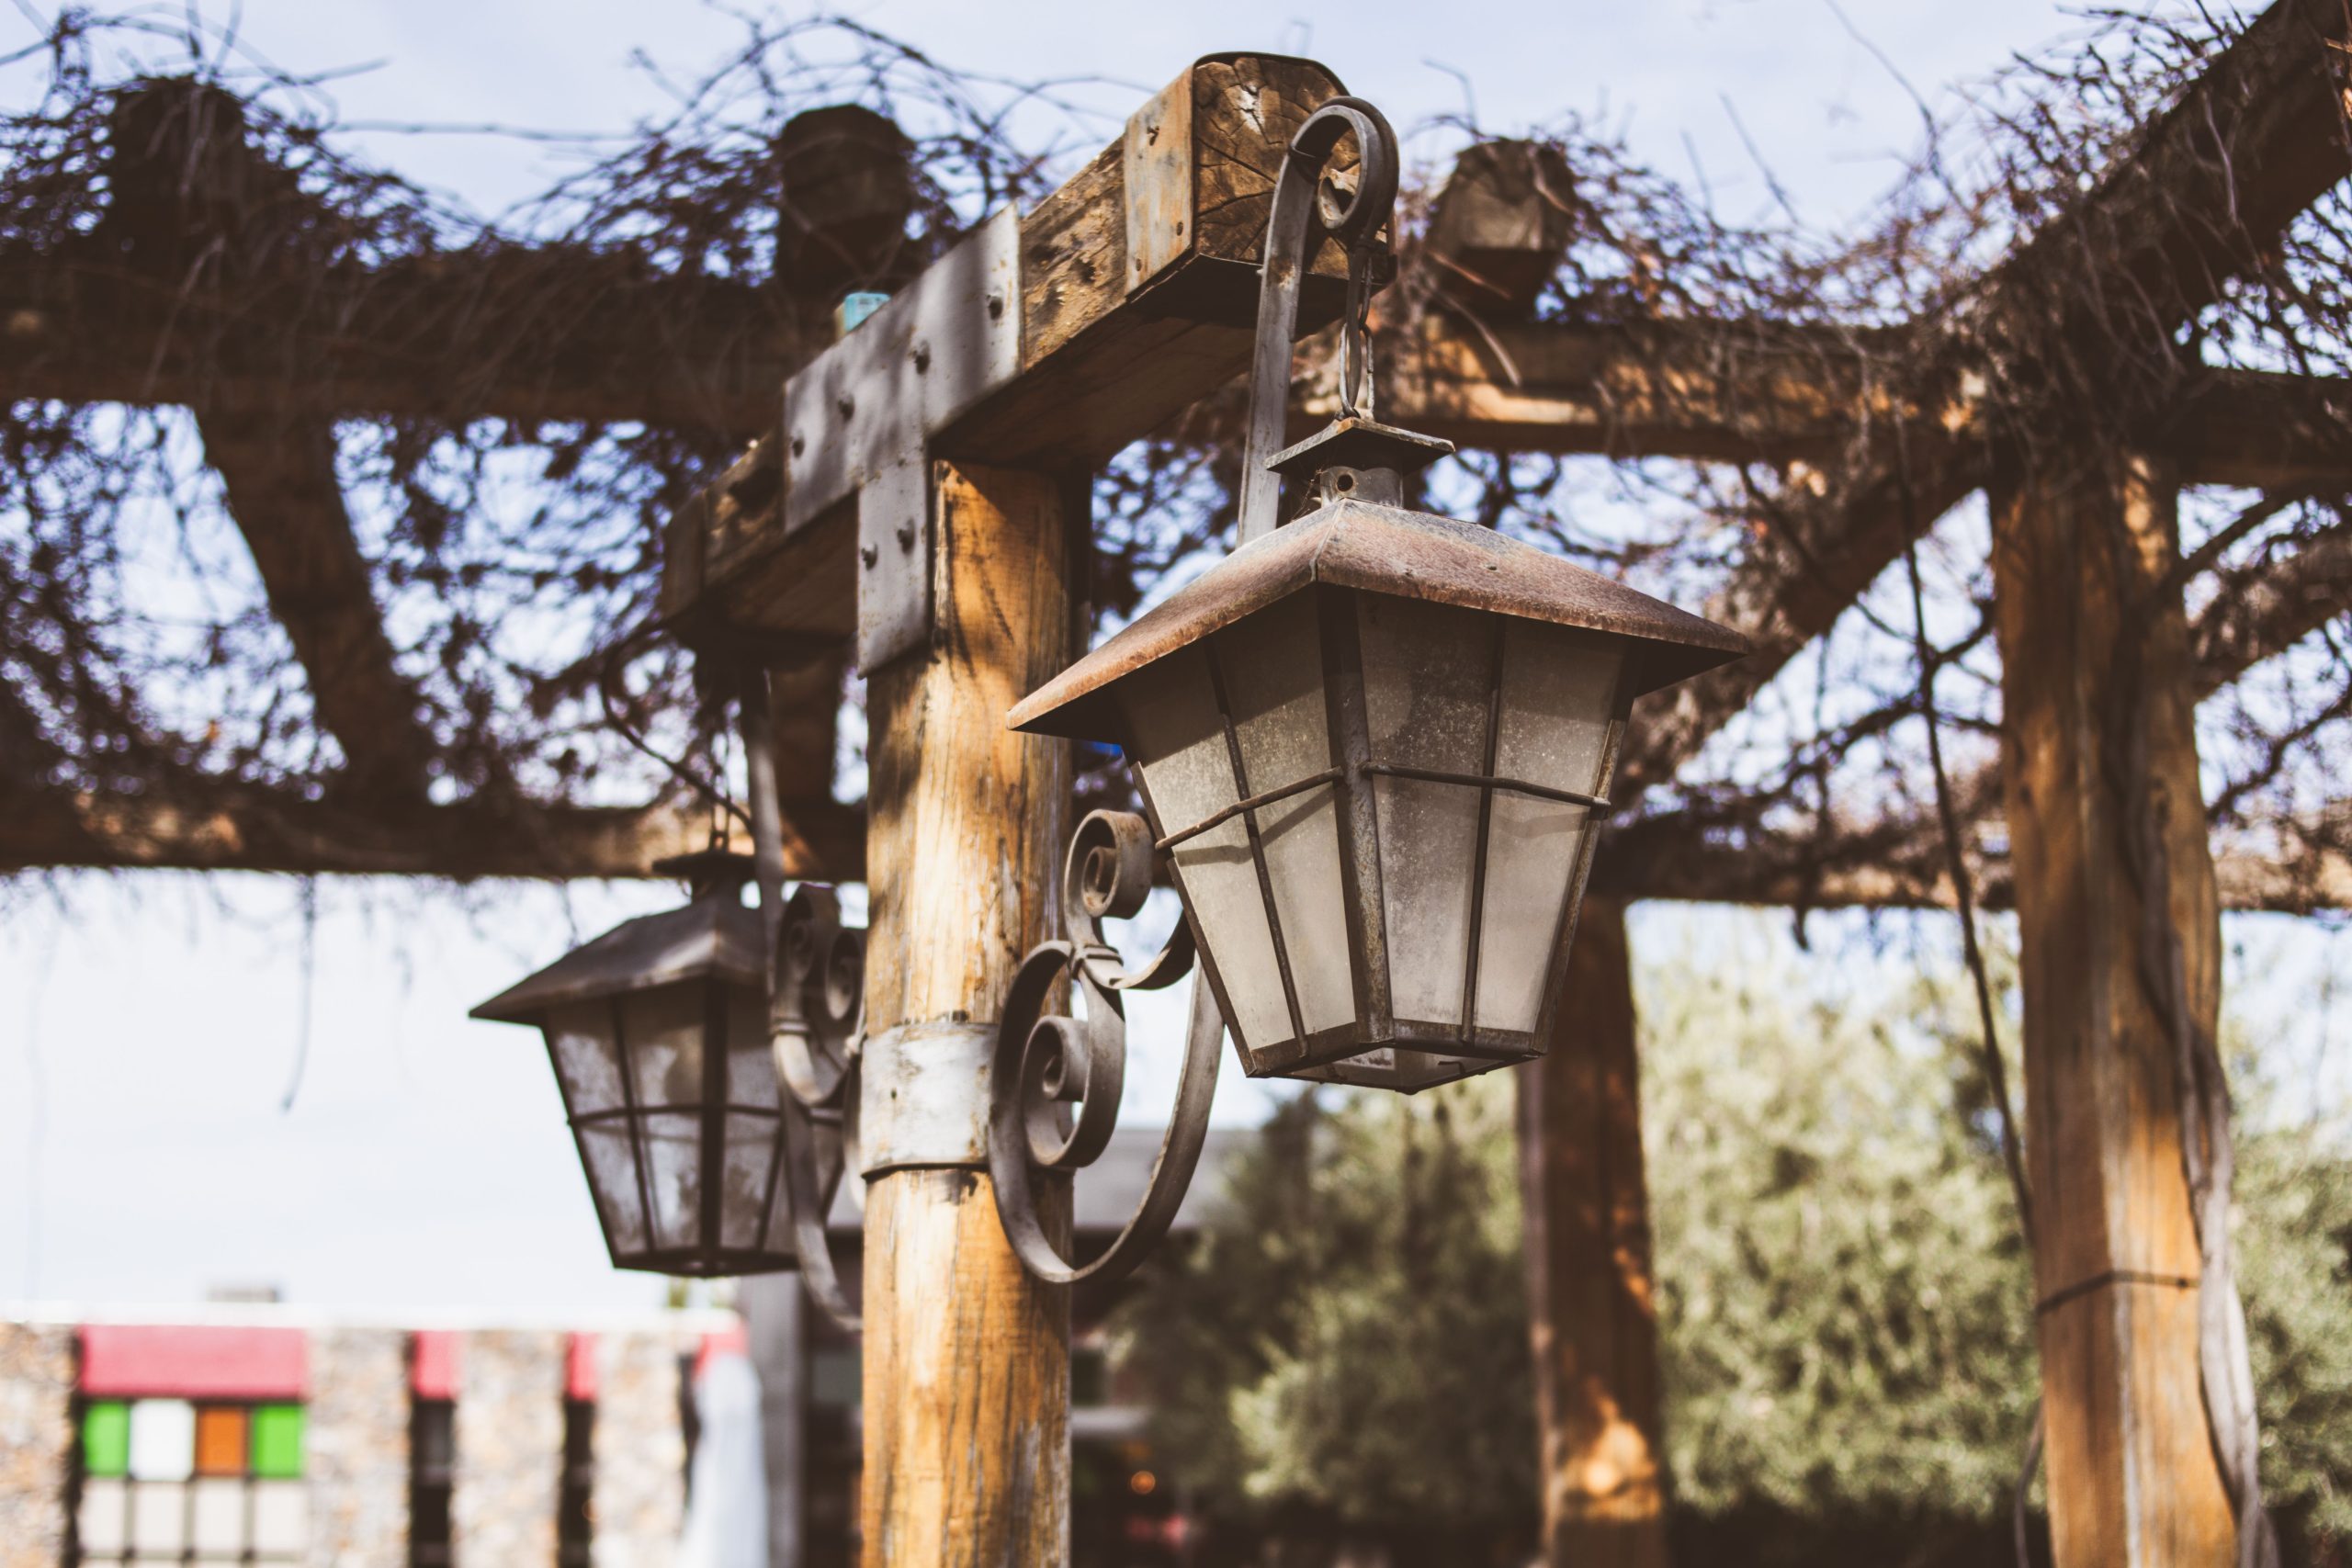
This look is all about substantial, chunky elements. It requires a structure with some heft, like a pergola or pavilion built with beams that are at least 6×6 inches thick. The lanterns themselves should also be generously sized—at least 18-24 inches tall. Hanging small, delicate lanterns from a massive wooden structure would look laughably out of scale. This idea is best suited for defining the ‘rooms’ within a large outdoor space, like a dining or seating area. It’s less of a fit for a narrow side yard or a small entryway, which might benefit more from the single hanging lantern in Idea #17.
9. Antique-Inspired Cast Iron Lantern with Amber Glass
This design is successful because it masterfully plays with light quality and perceived history. The amber glass panels are key; they instantly warm up the light from any bulb, casting a soft, golden, candle-like glow that feels historic and inviting. The decorative scrollwork on the cast iron adds a layer of intricate detail that suggests craftsmanship from a bygone era. Paired with the distressed wooden post, the entire assembly feels like it has a story to tell.
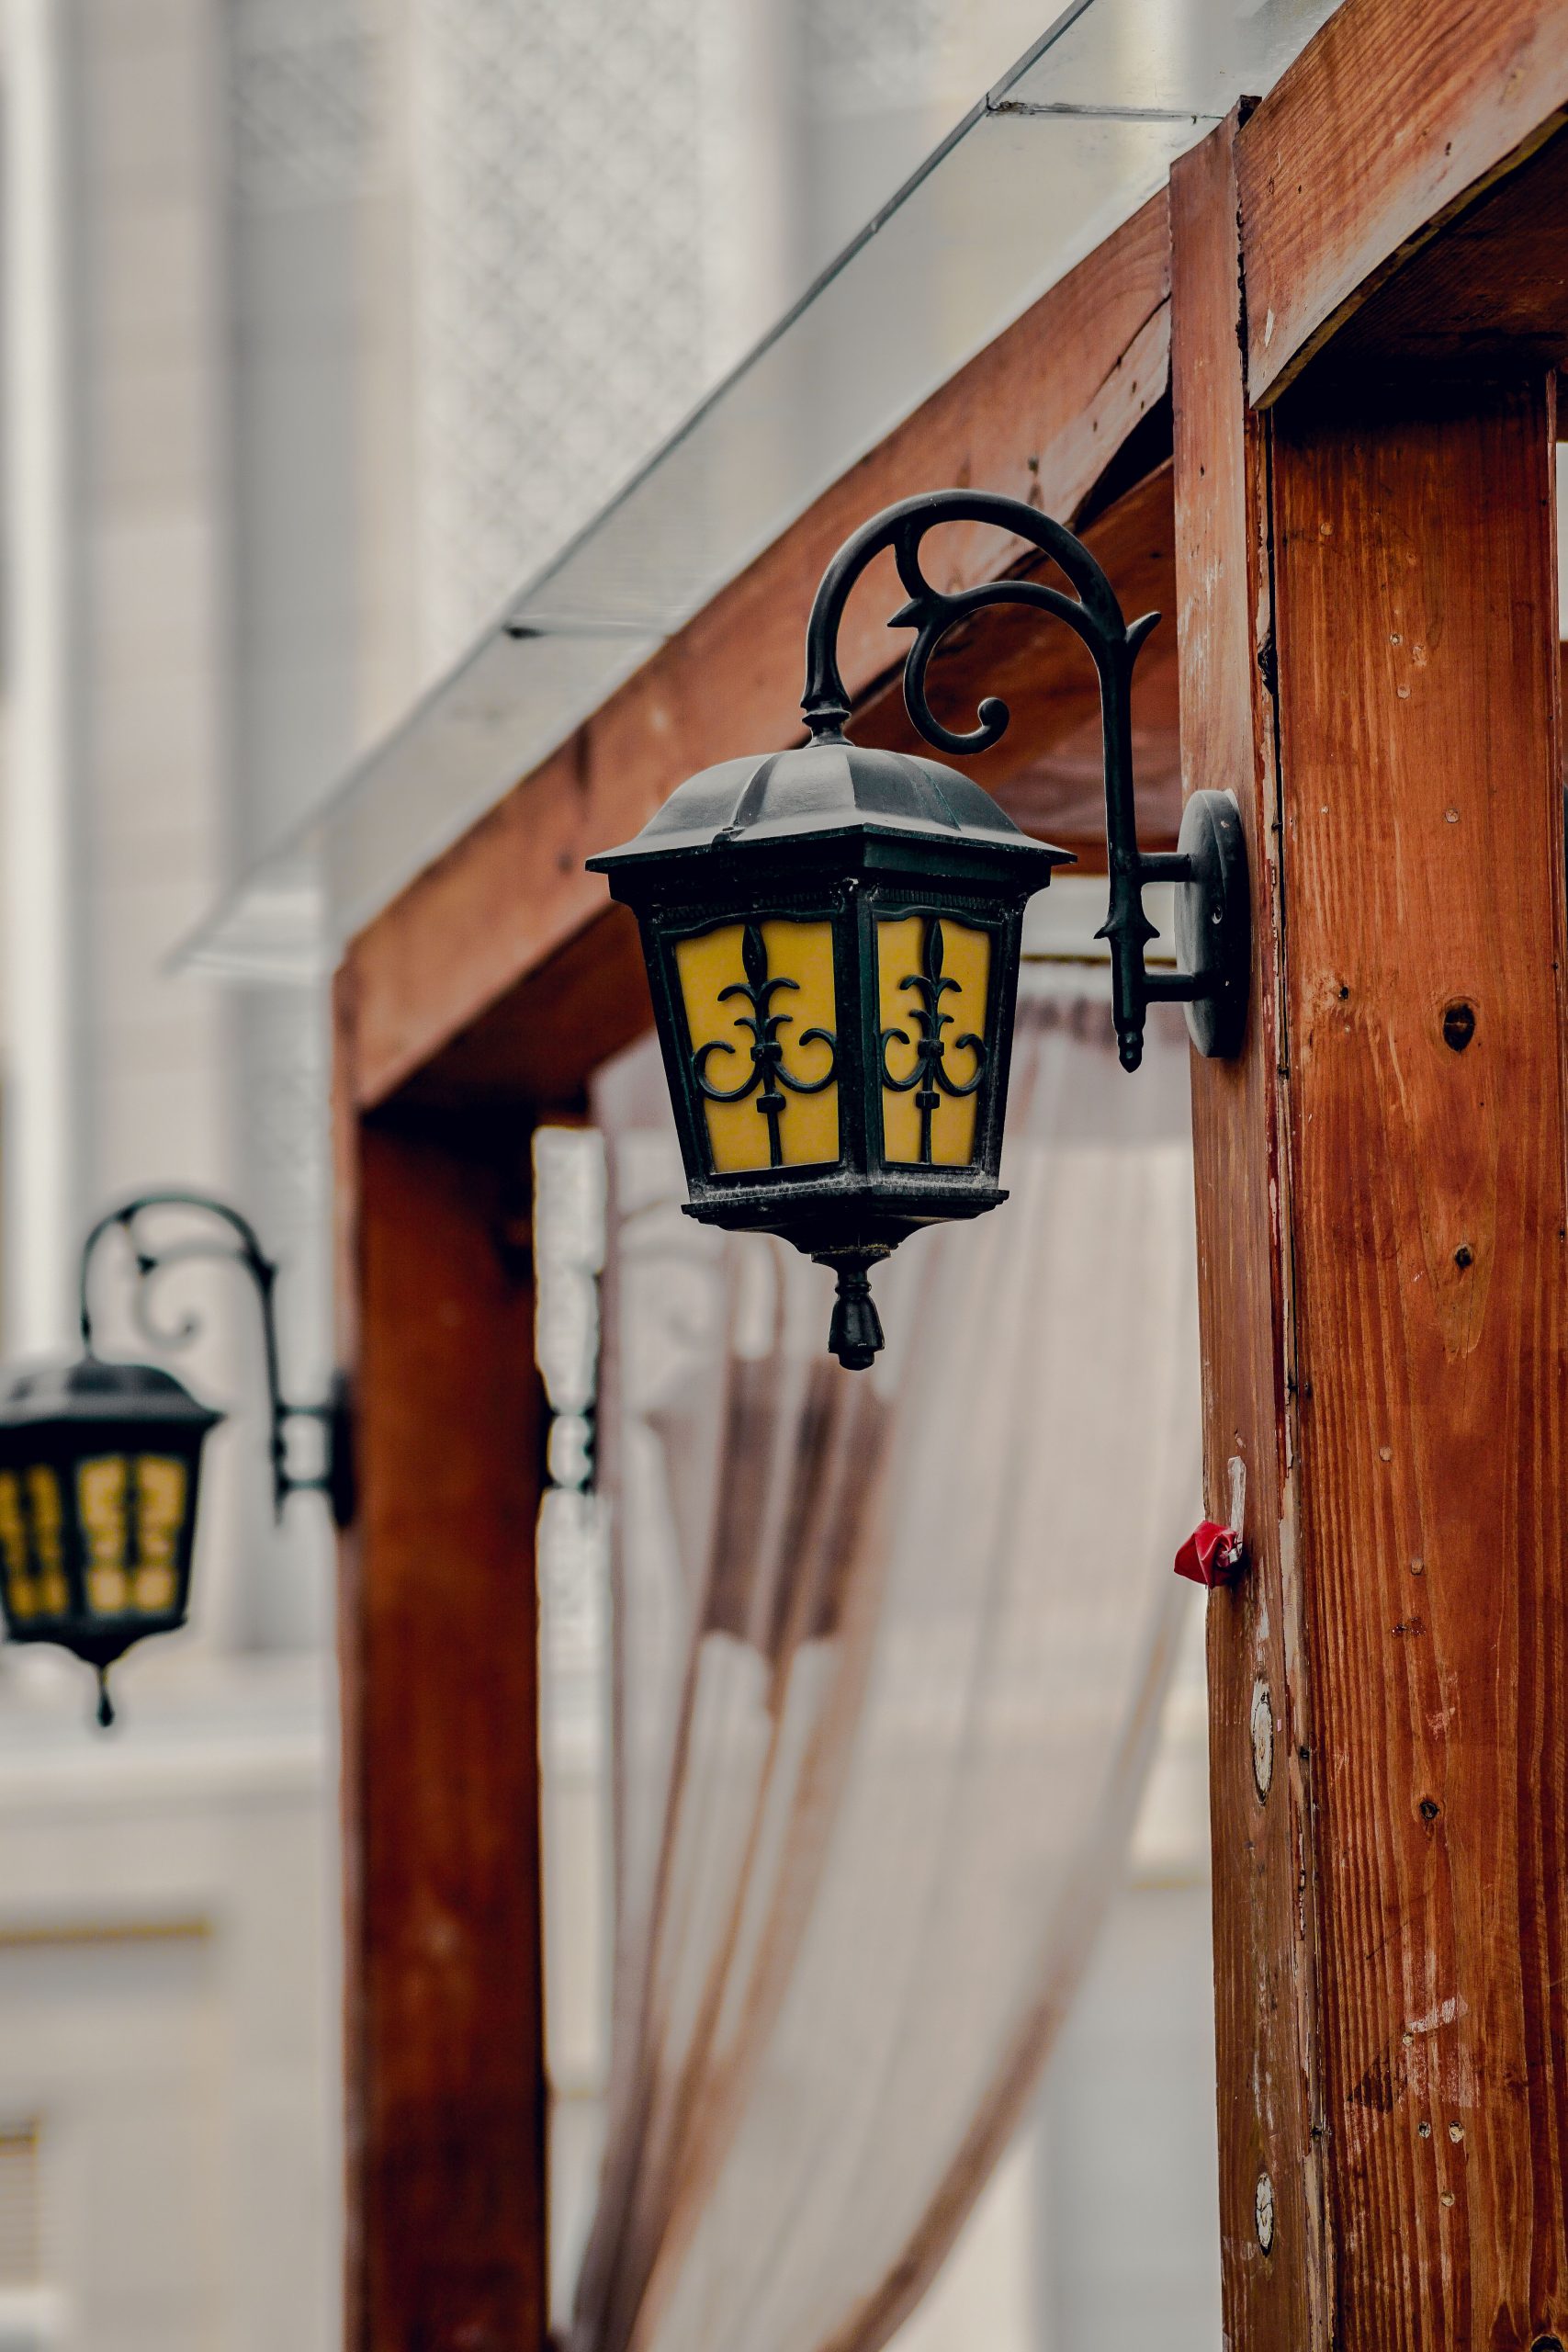
As our lives become more digital and streamlined, there’s a growing desire for objects with texture, history, and a sense of permanence. This is why antique-inspired and ‘new-stalgic’ designs are trending so heavily on Pinterest. People are looking to create spaces that feel layered and personal, not sterile and mass-produced. A light fixture like this isn’t just a functional object; it’s a character piece that adds a soulful, timeless quality to an outdoor space.
10. Simple Black Farmhouse Lantern on White Siding
The combination of black metal and white siding is a maintenance magnet for one specific, annoying thing: spider webs. Spiders are attracted to light and the contrast makes their handiwork incredibly visible. You’ll want to keep a long-handled duster or a broom specifically for outdoor use near the door. A quick swipe every week or two during the warmer months is all it takes to keep this classic look sharp and clean. Also, expect some minor rust spots on lower-quality fixtures after a few seasons; these can be easily touched up with rust-resistant paint.
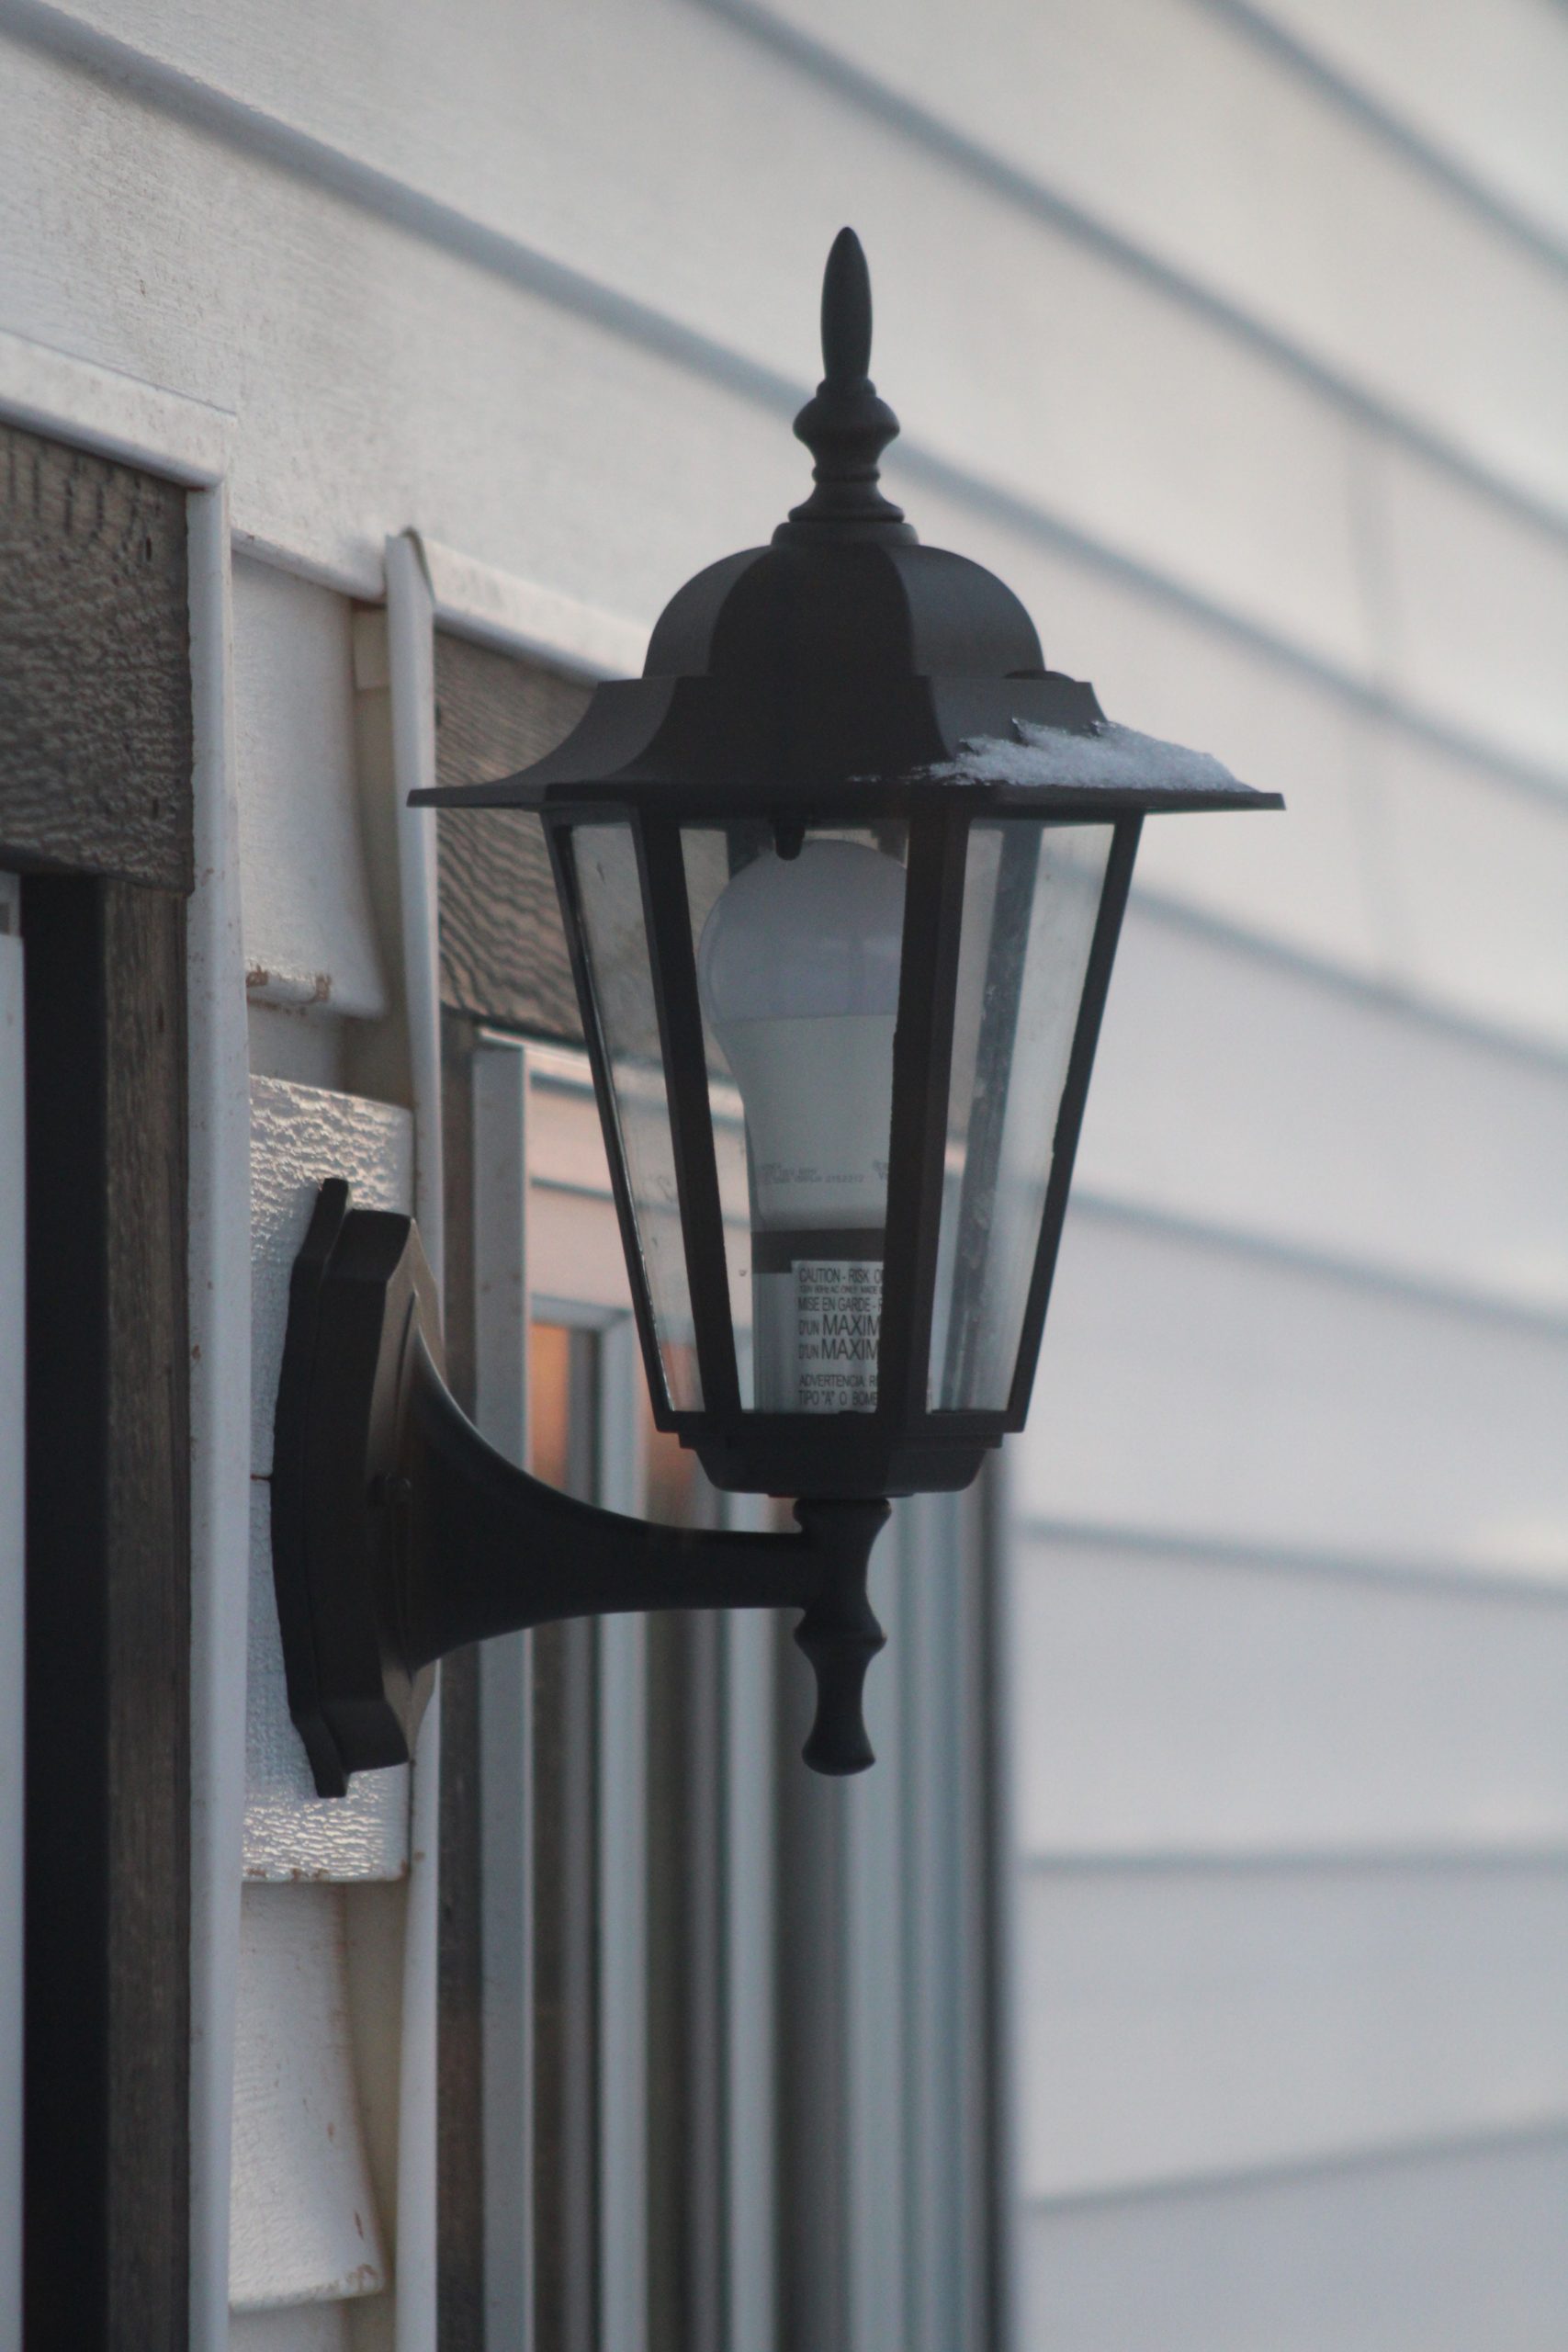
The key to this entire look is contrast. It’s the crisp, graphic quality of the black geometric lantern against the clean, bright white of the siding that makes it pop. If you were to put this same black lantern on a dark brown wall or a busy brick facade, it would lose almost all of its visual impact. The simplicity of the pairing is its strength. This is a testament to the power of a limited color palette and clean lines in design.
11. Sleek and Modern Black Outdoor Wall Sconce
The formula for this modern rustic look is about stripping away excess: 70% clean geometry + 30% traditional reference. The fixture’s sharp angles, minimal frame, and simple backplate are purely modern. The 30% rustic influence comes from the lantern *shape* itself—a subtle nod to classic, old-world candle lanterns. By keeping the materials simple (matte black metal) and the form clean, the design feels fresh and current, not like a cheap imitation of an old-fashioned light.
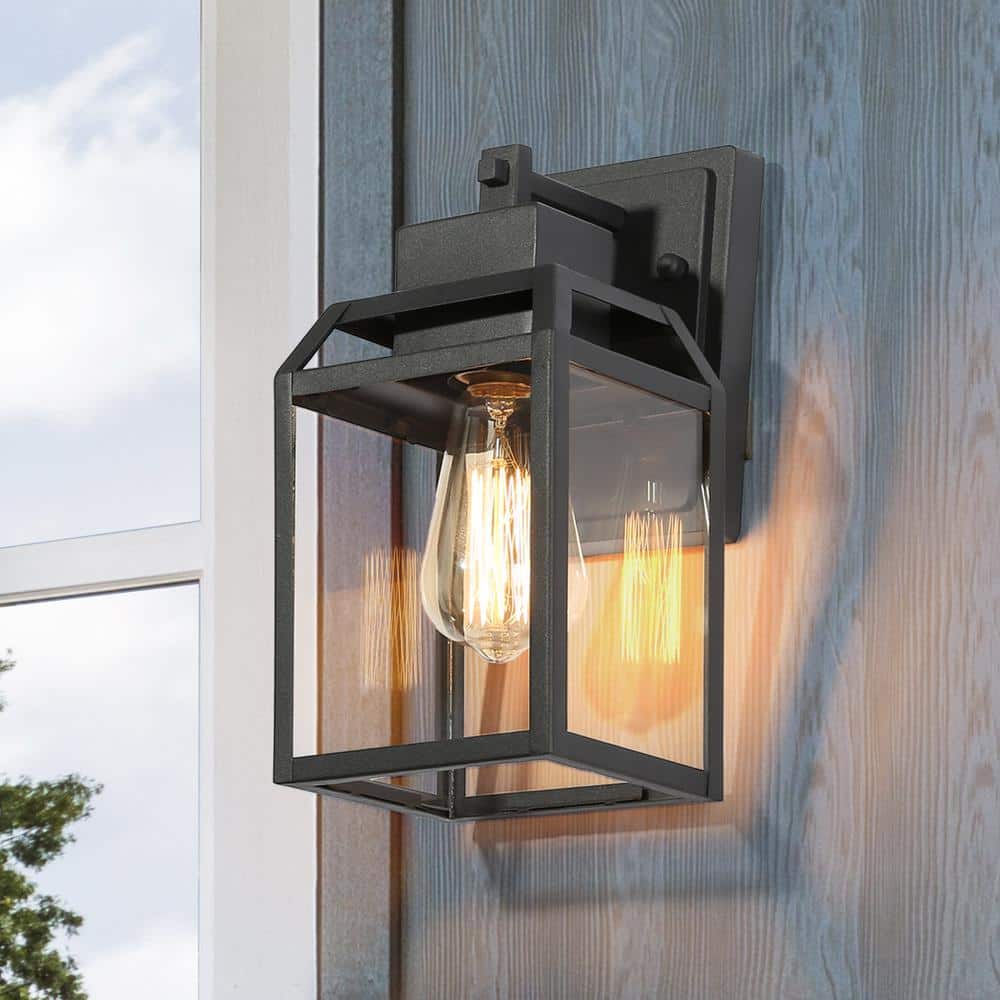
When selecting a modern fixture, pay close attention to the direction of the light. Many minimalist designs are ‘dark sky friendly,’ meaning they cast light downwards to reduce light pollution. This is fantastic for creating ambiance and being a good neighbor, but it means you won’t get a lot of ambient, space-filling light. If you need to illuminate a larger area, like a full patio, you will need to supplement a sconce like this with other light sources, like landscape lighting or string lights.
12. Classic Weathered Brass Lantern on an Exposed Brick Wall
A genuine solid brass or copper fixture can set you back $500 or more. To achieve this classic, weathered look on a budget, focus on the finish, not the base metal. Look for aluminum fixtures with a high-quality “antique brass” or “weathered bronze” powder-coated finish. These are widely available at retailers like Wayfair or Overstock, often for under $150. The key is to check the reviews for photos in real-world lighting to ensure the finish doesn’t look too shiny or fake. Here are some options:
- Entry-Level (Under $75): Look for ‘builder-grade’ options and upgrade the bulb.
- Mid-Range ($75-$150): Better materials, often aluminum with a decent finish.
- Splurge-Worthy ($200+): Heavier cast aluminum or real brass plating.
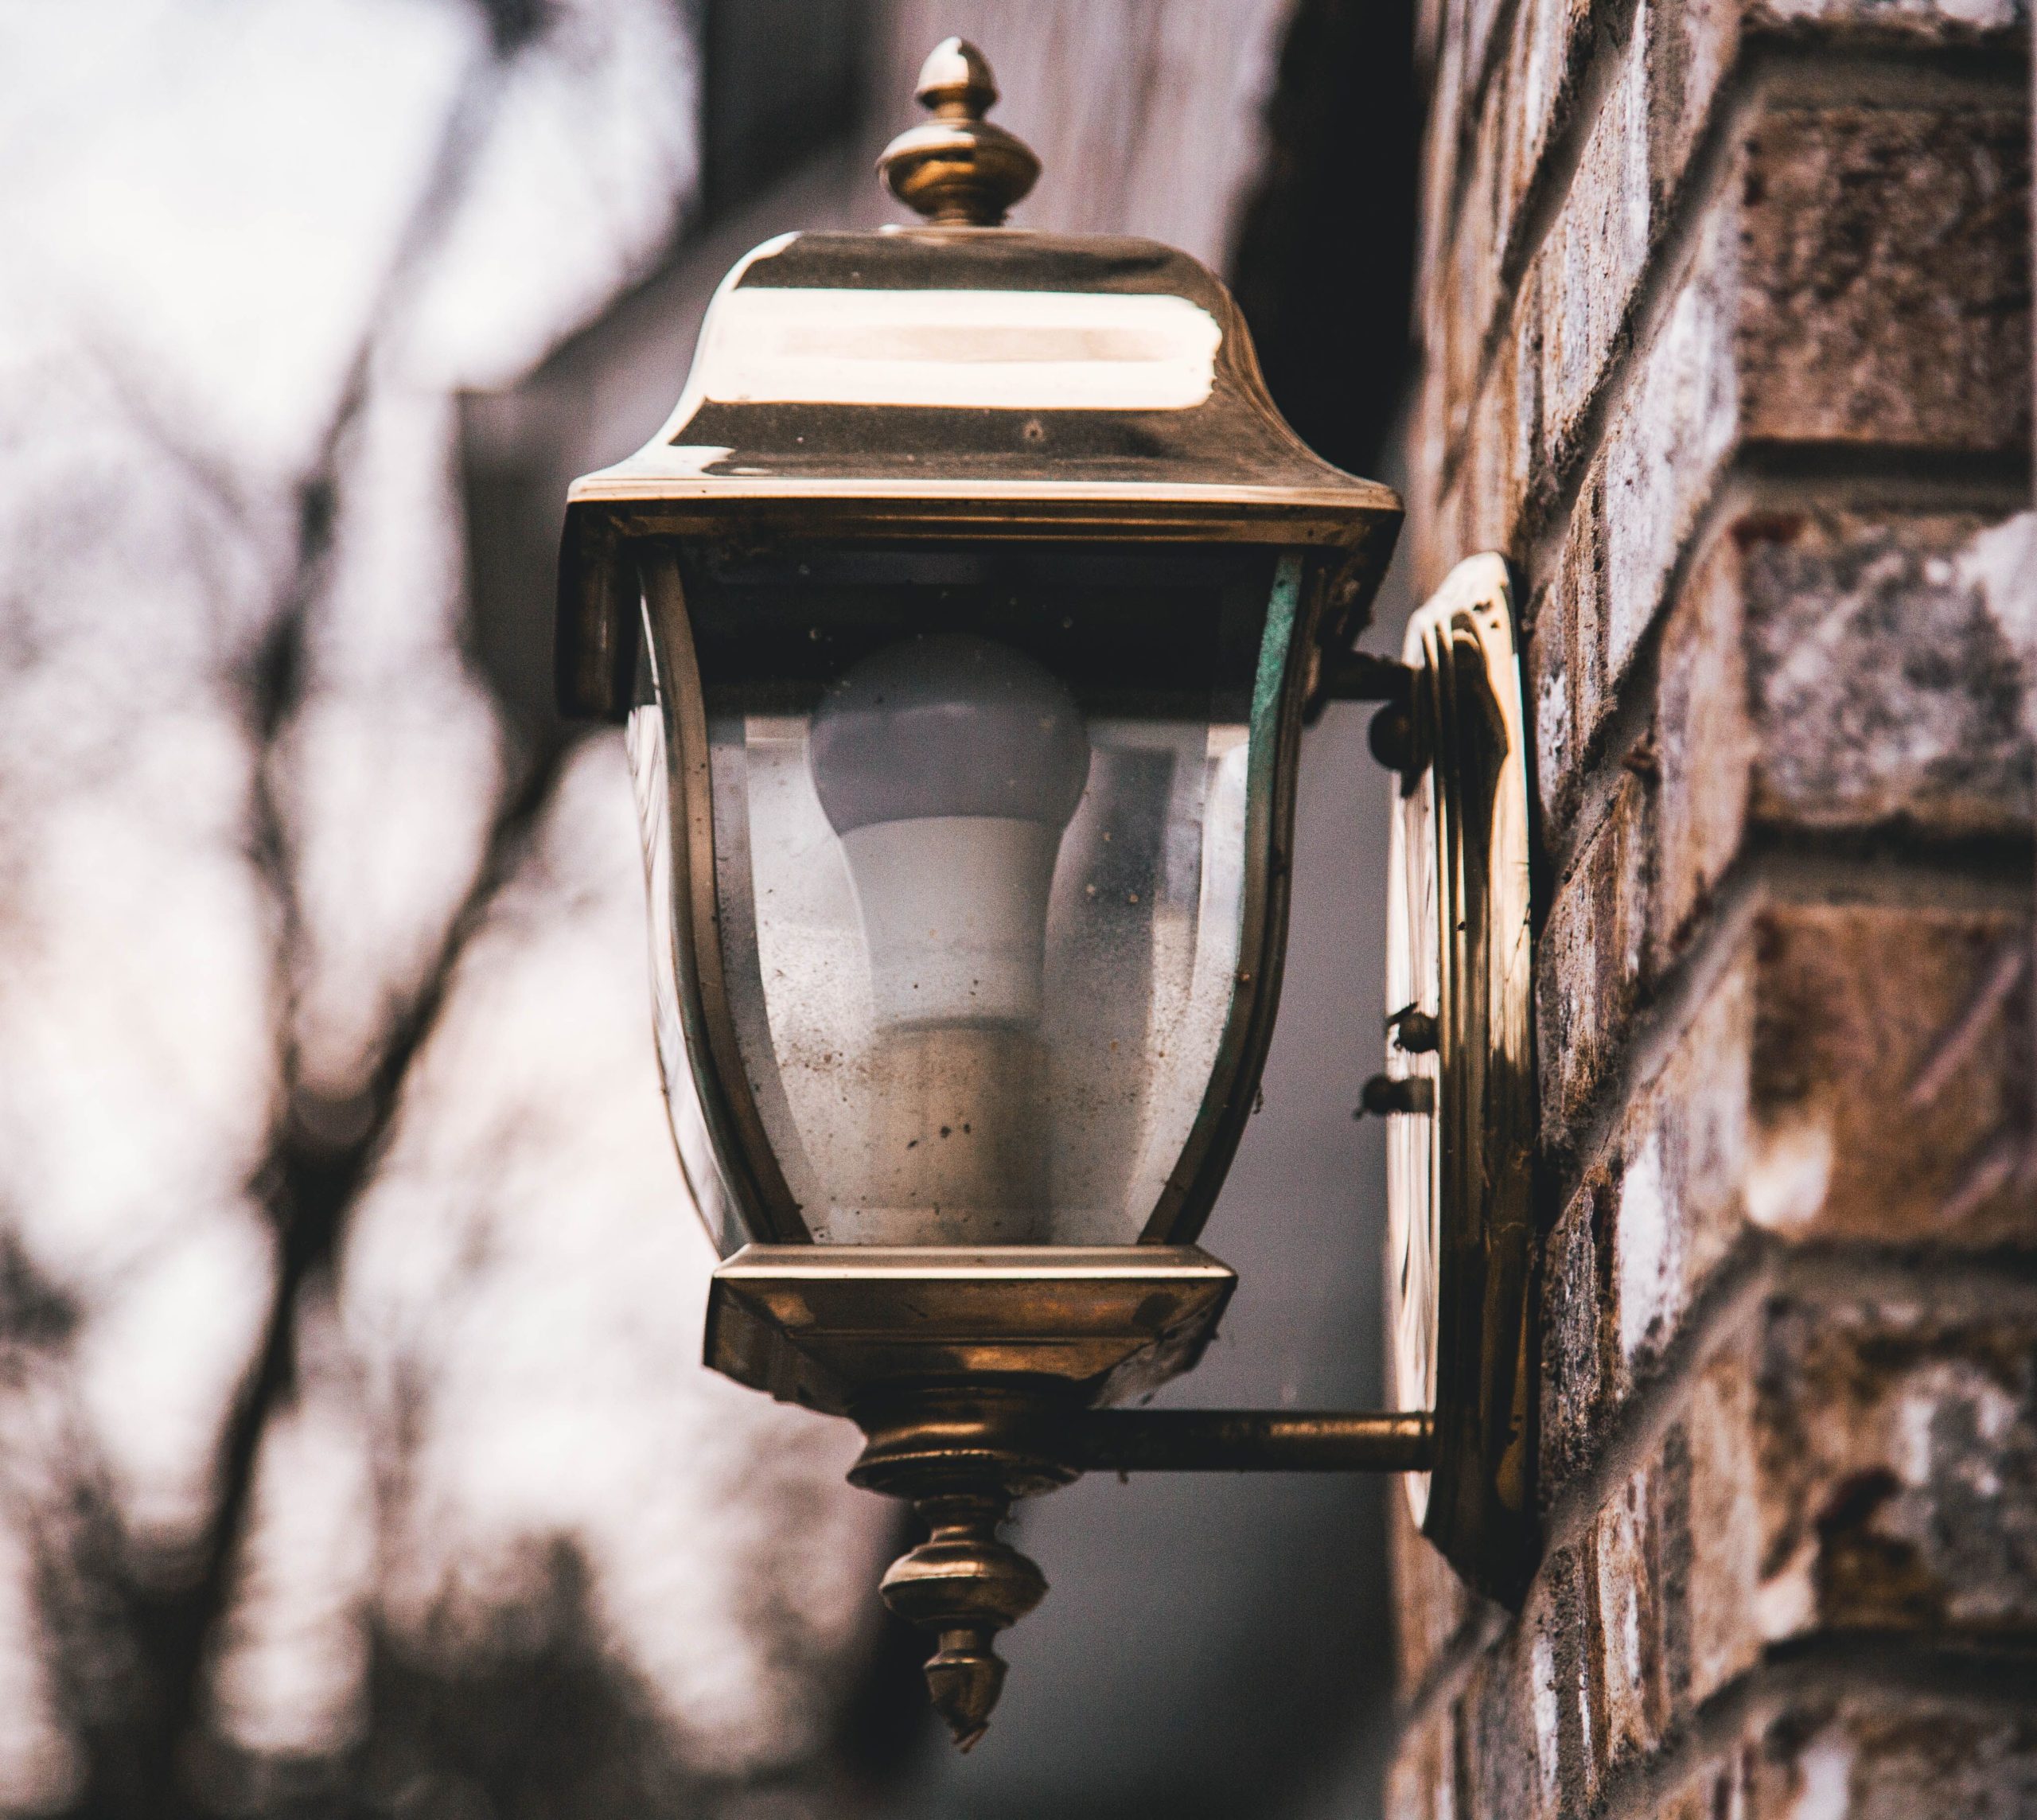
That beautiful tarnish and patina on brass looks incredible, but it’s not a ‘set it and forget it’ situation. On a real brass fixture, salt, pollution, and even bird droppings can cause uneven or aggressive corrosion (the green stuff, verdigris) that can eat away at the metal over time. You’ll want to gently clean it once a year with a soft cloth and a mild soap-and-water solution to keep the patina looking distinguished, not just dirty. Avoid harsh brass cleaners, as they will strip away the aged character you want.
13. Minimalist Industrial Vibe with a Weathered Copper Sconce
This design nails the ‘warm industrial’ aesthetic by perfectly balancing material, form, and light. The cylindrical shape is stark and simple, nodding to industrial pipes, while the weathered copper finish provides a layer of rustic texture and warmth that industrial gray often lacks. The final, crucial element is the downward-cast light, which creates a dramatic, cone-shaped wash on the wall, highlighting the texture of both the fixture and the surface it’s mounted on. It’s a sculpture as much as a light source.
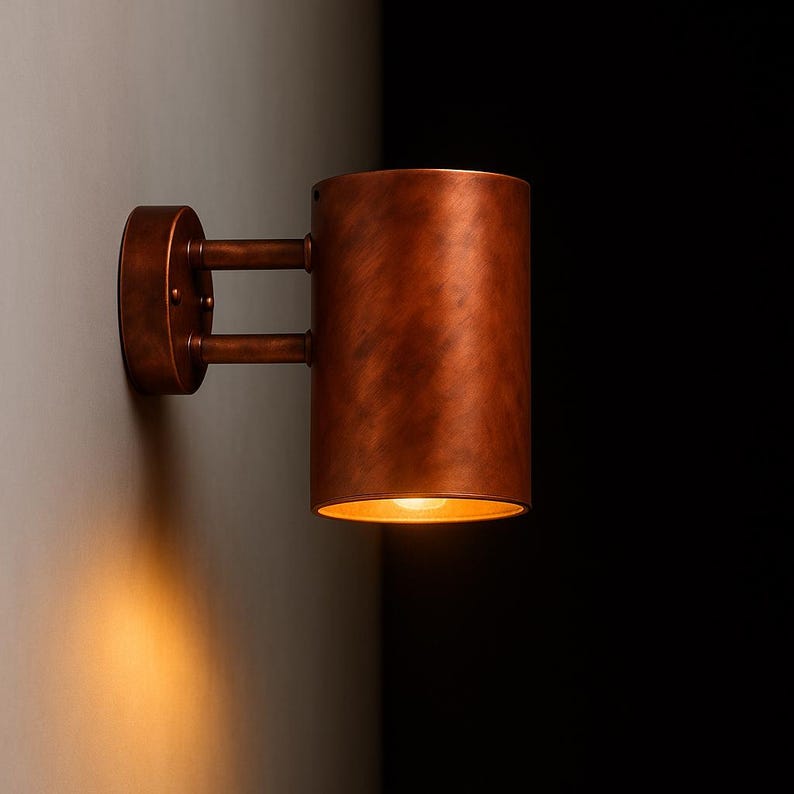
The exposed bulb is the undisputed hero here. If you were to hide the light source behind a frosted lens or a cap, this fixture would lose all of its personality. It would just be a metal tube on a wall. The visible, glowing filament provides the warmth, the focal point, and the ‘life’ of the design. It’s a reminder that in rustic and industrial styles, celebrating the mechanics and the raw components of an object is often the whole point.
14. Statement-Making Tapered Copper Sconce for a Modern Poolside
A large statement sconce like this needs a grand stage. This piece would look best on a tall, uninterrupted exterior wall, ideally with a ceiling height of at least 10-12 feet. It’s designed to be a focal point, so it works beautifully on modern homes with large, clean surfaces. Placing a sconce of this size on a standard 8-foot wall or a cluttered facade would make it feel cramped and overpowering. It’s a perfect choice for entryways, large patios, or poolside structures where you want to make a dramatic impact. For a smaller-scale copper option, see Idea #13.
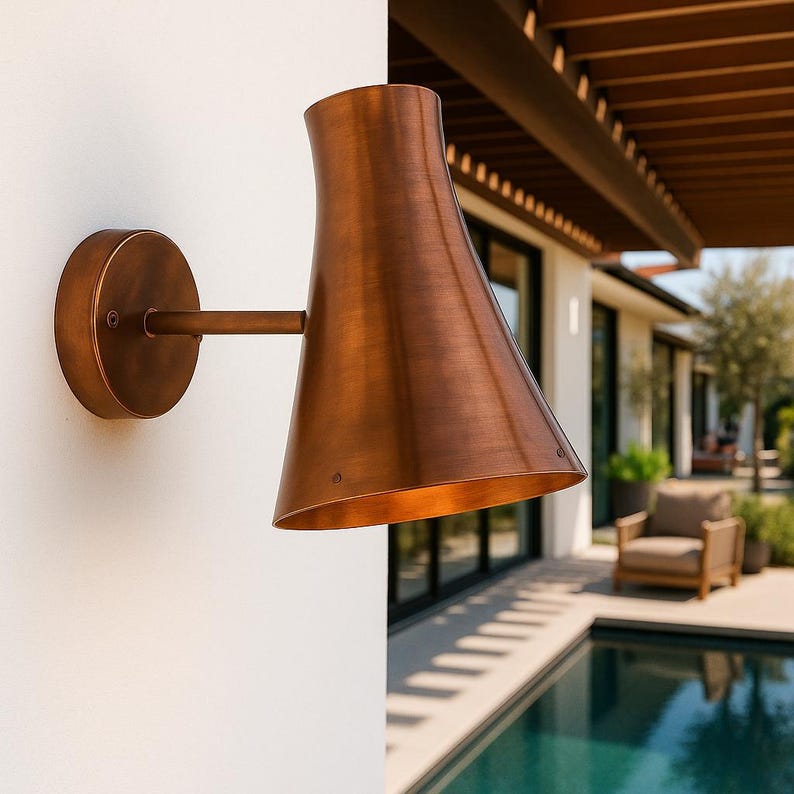
When using large-scale fixtures, the mounting height is critical. A common rule of thumb is to place the center of the light source at about 66-72 inches above the finished floor. However, for an oversized sconce like this, you should mount it higher to match its grand scale. Aim for the center of the fixture to be at 75-80% of the door height if it’s near an entrance, or about 2/3 of the way up a feature wall. This prevents the large fixture from feeling like it’s looming over people’s heads.
15. Modern Farmhouse Lantern with Seeded Glass and Wood Accents
This is modern farmhouse design down to a science. The formula is: 40% clean modern lines + 40% traditional rustic materials + 20% textural detail. The clean, rectangular backplate and frame are pure modernism. The wood-look bands and lantern silhouette are nods to rustic barns and fences. The final 20%—the seeded glass—adds that crucial layer of texture and softness, diffusing the light just enough to create a warm glow and prevent the design from feeling too stark or cold.
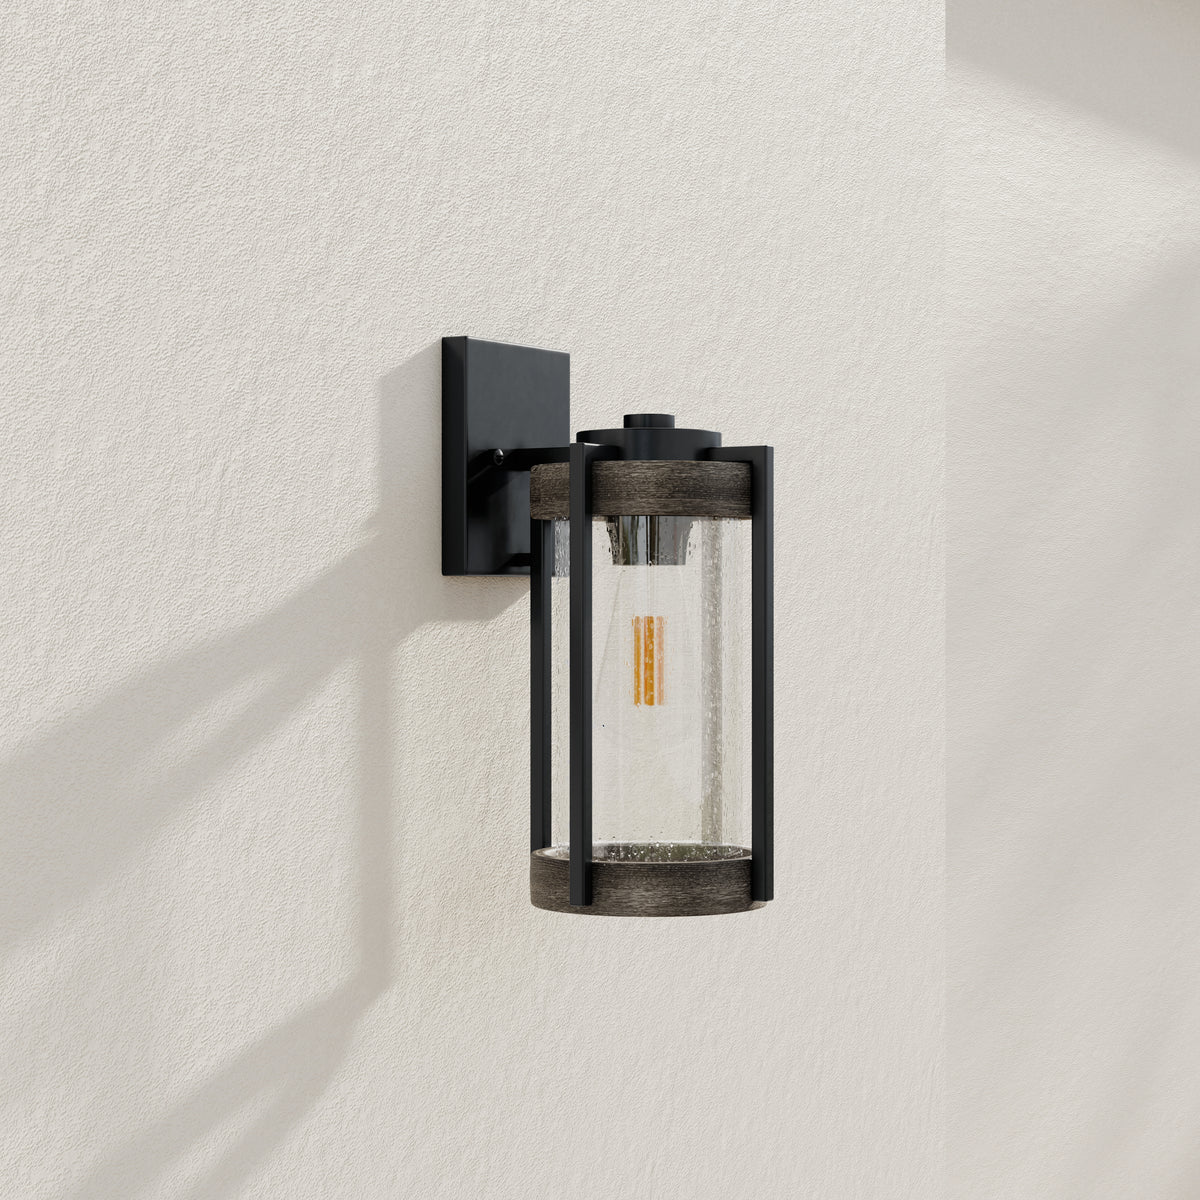
Changing a standard outdoor light to a new fixture like this is a perfect beginner project. Total time: 20 minutes.
- First, kill the power to the light at your home’s breaker box. Double-check that it’s off with a voltage tester if you have one.
- Unscrew the two visible nuts or screws on your old fixture to remove it from the mounting plate.
- Carefully untwist the wire connectors to detach the old light completely.
- Follow the new fixture’s instructions to attach its mounting plate to the wall and connect the wires (usually black to black, white to white, and green/copper to the ground screw).
- Secure the new fixture to the mounting plate.
- Install a filament bulb, turn the power back on, and admire your handiwork!
16. Cozy Winter Glow with a Porch Lantern and String Lights
The single element that makes this scene so inviting isn’t the main lantern—it’s the addition of the small, simple string lights. The primary lantern is functional, but the string lights are pure magic. They add a second, softer layer of light and create a festive, celebratory feeling, even in a simple winter scene. Taking them away would leave a perfectly nice porch light, but it would remove all the charm and cozy warmth that makes you want to step into this picture.
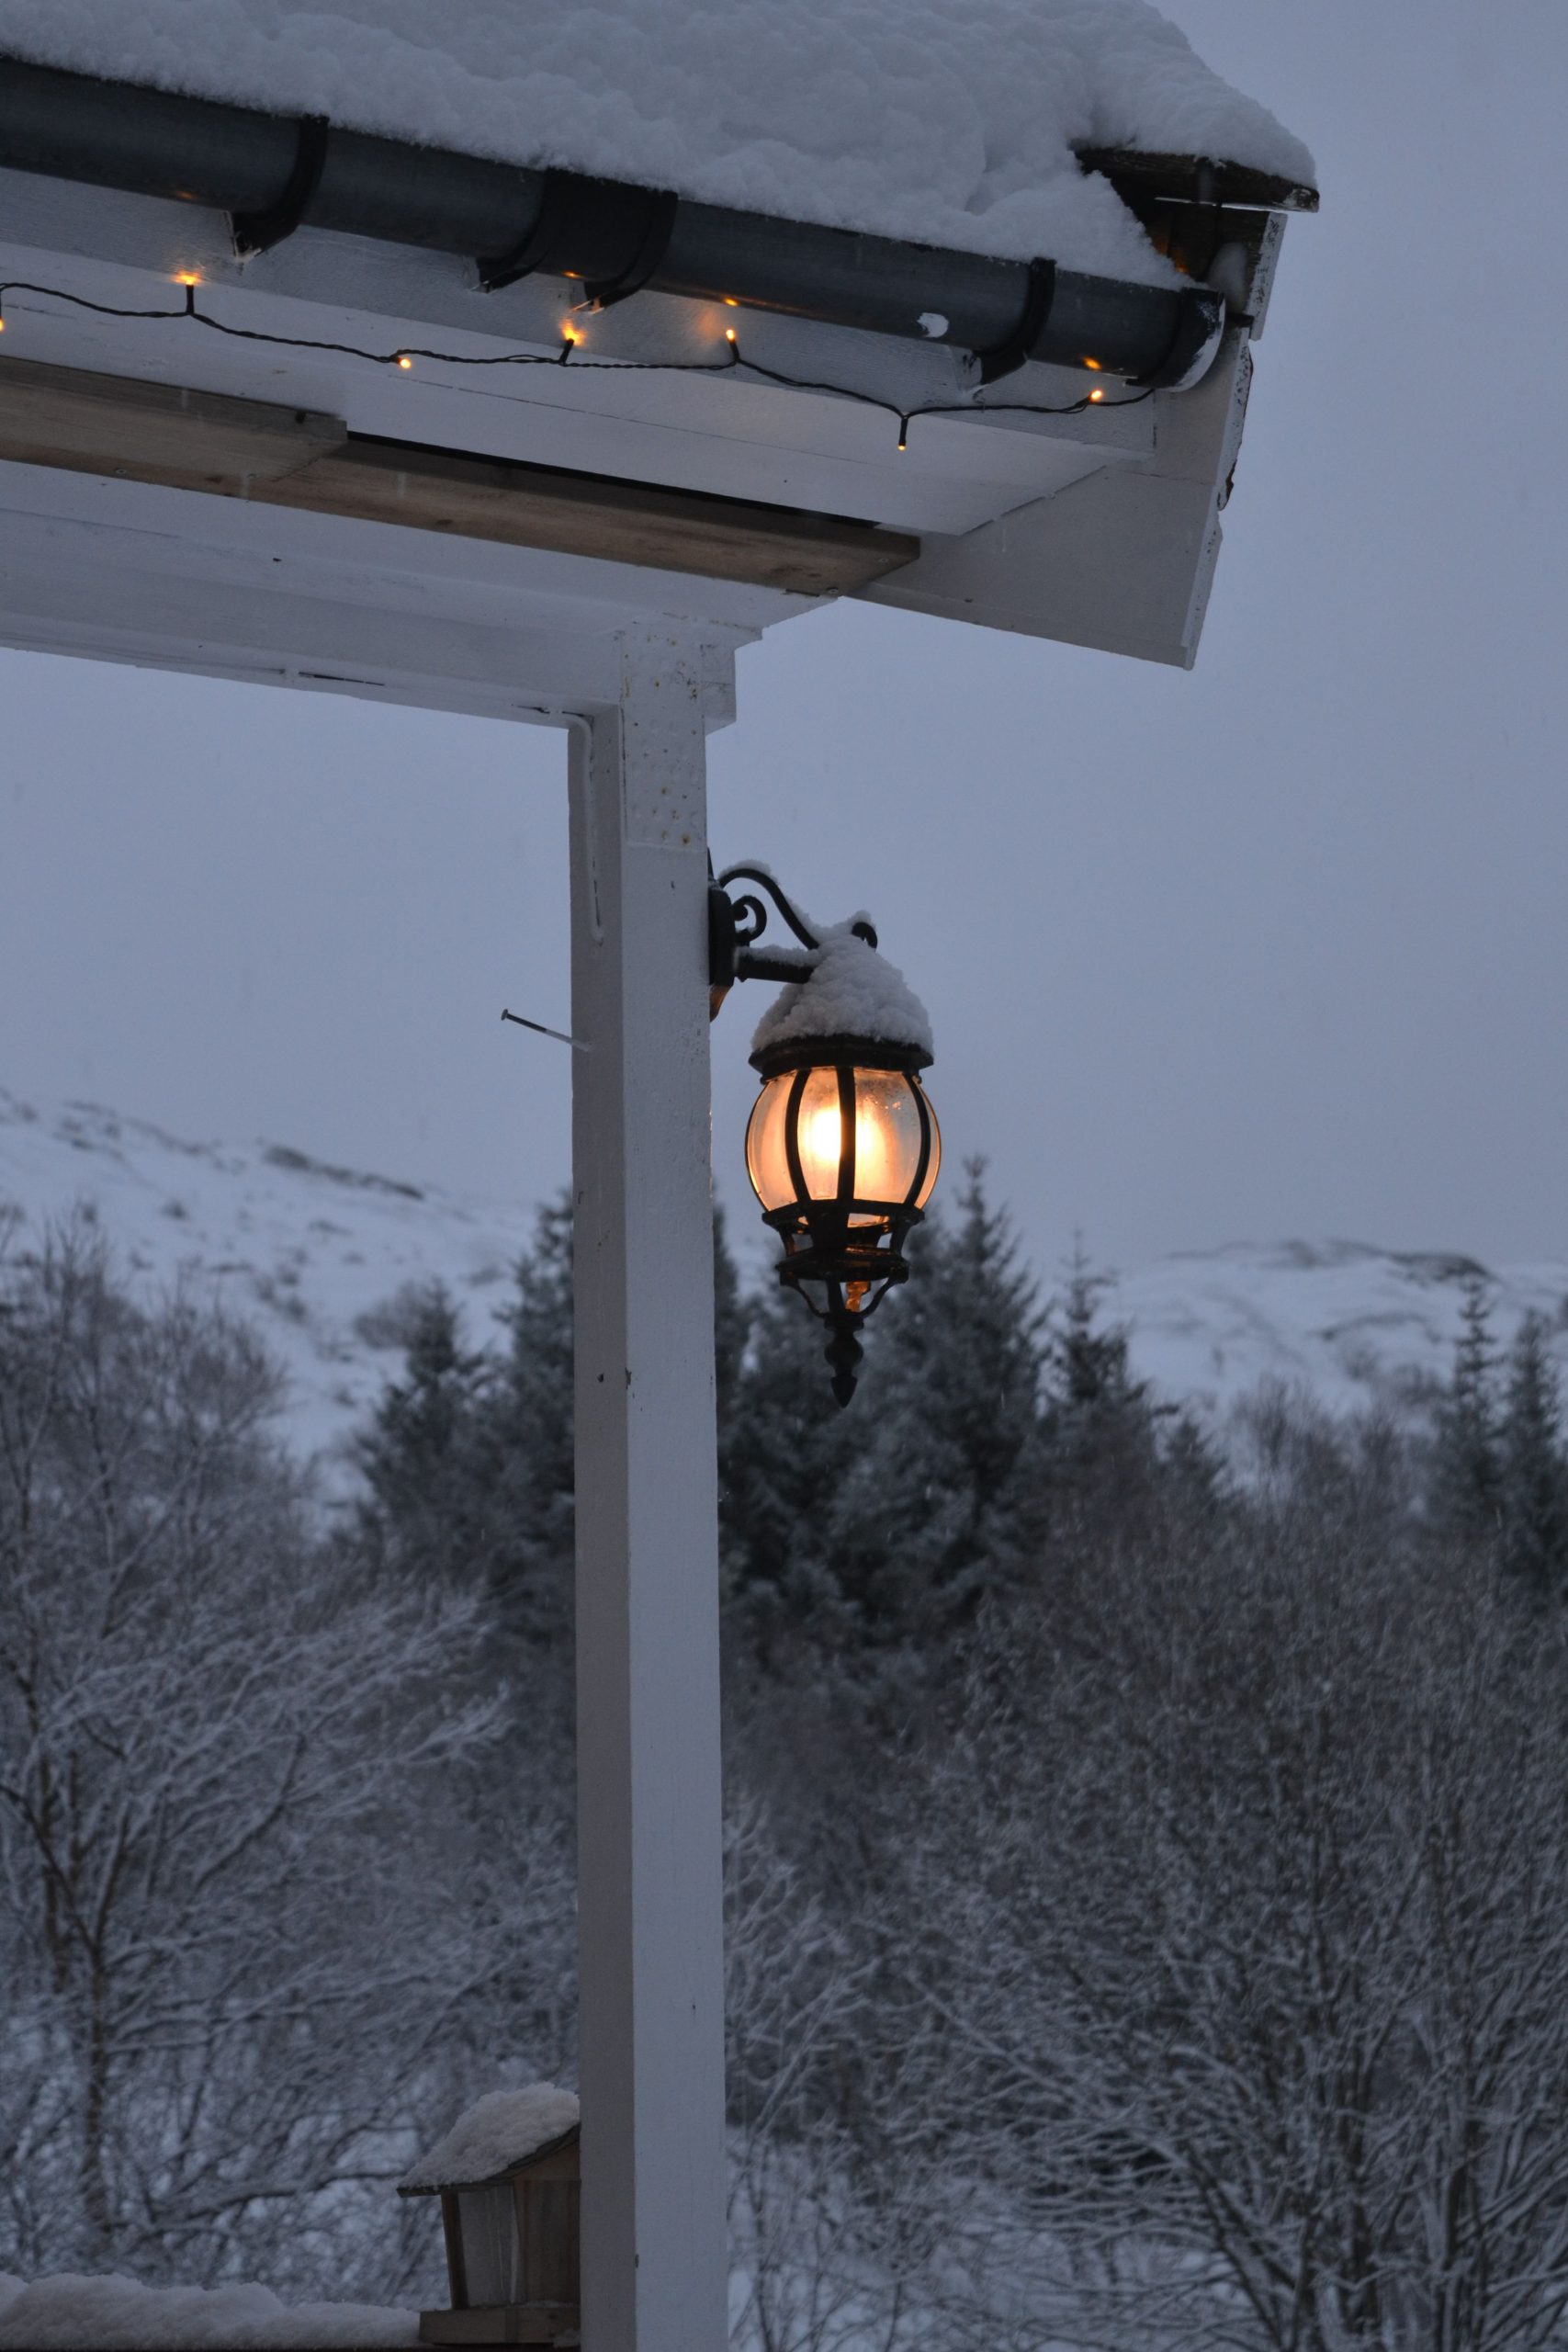
You don’t need a fancy lighting system to create this layered look. A classic black lantern can be found for $40-$60 at Target or Walmart. The real heroes—the string lights—are even more affordable. Look for battery-powered, outdoor-rated ‘fairy lights’ or micro-LED strings, which often sell for $10-$20. Opt for a ‘warm white’ color to get that amber glow. Tucking them along a gutter, railing, or doorway is an incredibly easy and low-cost way to add a huge dose of charm to any outdoor entrance.
17. Evoke a Lodge Feel with a Hanging Lantern and Exposed Beams
This look is a masterclass in creating a cozy, shelter-like feeling. The dark wooden beams of the roof structure are essential, providing a sense of enclosure and rustic substance. The single hanging lantern acts as a focal point, like a campfire, drawing you in with its warm glow. The visibility of the raw electrical wiring is a deliberate choice, leaning into a utilitarian, slightly unpolished aesthetic that is central to an authentic rustic or lodge style. The animal horns are the final touch, cementing the ‘great outdoors’ theme.
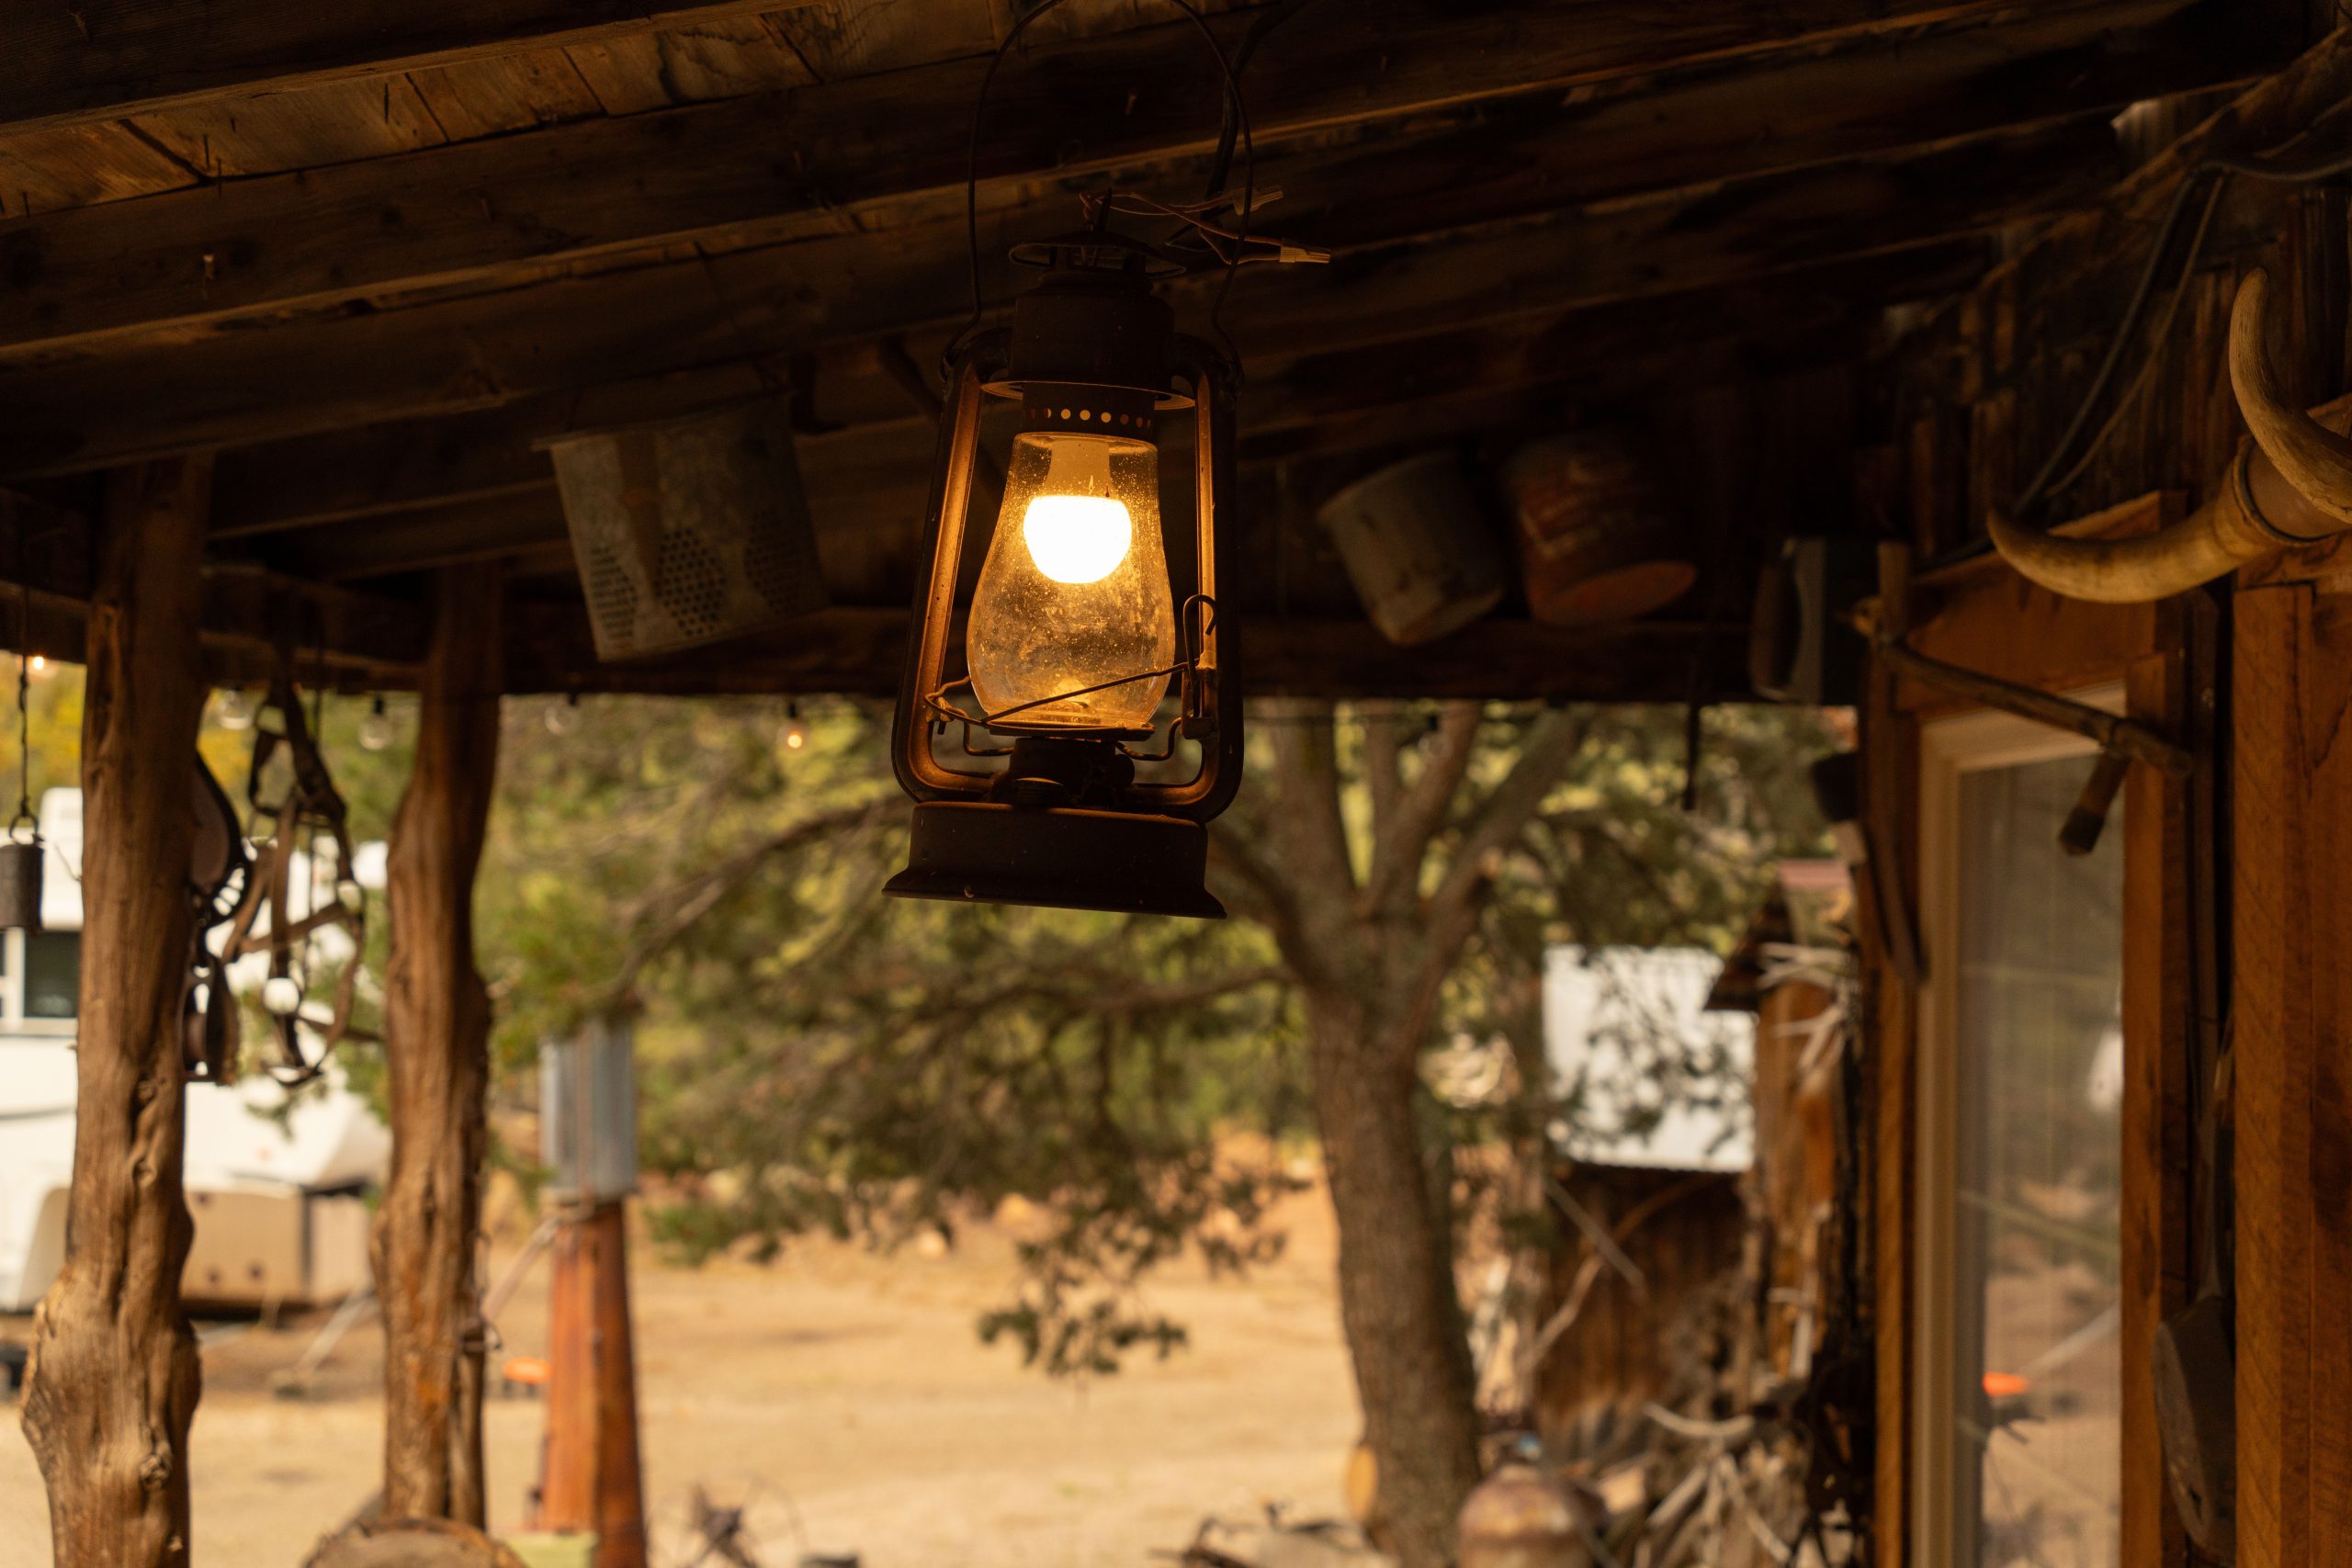
This approach is specifically for covered outdoor spaces, like a deep porch, a verandah, or a pavilion. You need an overhead structure to hang the light from and to create that enclosed, room-like feel. The ideal ceiling height is between 9 and 12 feet. This allows the lantern to hang low enough to create intimacy (around 7-8 feet off the floor) without becoming a hazard. For an open-air space that needs a strong vertical element, the post-mounted light in Idea #2 would be a better choice.
18. Create Moody Ambiance with a Weathered Hanging Lantern
Achieving this moody, atmospheric look requires a commitment to low light. This isn’t the kind of fixture you use to brightly illuminate a whole patio for a dinner party. Its purpose is to create a small, intimate pool of warm light, leaving the surrounding areas in shadow. If you try to ‘fix’ this by putting an ultra-bright, cool-white bulb inside, you’ll shatter the entire vintage, mysterious vibe. You have to embrace the dimness and appreciate the shadows as part of the design. This makes it perfect for a quiet seating nook, but poor for a high-traffic stairway.
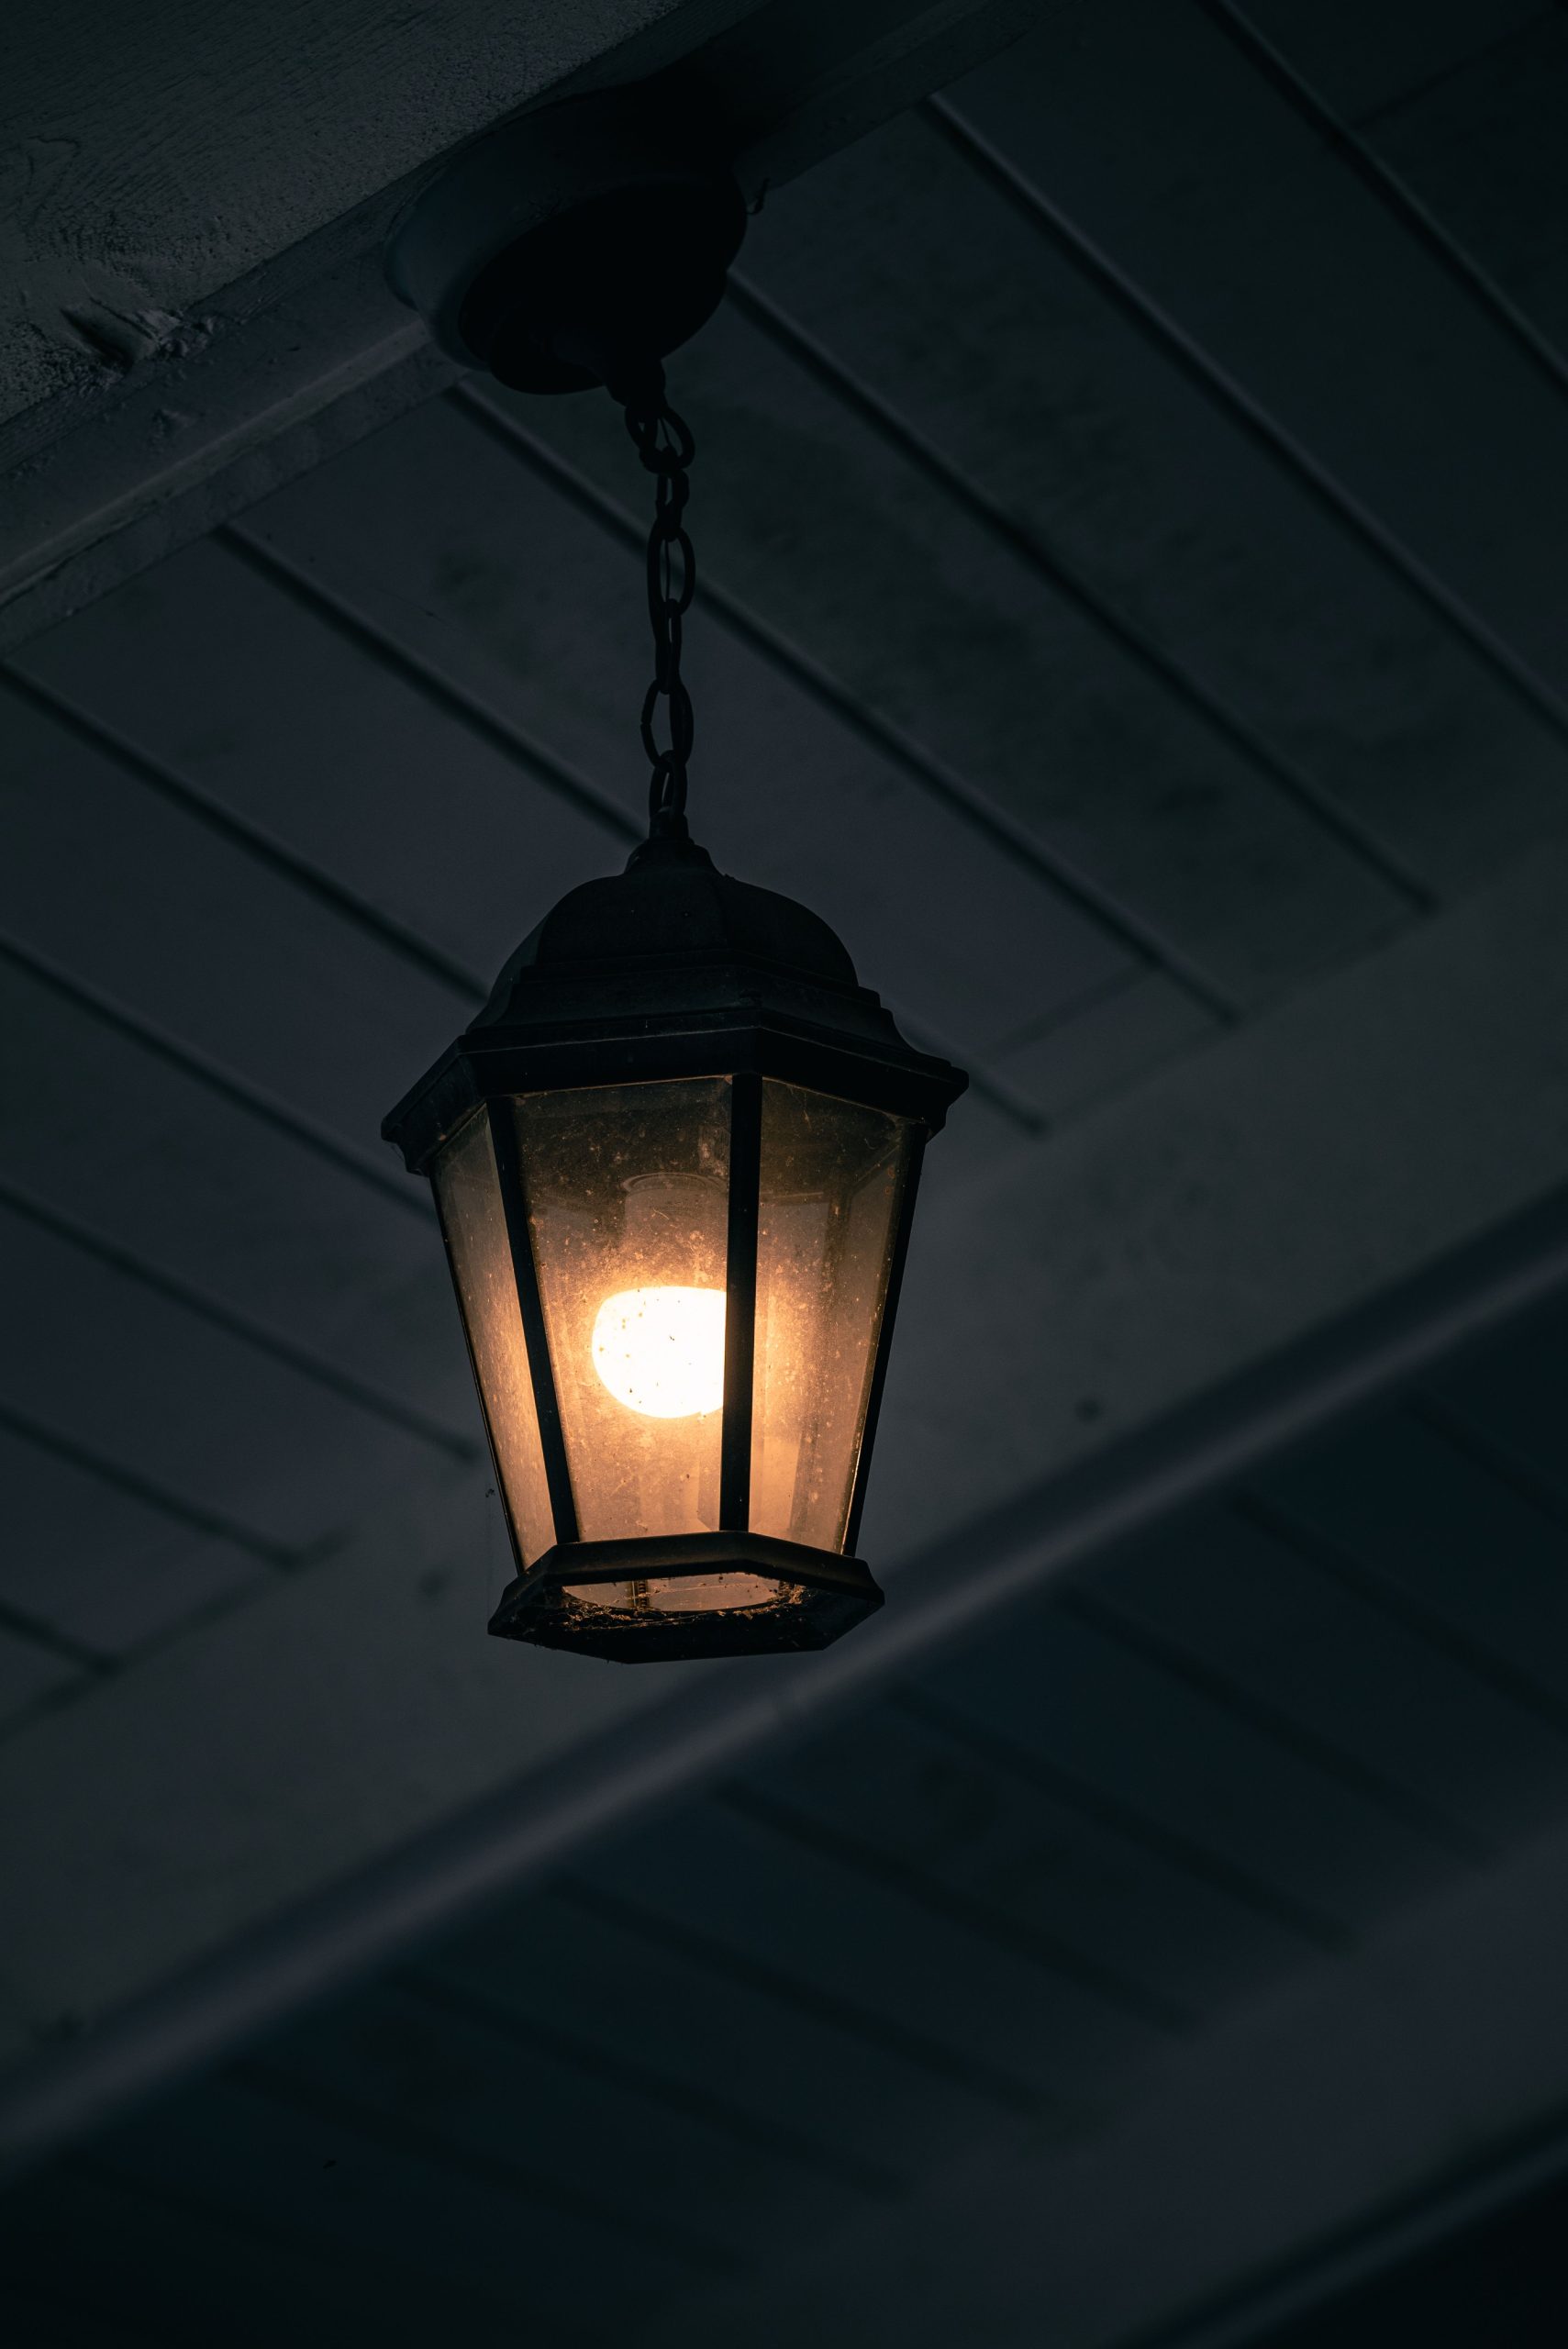
The move toward ‘dark academia’ and ‘moody maximalism’ isn’t just for interiors anymore. People are starting to apply the same principles to their outdoor spaces, creating cozy, atmospheric nooks that feel like a secret escape. This trend is a reaction against the brightly-lit, all-white-and-gray minimalism that dominated for years. A weathered lantern that casts a warm, dim light, like the one here or in Idea #19, is the perfect outdoor accessory for this more romantic, introspective design movement.
19. Bohemian Magic with Woven Globe Lanterns in Tree Branches
To hang lanterns like this securely without damaging your tree, use wide (1-2 inch) nylon webbing straps instead of thin rope or wire. Wrap the strap around a sturdy branch, and use a carabiner or S-hook to attach the lantern’s cord to the strap. The wide strap distributes the weight and prevents the cord from cutting into the bark over time. For a more permanent installation, you can use tree-safe eye bolts, but be sure to install them correctly to allow for future tree growth.
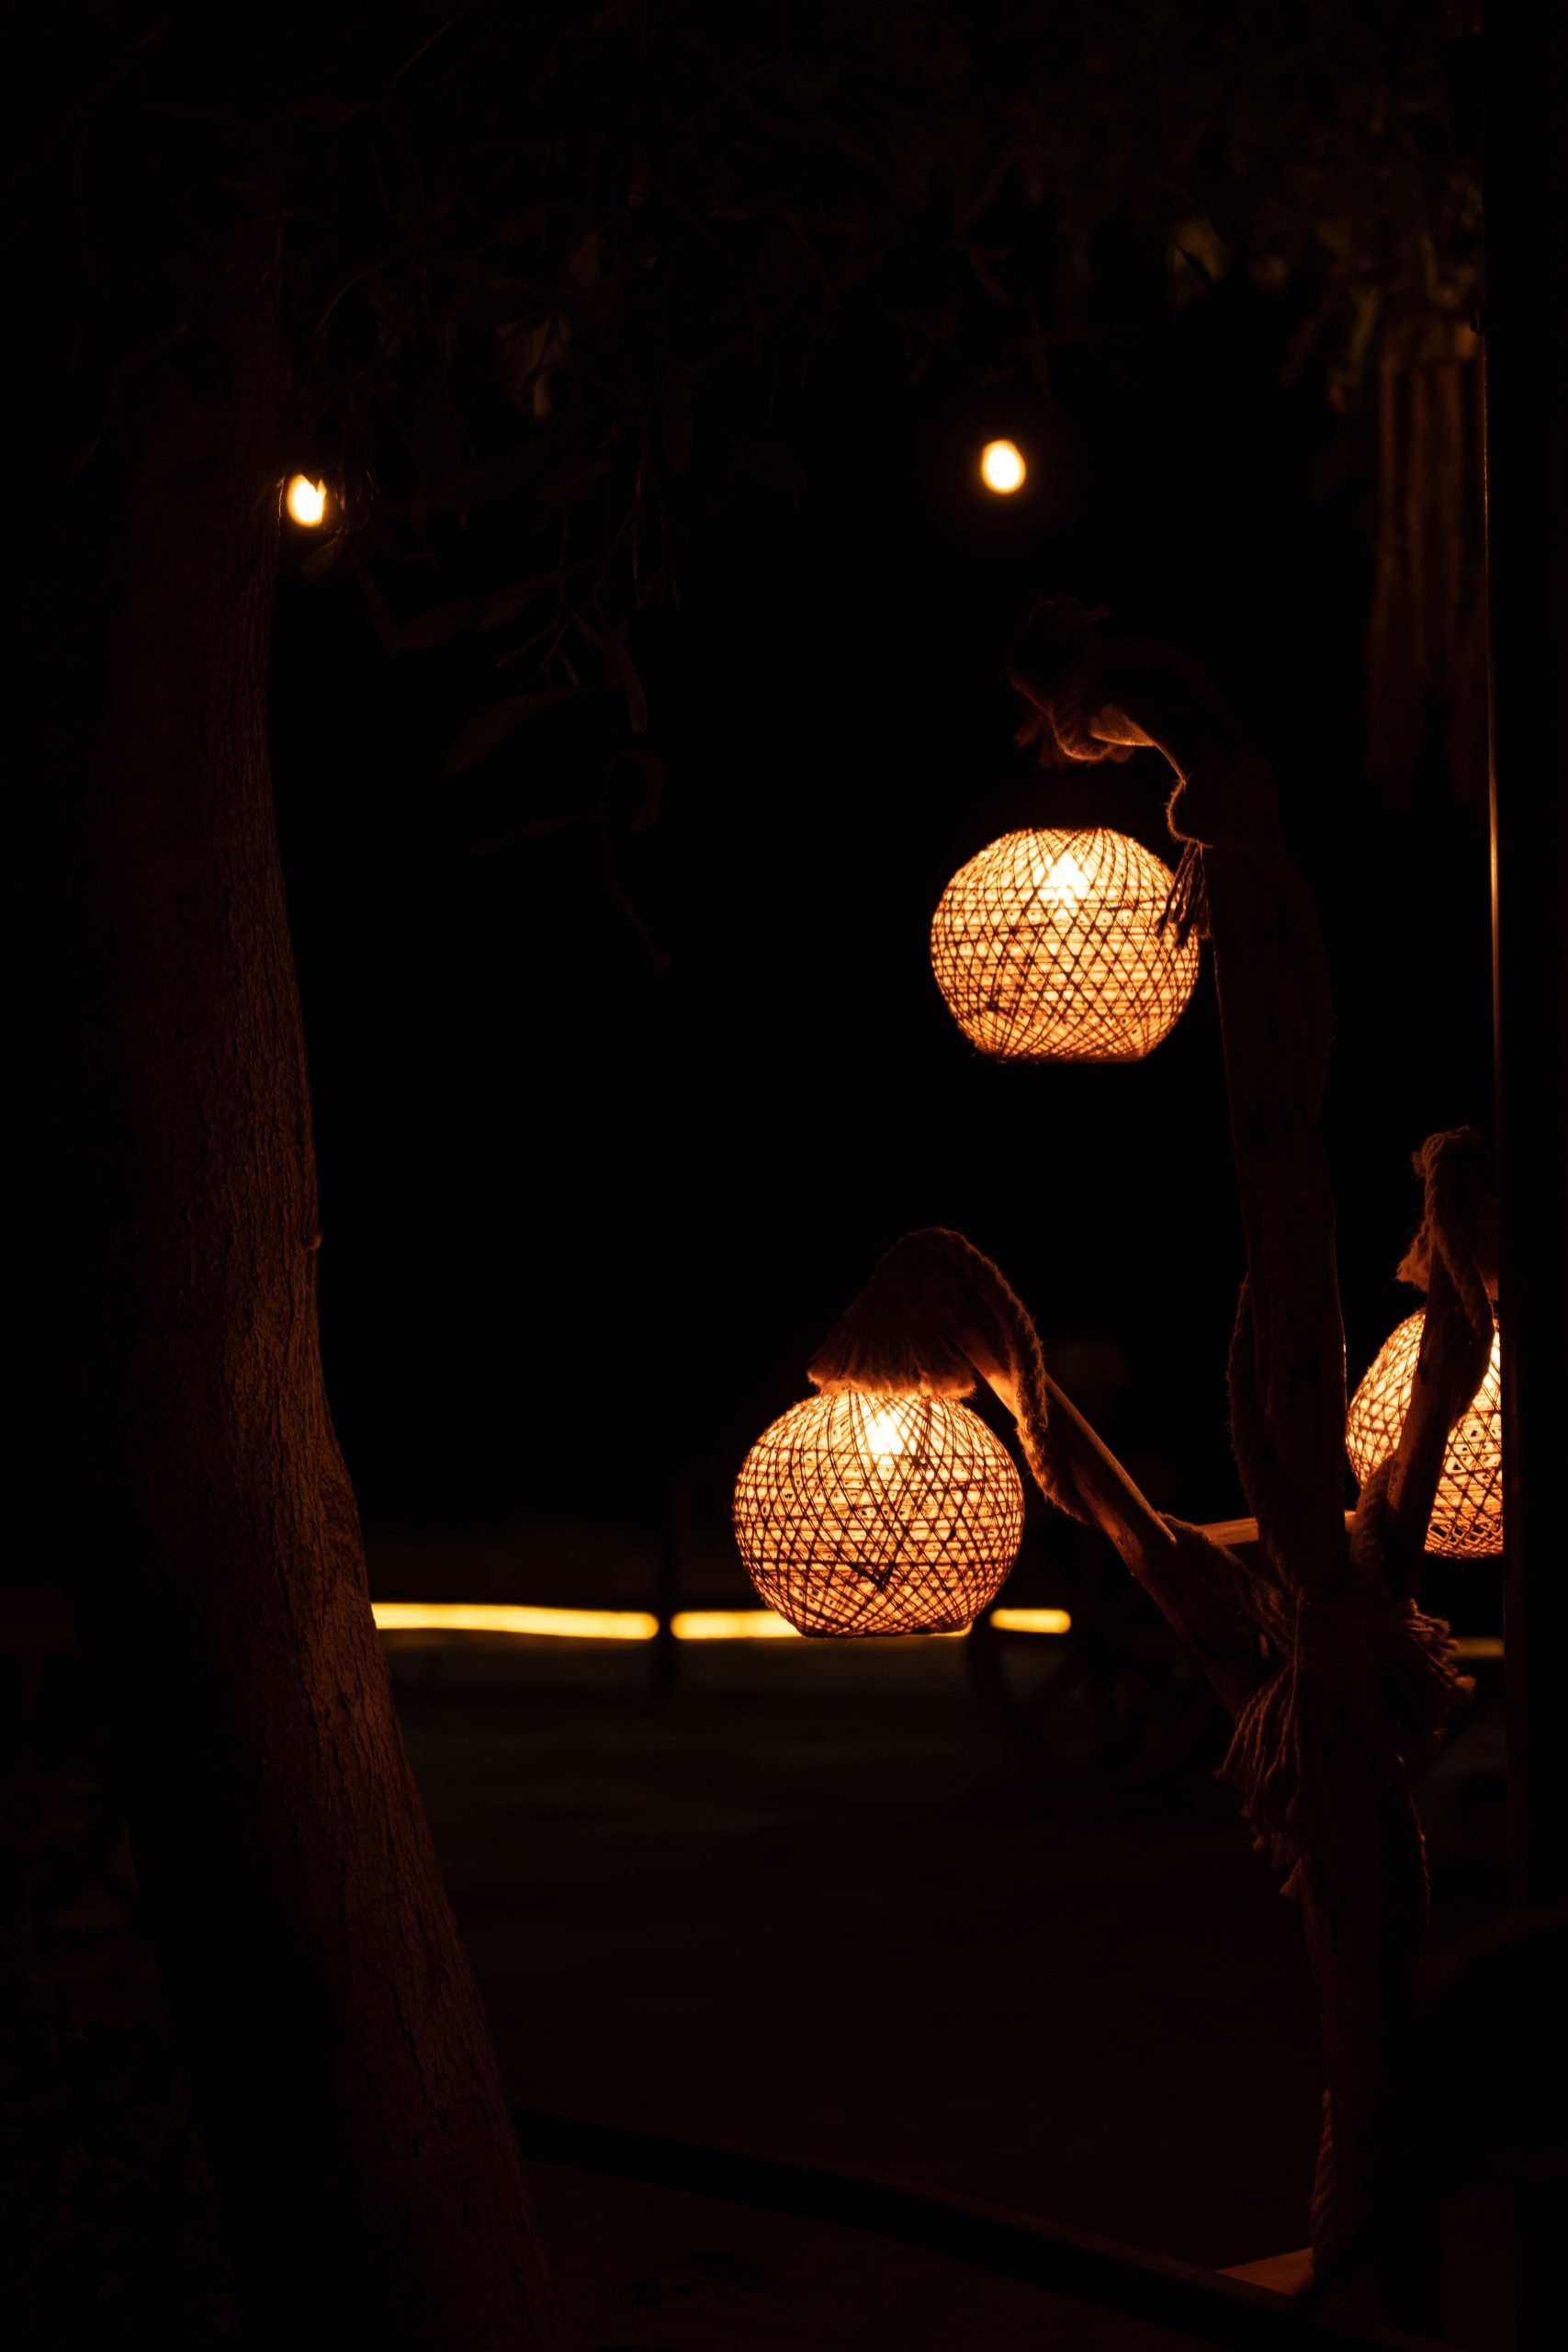
The non-uniform, organic placement of the lanterns is what makes this design sing. They aren’t hung in a straight line or at a consistent height. One is higher, one is lower, and they feel like they grew there. This casual, almost accidental arrangement is the key to the bohemian, natural aesthetic. If they were hung symmetrically, they would instantly lose their magic and just look like standard outdoor lights. The slight imperfection is the entire point. It’s a style that shouldn’t be overthought.
20. Soft and Natural Lighting with a Wood and Burlap Lantern
Creating this look is surprisingly affordable, especially as a DIY project. The materials are simple and accessible. A pre-made version from a store like World Market might cost $80-$150, but building one yourself can be done for much less.
- Frame: Scrap wood or inexpensive pine boards: $10 – $20
- Shade: A yard of burlap from a craft store: $5 – $10
- Lighting: A simple battery-powered LED puck light or a cord kit: $10 – $25
- TOTAL: $25 – $55
Budget alternative: Instead of building a frame, you can wrap the burlap around an existing, inexpensive wire paper lantern for a similar effect.
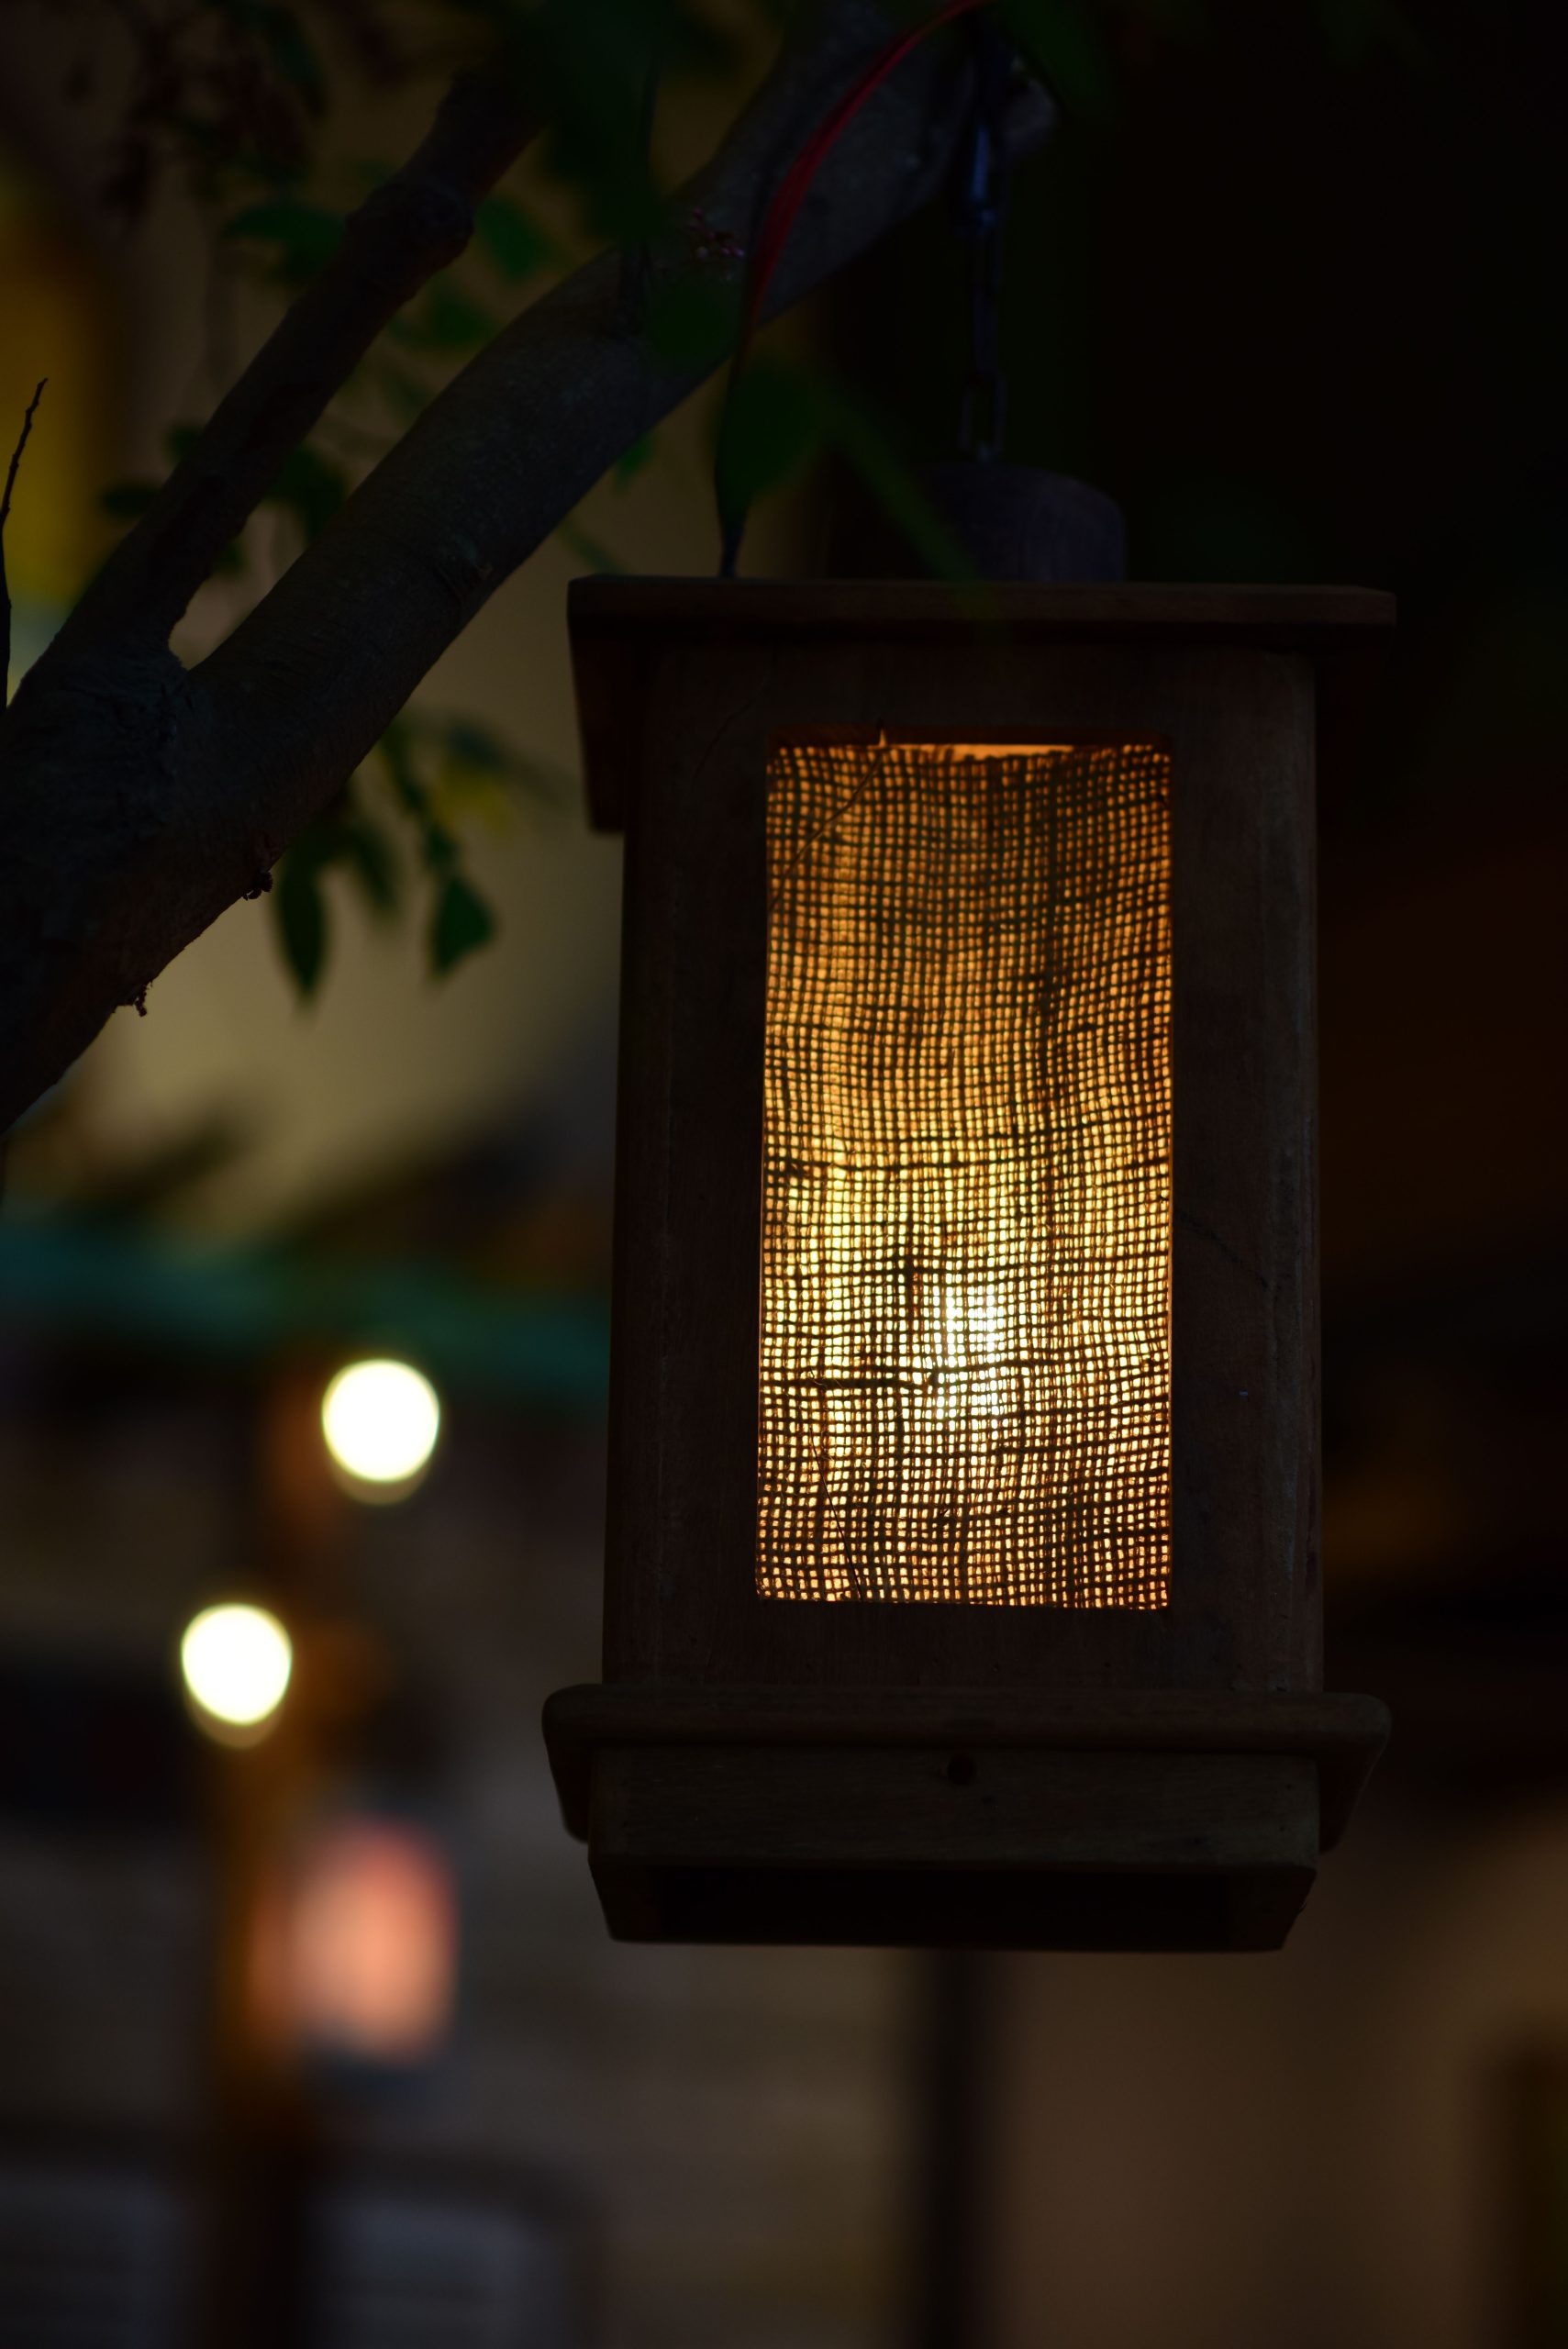
This design is a study in soft diffusion. The combination of the wooden frame and the burlap shade works because it conditions the light in two ways. First, the burlap material acts as a diffuser, softening the harsh glare of a bare bulb into a warm, gentle glow. Second, the wooden frame casts subtle, linear shadows, adding a layer of texture and pattern to the light itself. This is much more visually interesting than a simple, plain shade. Compare it to the direct light in Idea #19, which creates a different, more magical mood.
21. Casual & Functional String Lights on Weathered Wood Posts
This is a fantastic way to define an outdoor space, but planning is key. Ask yourself these questions first.
- How will you secure the posts? For a permanent solution, you’ll need to set them in concrete, which is a significant weekend project. For a less permanent option, you can use heavy-duty ground spikes.
- What is your power source? Will you run an outdoor extension cord, or is there an outlet nearby? Or will you opt for solar-powered string lights, which have improved dramatically in recent years?
- What is the best spacing? Measure your space and plan to set your posts about 10-15 feet apart for a nice swag in the light strings.
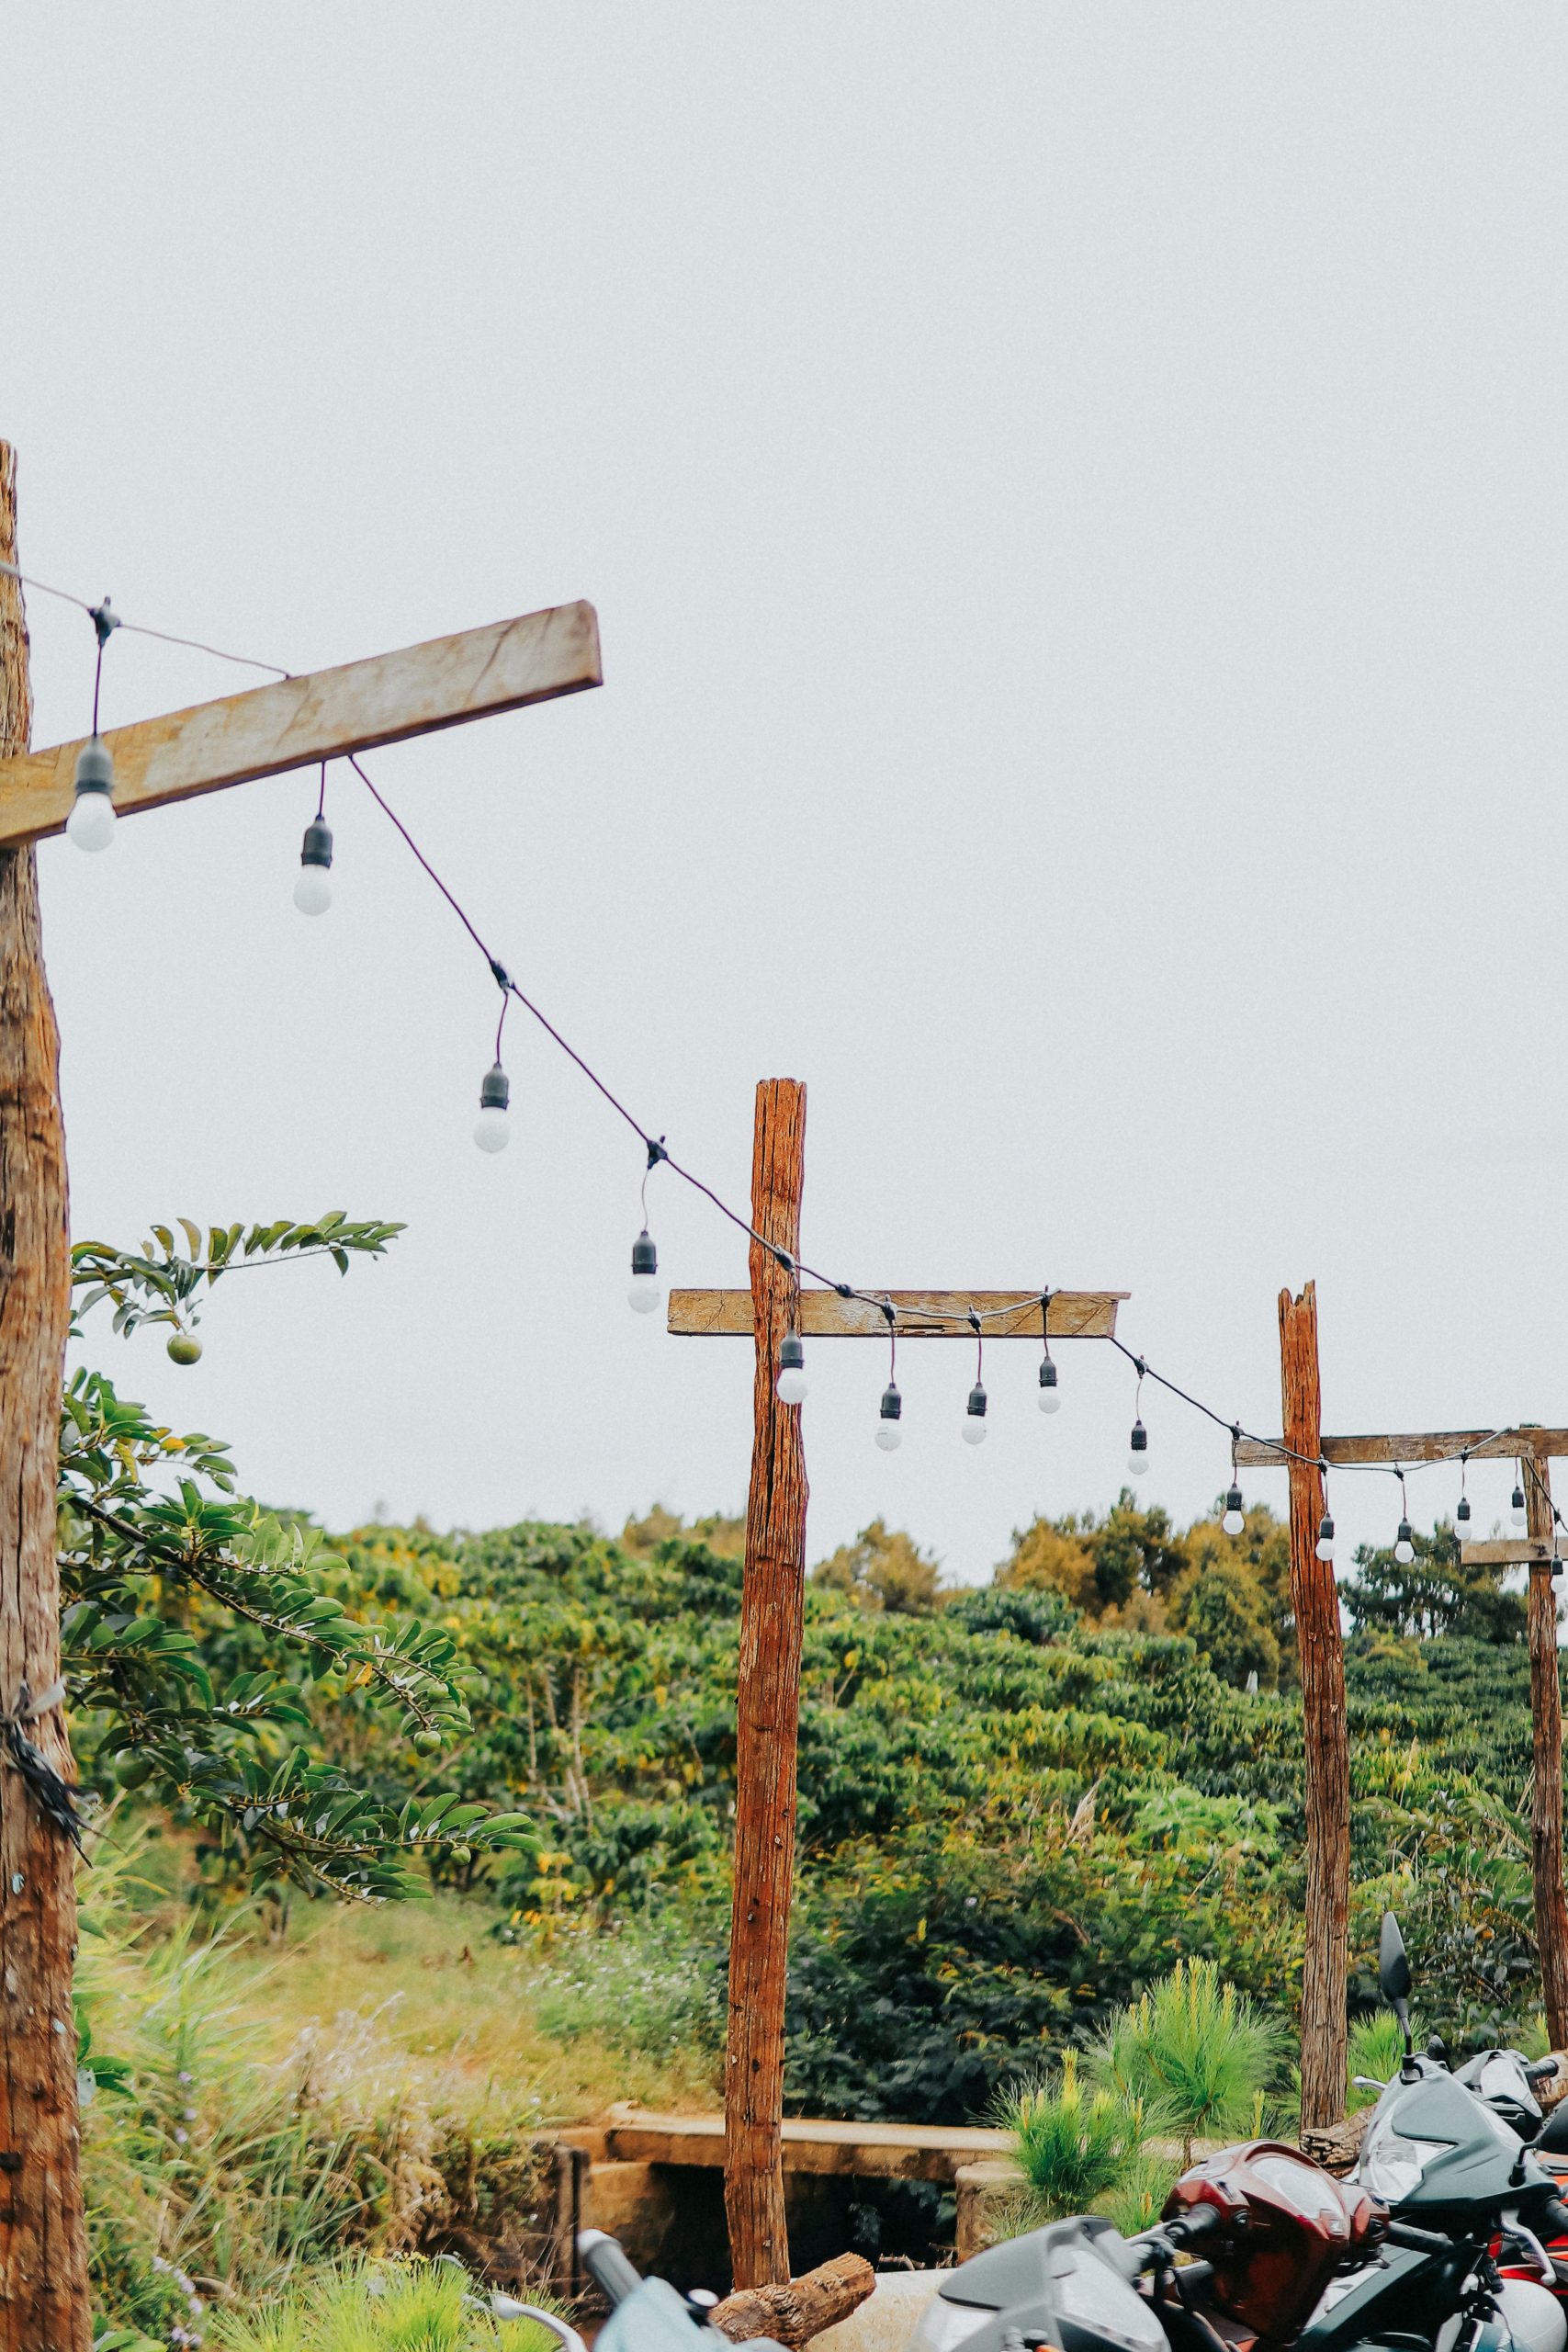
While this setup looks beautifully rustic, those weathered posts and horizontal cross pieces are prime real estate for birds to perch and nest. Get ready for some cleanup. The bigger maintenance reality, however, is the string lights themselves. No matter the quality, bulbs will eventually burn out, and squirrels have been known to chew on the wires. It’s a good idea to buy an extra string of lights or at least a box of replacement bulbs when you make your initial purchase, so you’re not scrambling to find a match two years from now.
22. Boho-Chic Patio with a Woven Rattan Floor Lantern
This cozy corner follows a simple recipe for a modern bohemian vibe: 50% natural textures + 30% deep comfort + 20% lush greenery. The rattan lantern and dark wood fence provide the essential natural, textural base. The deep blue sofa piled with pillows delivers on comfort, making the space feel like an outdoor living room. The final 20% comes from the abundance of plants, which breathe life into the scene and connect it to the garden. The lantern isn’t just a light; it’s a key textural ingredient in this style equation.
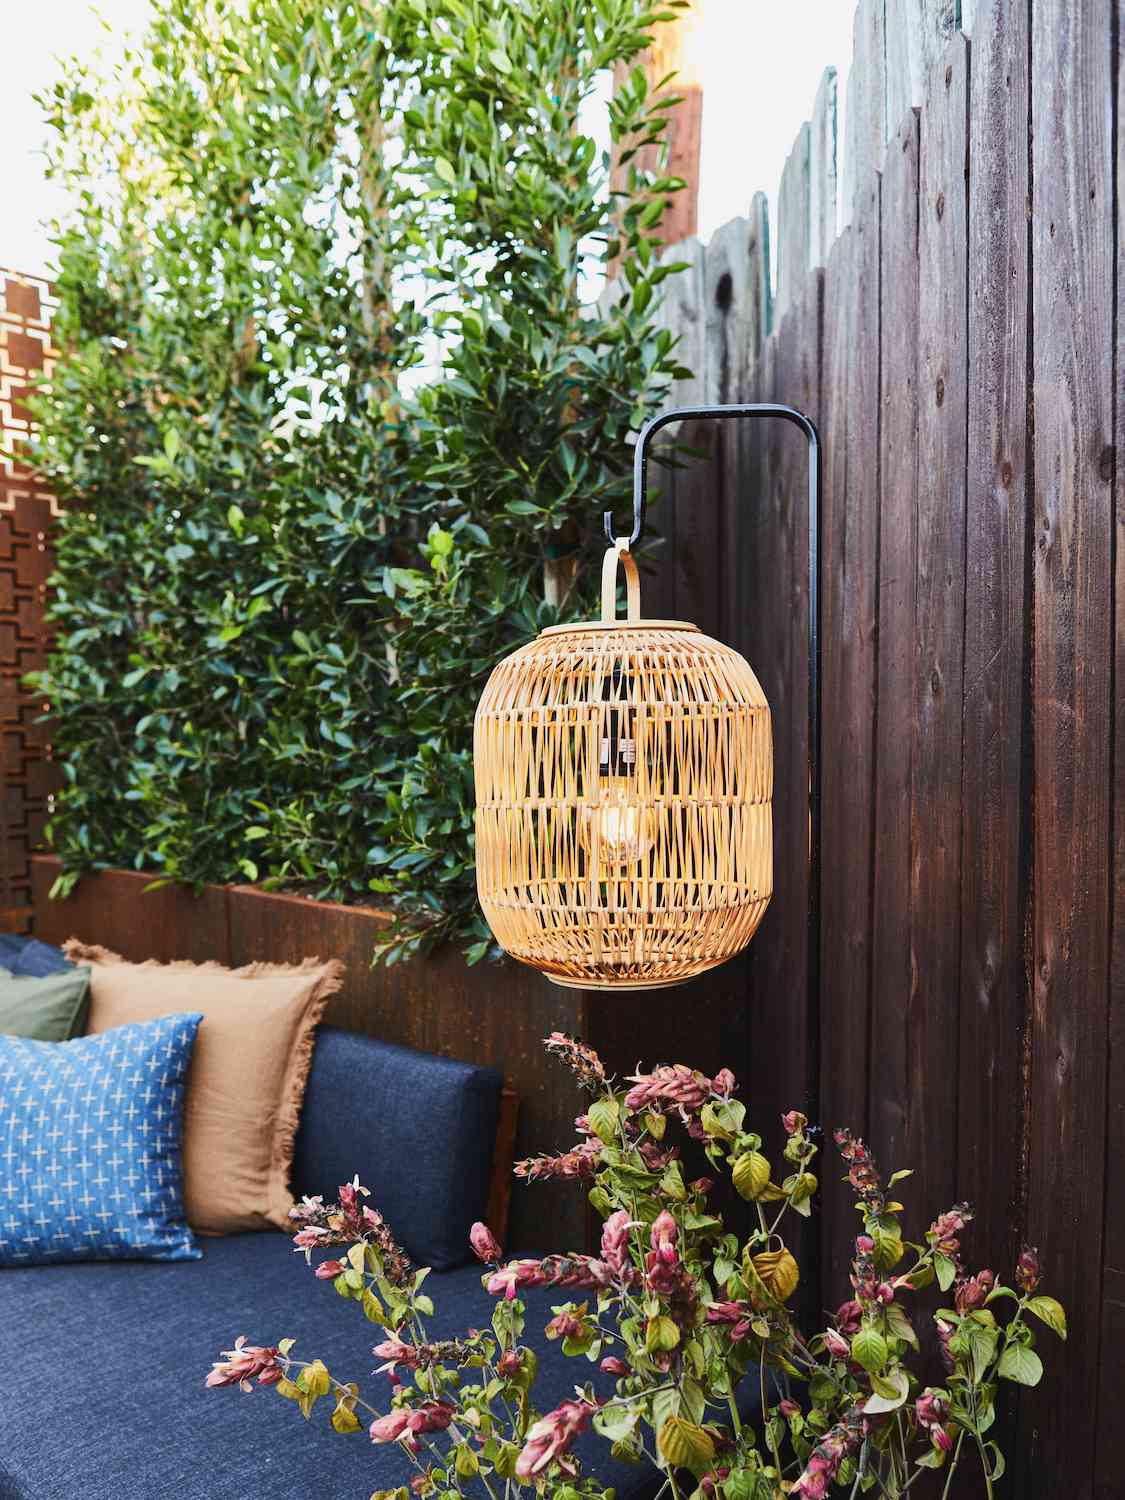
A portable floor lantern like this is incredibly versatile, but you need to be realistic about its power source. If it’s a plug-in model, you will always have a cord to deal with, which can be a tripping hazard and limit where you can place it. If it’s a rechargeable or battery-powered model, be prepared for a dimmer light output and a limited run time. You’ll be bringing it inside to charge frequently. It’s a trade-off: you get style and portability, but you sacrifice the power and reliability of a hardwired fixture.
23. Industrial Bell Light with a Warm Orange Glow
The success of this fixture lies in its confident blend of old-school industrial design and atmospheric color. The bell shape is a direct reference to vintage factory and barn lighting, giving it an immediate rustic and utilitarian character. The dark, weathered finish adds a sense of age and history. But it’s the intense, almost fiery orange glow of the bulb that transforms it from a simple utility light into a dramatic, mood-setting piece. The crisscrossing wires, while perhaps accidental, only add to the raw, industrial feel.
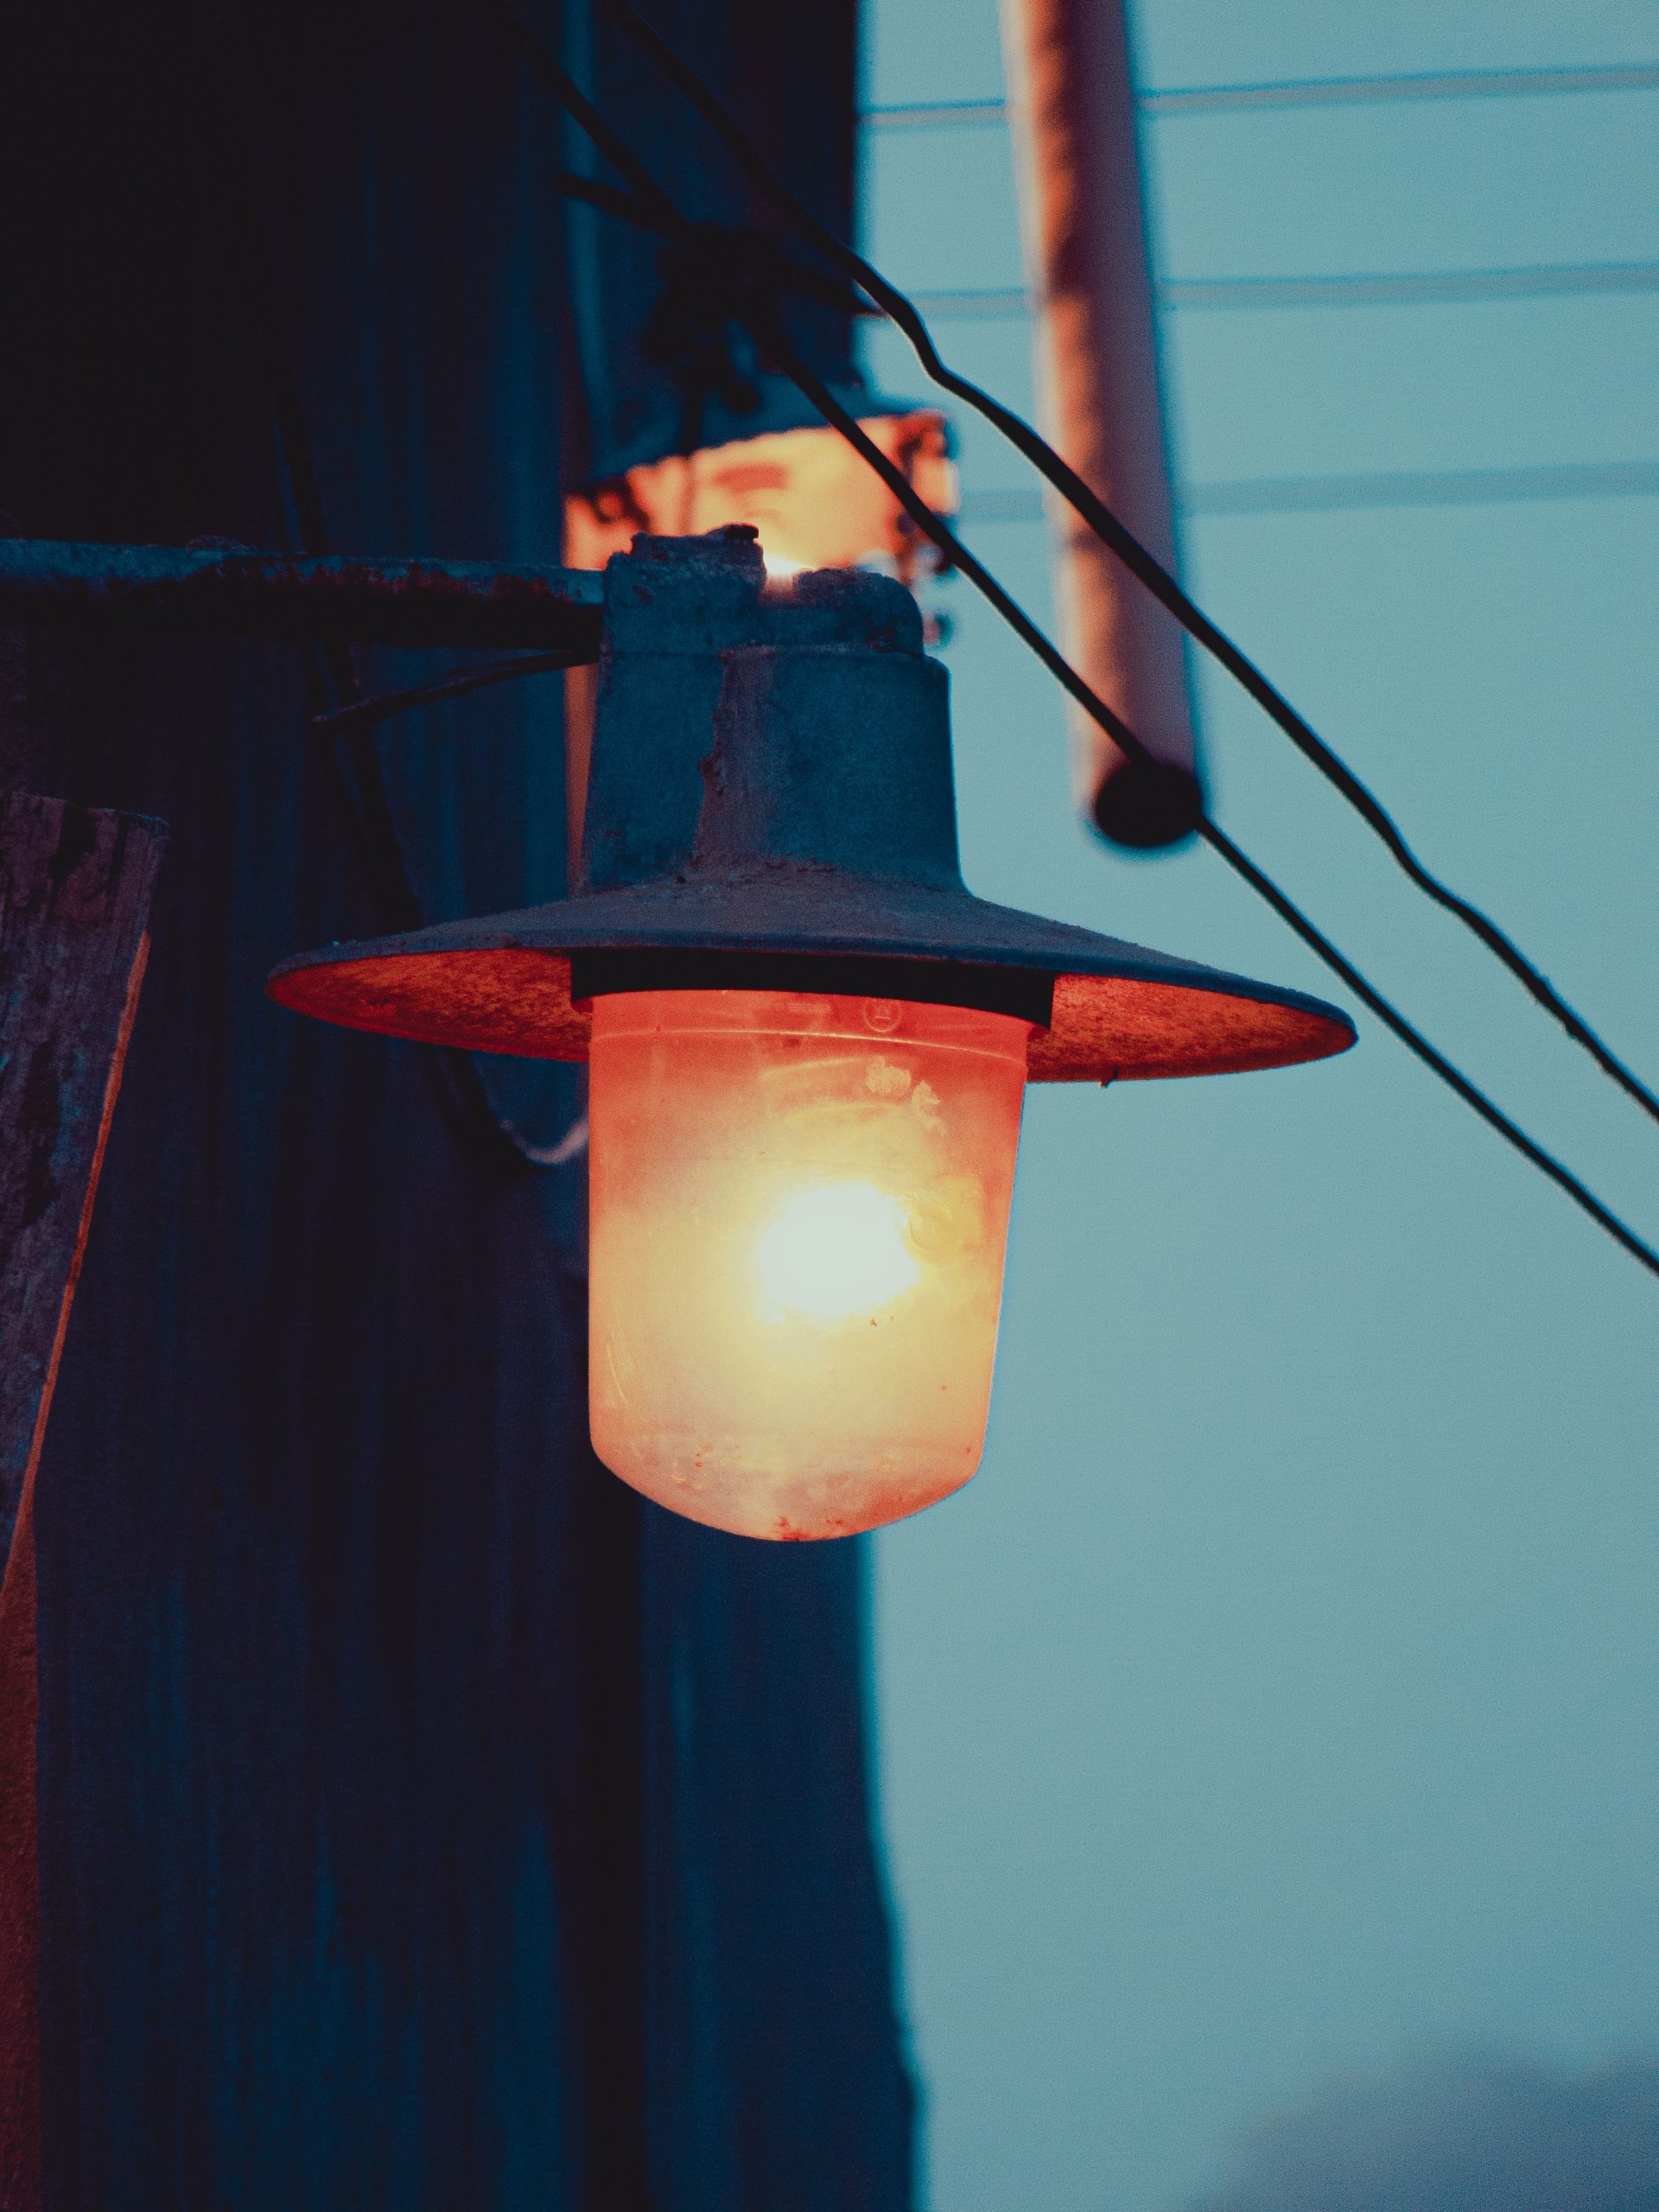
The single most important choice here is the color temperature of the bulb. If you were to swap this deeply warm, orange-toned bulb for a standard ‘cool white’ or even ‘warm white’ LED, the entire mood would be destroyed. The fixture would revert to being a simple, cold, industrial light. The orange glow is what makes it feel special, atmospheric, and nostalgic. To replicate this look, you must seek out a bulb with a very low Kelvin rating (2200K or less) or a decorative bulb with an amber or orange tint.
24. Subtle & Modern Landscape Uplighting for a Serene Patio
The secret to sophisticated landscape lighting is to light the *effect*, not the source. Notice how you don’t actually see the light fixtures here? They are hidden low to the ground, pointing up. One light is focused on the tree, turning it into a living sculpture and creating beautiful shadows on the fence behind it. Other lights are washing up through the surrounding greenery. This indirect approach creates a soft, glare-free ambiance that feels luxurious and professionally designed. The goal is to see what is being lit, not the bulb itself.
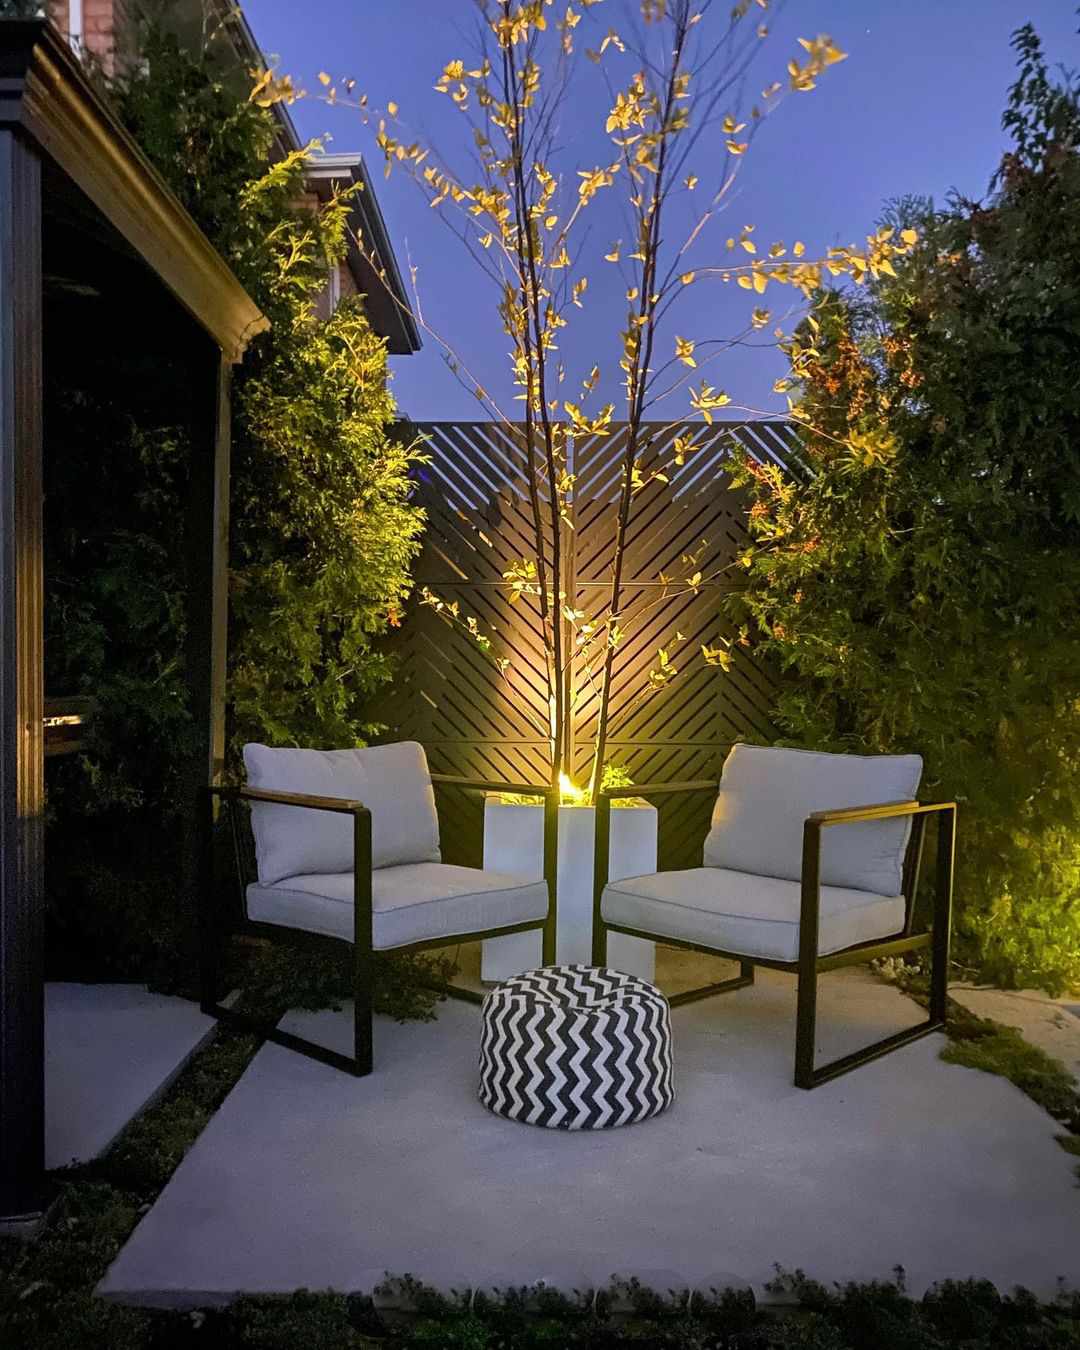
This technique of uplighting and backlighting works in almost any size space, from a tiny urban balcony to a sprawling backyard. For a small patio, a single, well-placed uplight on a feature plant (like the tree in the white planter) is all you need to create drama and depth. In a larger yard, you can use this method to highlight a series of trees or architectural features, creating a layered effect that draws the eye through the landscape. The key is to have a vertical surface (a fence, a wall, a line of hedges) to catch the light and create that beautiful backdrop.
25. Festive Bamboo Basket Pendants for a Covered Porch
High-end woven pendant lights from designer brands can cost $300 or more per light. You can achieve this exact look with a bit of DIY spirit. Purchase inexpensive bamboo or wicker baskets or bowls from a place like IKEA, a craft store, or even a thrift store (often for $5-$15 each). Then, buy a simple pendant light cord kit, which costs about $15-$25. Carefully drill or cut a hole in the bottom of the basket, feed the cord kit through, and you have a custom, high-style pendant for under $40.
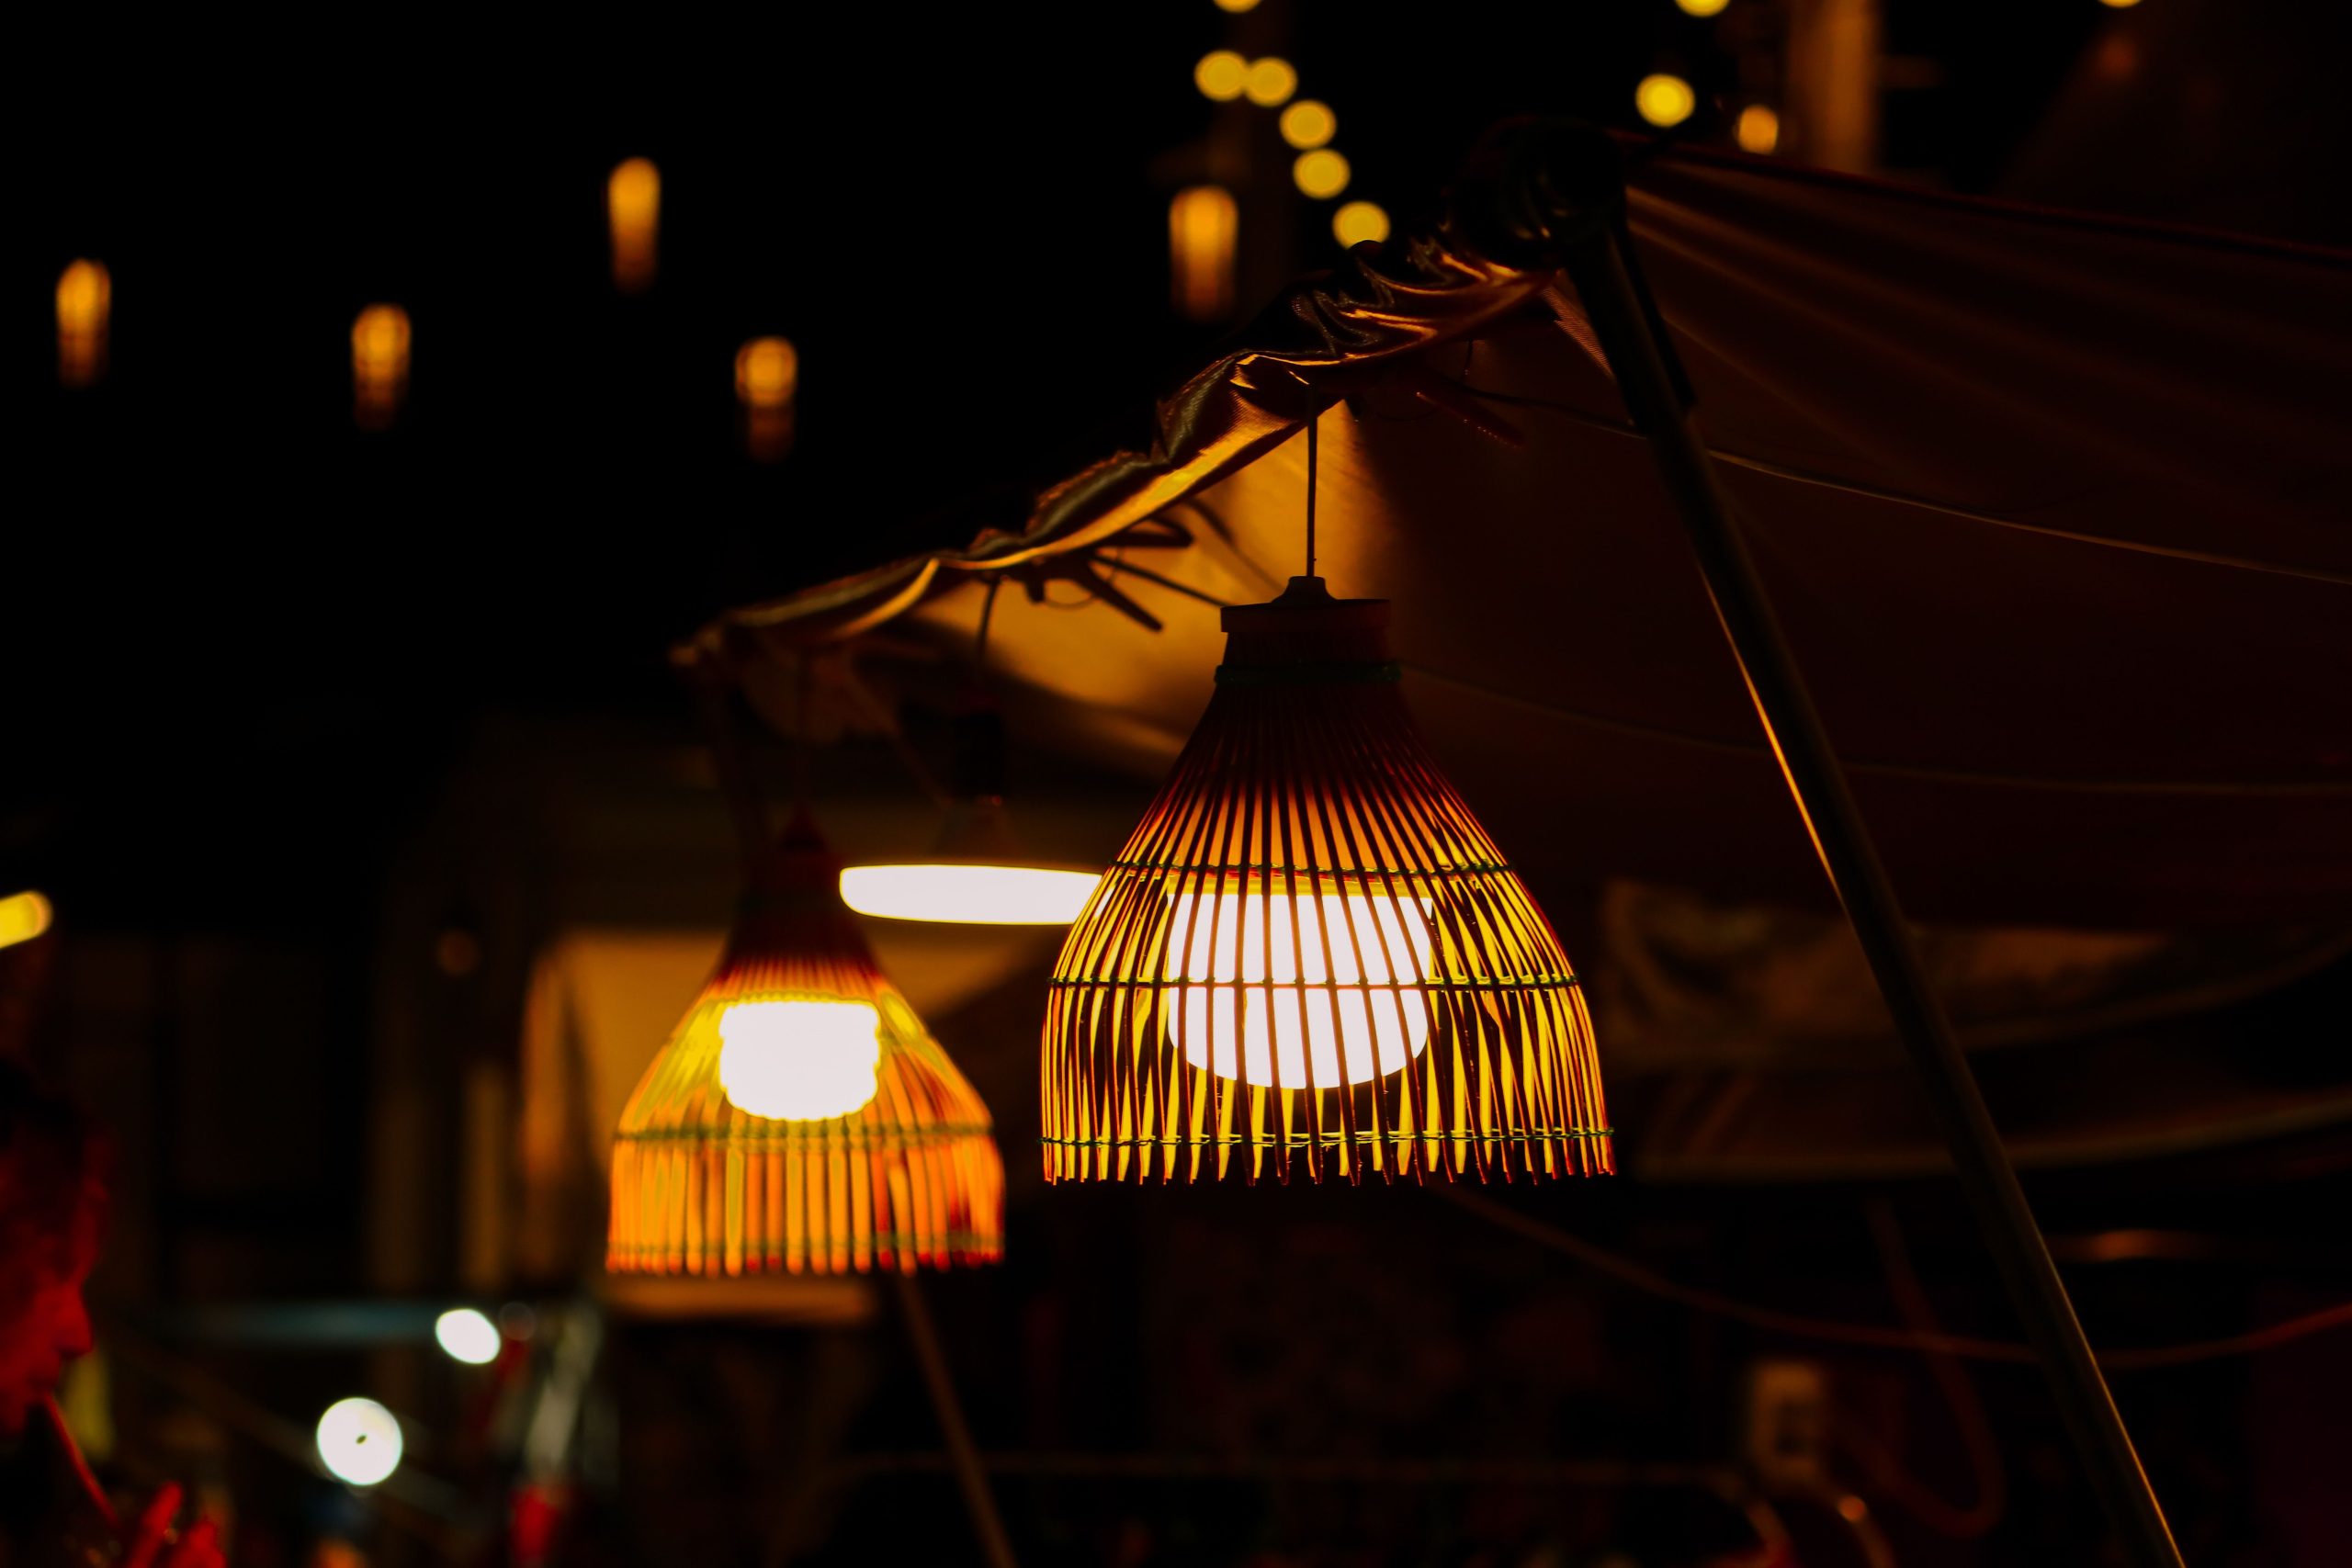
Want to turn any basket into a pendant light shade? It’s easier than you think. Here’s the 15-minute process:
- Acquire your basket and a simple pendant light cord kit (make sure it’s rated for outdoor use if it will be exposed to moisture).
- Find the center of the basket’s bottom.
- Using a drill with a spade bit that’s slightly larger than the diameter of the cord’s socket, carefully drill a hole through the center.
- Feed the plug end of the cord through the hole from the inside of the basket.
- Screw the retaining ring onto the socket base to secure the basket shade in place.
- Install a warm LED bulb, hang your new creation, and enjoy the glow!
26. Embrace the Season with a Caged Lantern Amongst Autumn Leaves
This image is powerful because it perfectly captures a fleeting moment of seasonal beauty. The warm, golden light from the lantern harmonizes with the natural-born golds, oranges, and reds of the autumn leaves. The rusty, dark metal of the cage provides a strong, grounding contrast to the delicate foliage. It’s a perfect marriage of man-made light and natural color, where each element enhances the other. The light makes the leaves glow, and the leaves frame the light in a stunning composition.
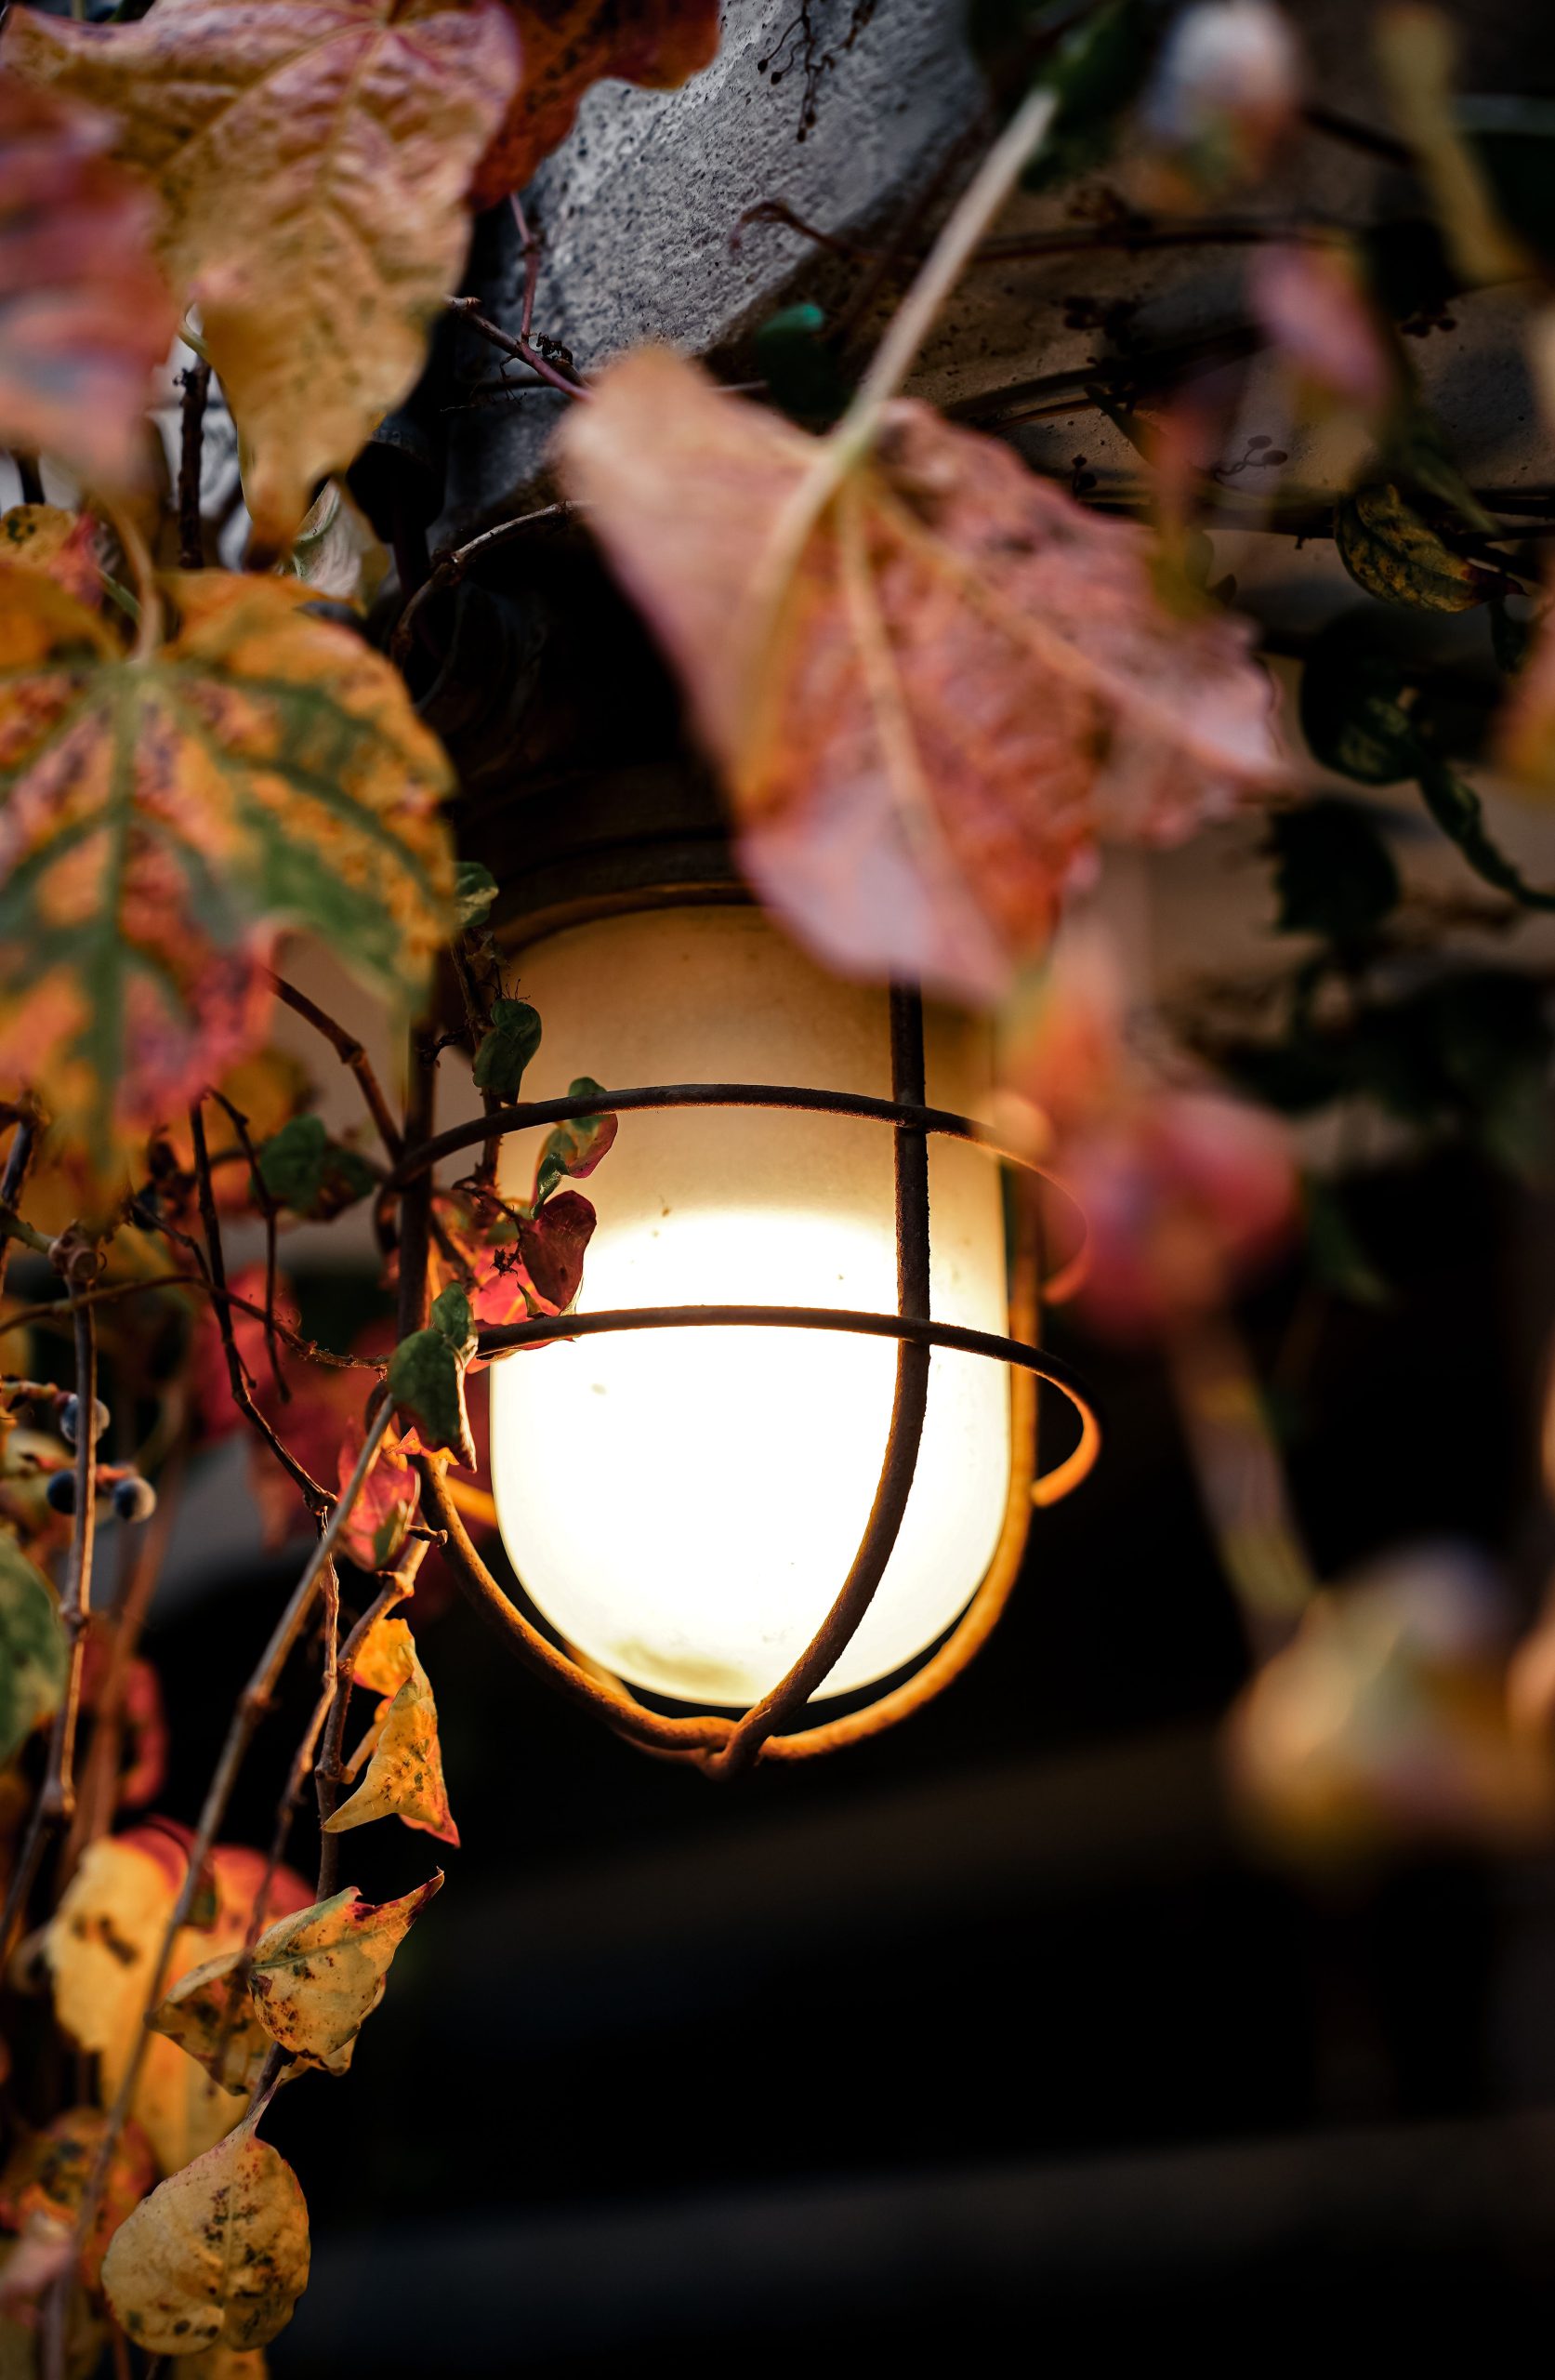
that elevates this from a simple picture of a light is its interaction with the foliage. The leaves aren’t just in the background; they are right there, touching and partially obscuring the lantern. This integration is what tells the story. It feels authentic and alive. If you removed the leaves, you’d be left with a perfectly fine rustic lantern on a wall, but you’d lose all the romance, color, and seasonal specificity. It’s a reminder that context is everything. Consider the similar, but less seasonal, approach in Idea #4.
27. Industrial Glass and Metal Cage Pendants for an Outdoor Bar
The formula here balances raw and refined elements: 50% industrial structure + 30% rustic texture + 20% warm ambiance. The metal cages, corrugated metal ceiling, and exposed mounting hardware provide the strong industrial backbone. The bamboo wall paneling introduces a natural, rustic texture that softens the metal’s hardness. The final, crucial 20% is the warm, amber glow from the exposed filament bulbs, which creates an inviting, cozy atmosphere and prevents the space from feeling like a cold warehouse.
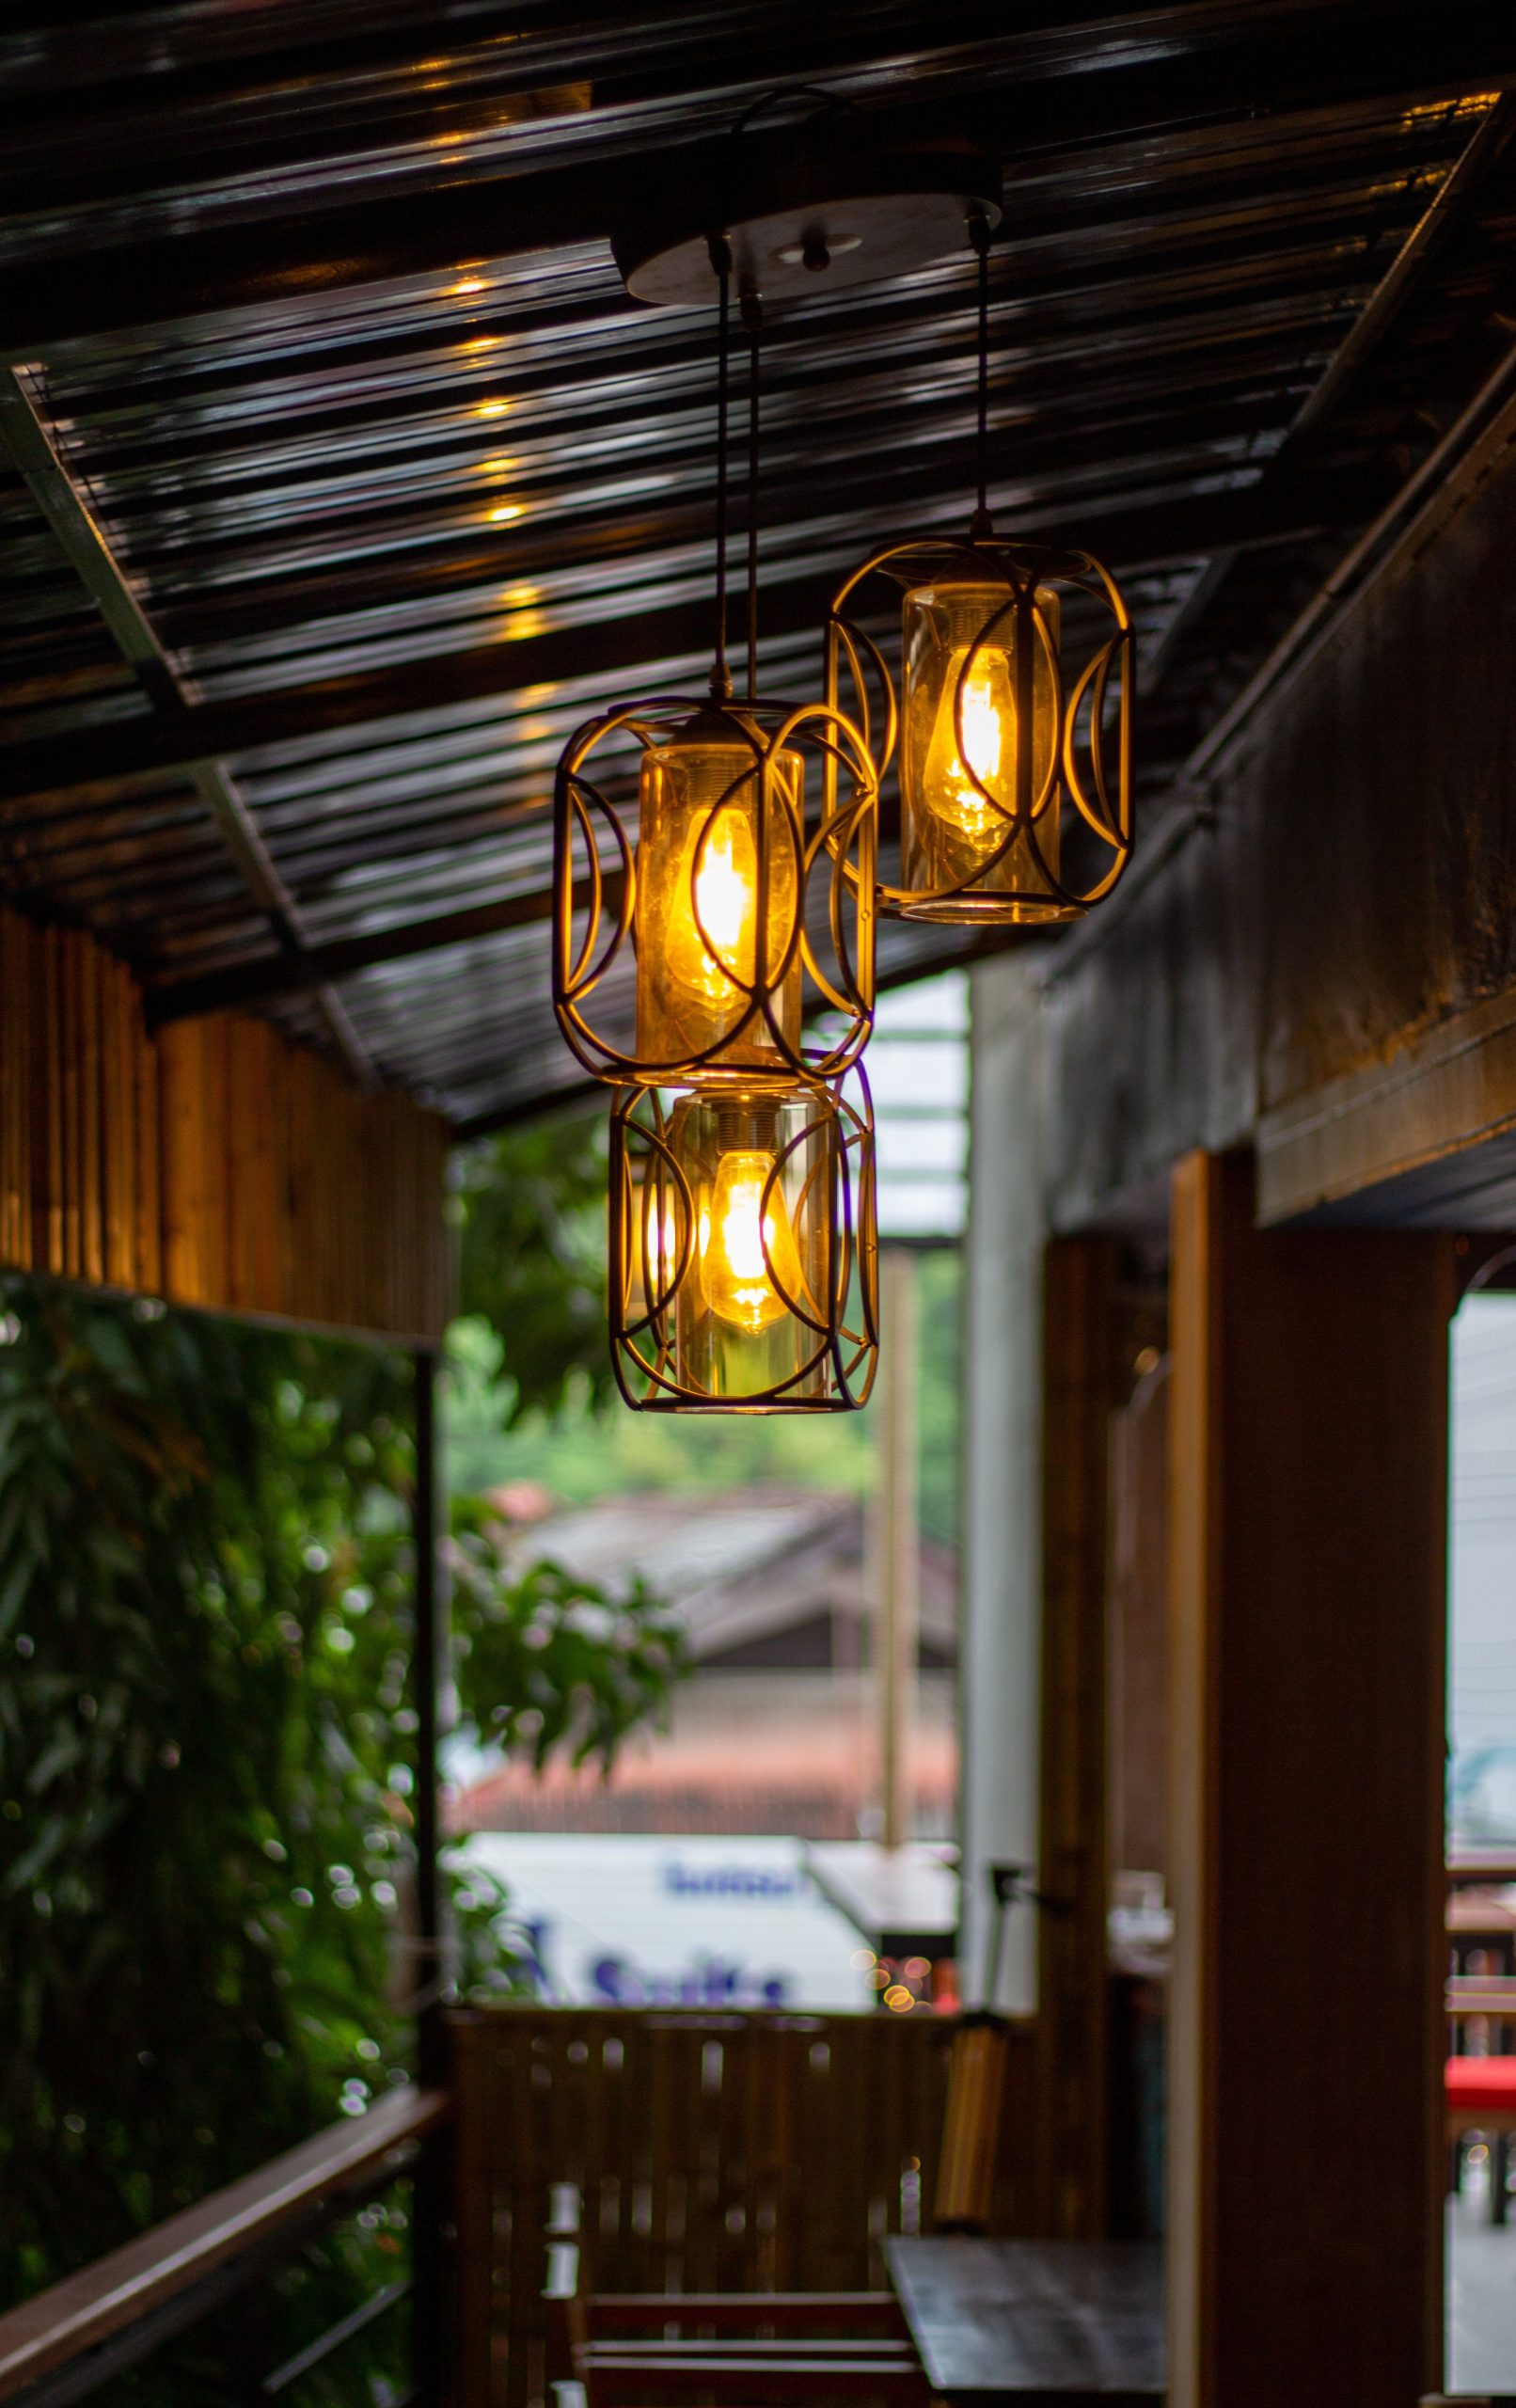
Fixtures with clear glass and exposed bulbs look amazing, but they are a pain to keep clean, especially in a semi-exposed outdoor area. Dust, pollen, and tiny insects will inevitably collect inside the glass cylinders, and you will notice them every time you turn on the lights. To keep them looking sharp, you’ll need to commit to disassembling and cleaning them at least twice a year. It’s not a deal-breaker, but it’s a maintenance task you should be aware of before you install them.
28. Textural Warmth with a Mix of Rope, Wicker, and Edison Bulbs
This is a custom or high-end designer look, but you can estimate the cost to recreate a similar DIY version for a small area. This assumes a high level of DIY skill. For a pre-made system from a specialty lighting store, you could expect to pay $1,500 or more.
- Structural Frame (Reclaimed wood beam): $50 – $150
- Lighting (6-8 Edison bulbs, sockets, outdoor wiring): $100 – $200
- Textural Elements (Thick rope, wicker shades, netting): $80 – $160
- DIY TOTAL: $230 – $510
Budget alternative: Simplify the design by wrapping a few strands of thick rope around a standard multi-pendant light kit for a similar textural effect.
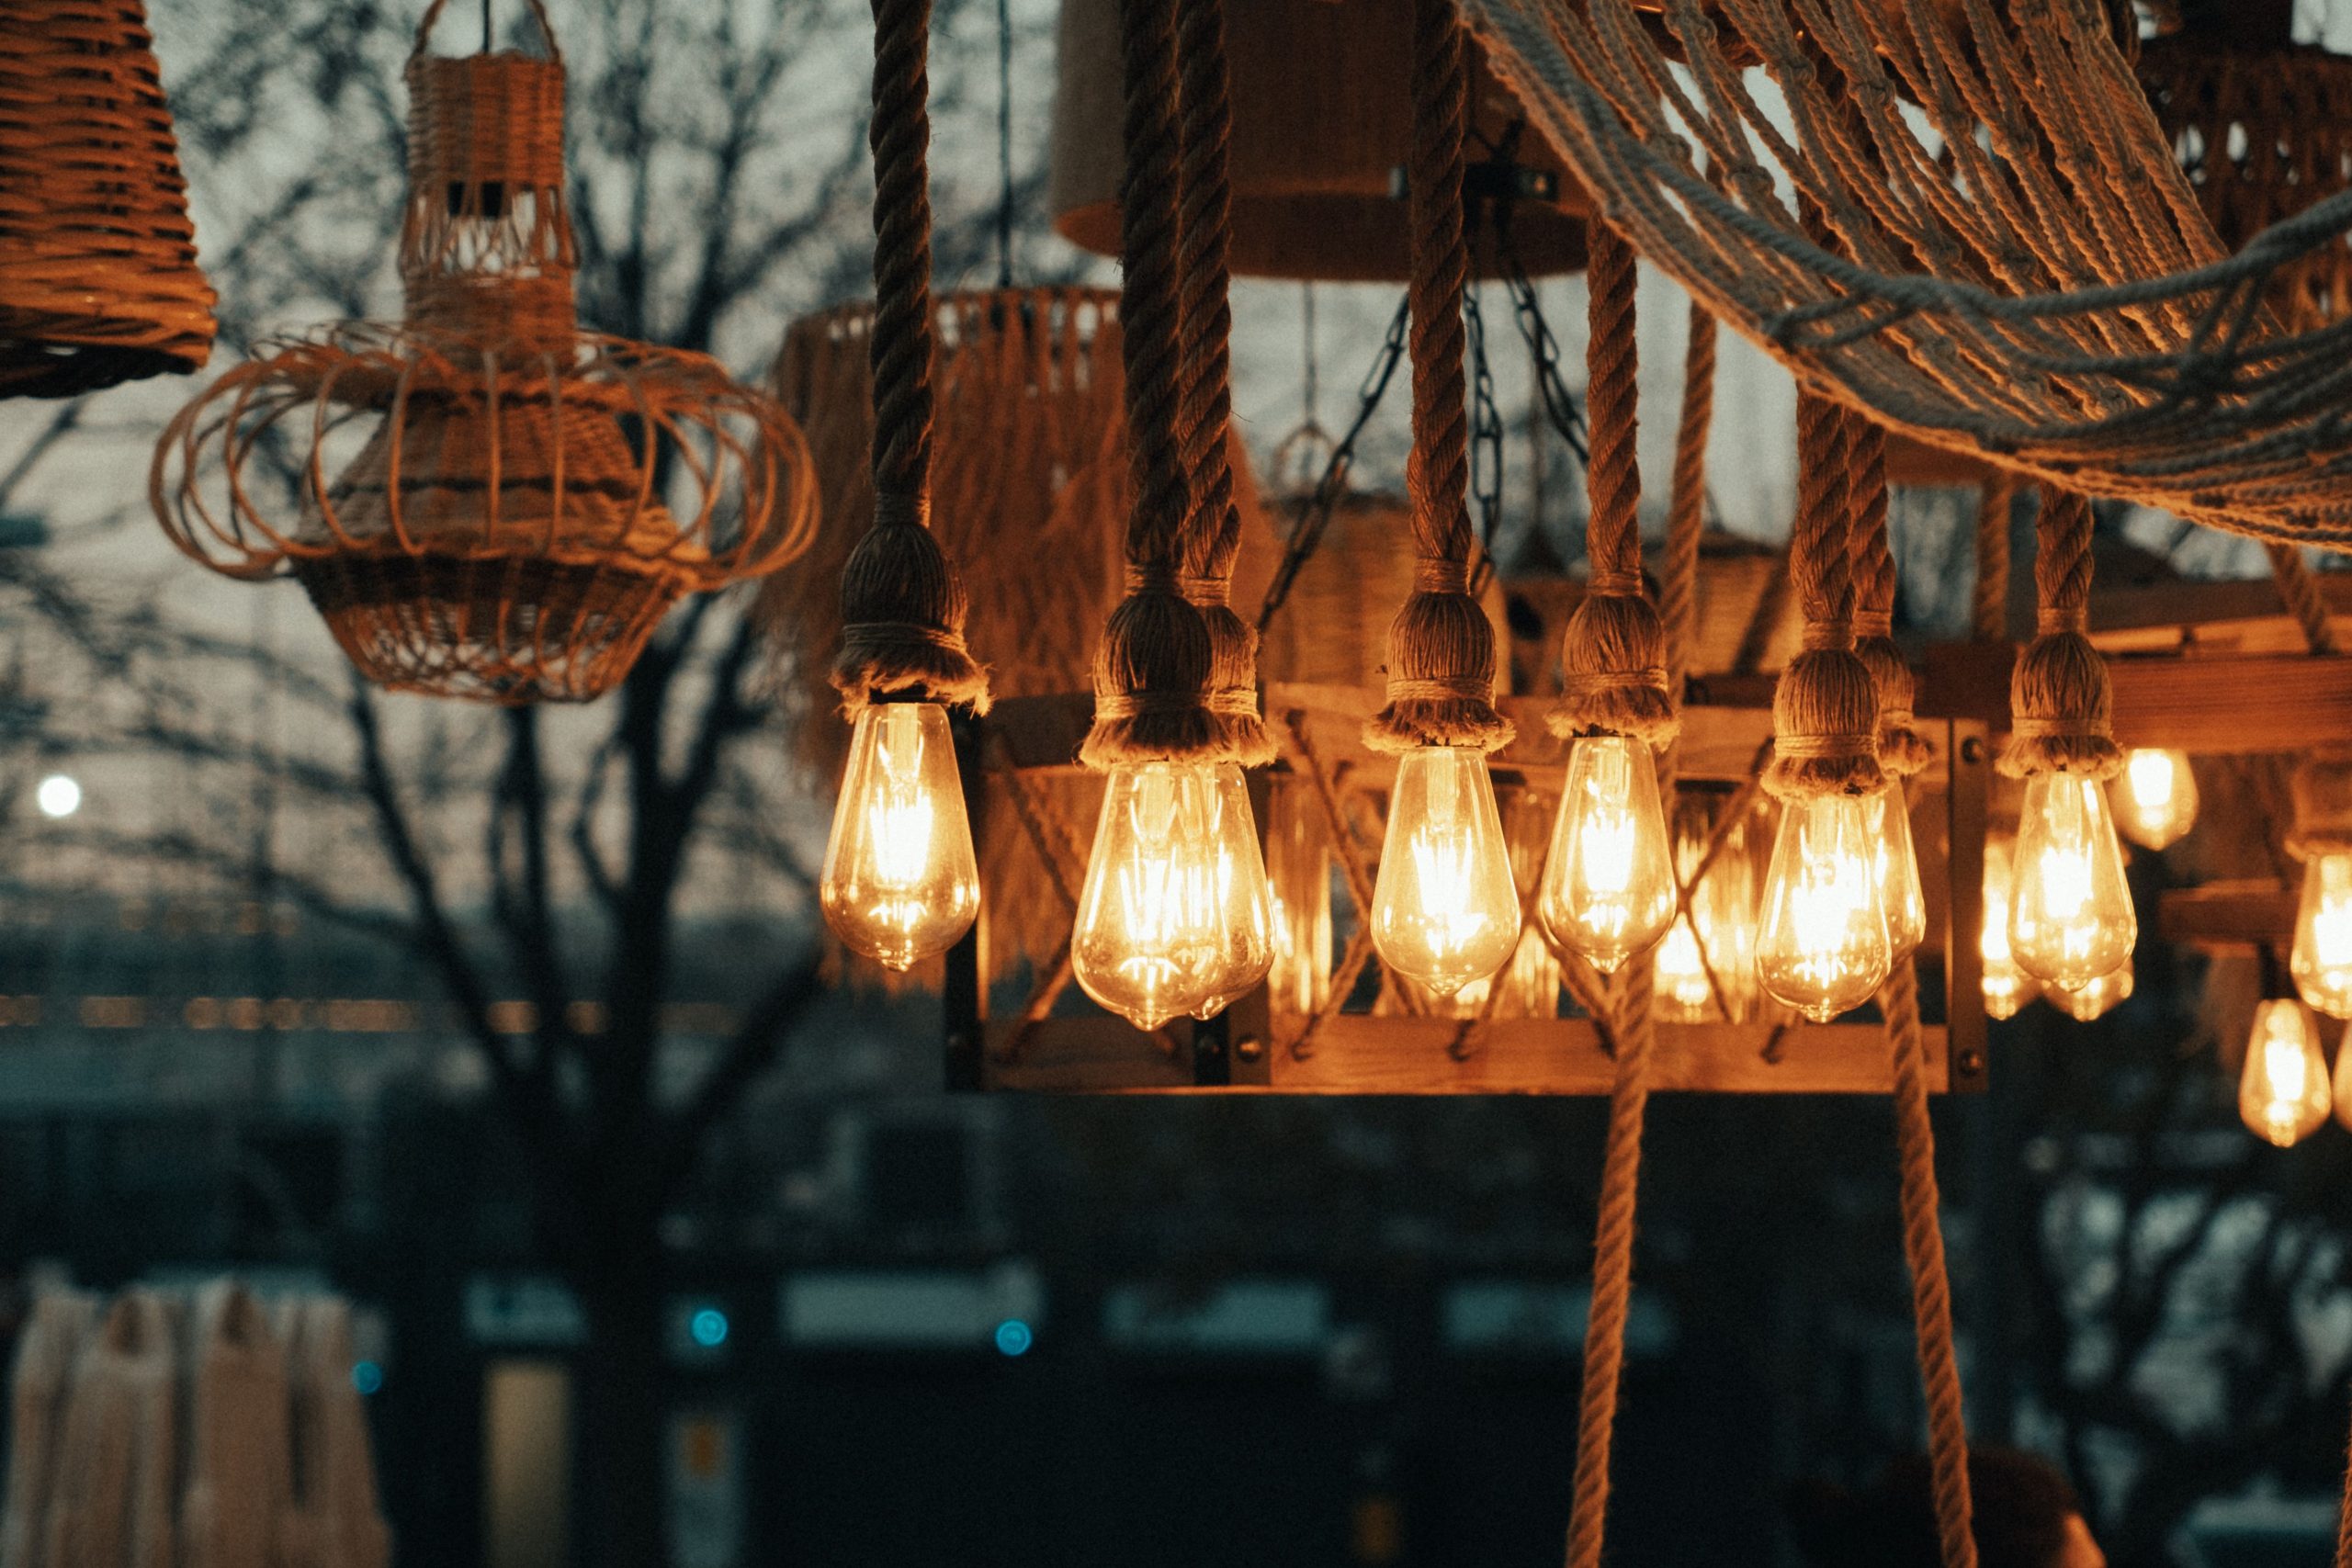
When creating a complex, layered lighting installation like this, the key is to use bulbs with a very low lumen output. You are not trying to light up a room; you are trying to create an atmosphere. Use multiple dim bulbs (100-200 lumens each) instead of a few bright ones. This creates a soft, ambient glow that highlights the texture of the rope and wicker without creating harsh glare. Always use dimmable LED Edison bulbs so you can fine-tune the brightness to the perfect level for any mood.
Let There Be (the Right) Light
Lighting isn’t just a utility; it’s the final layer of personality for your outdoor space. It’s what turns a simple backyard into a destination. Now that you’re armed with ideas, it’s time to start planning. We can’t wait to see what you create, so be sure to save your favorites to your Pinterest board!